
Showing posts with label DecoArt Americana. Show all posts

Saturday, October 4, 2025

SISTERHOOD OF SNARKY STAMPERS #267 S is for Spooky


Hello snarky peeps and welcome!
Can you believe that it's October already?
A new month means a new challenge at the
No surprise here. We want to see your spooky
projects! Also, this being 
Breast Cancer Awareness Month, as an option,
use the color pink on your creation.

I decided to make an art journal page:


I went all out spooky for this page,
my inspiration being the movie, The Shining.
What started it was the two girls (Tim Holtz Halloween
Paper Dolls). I coated them with Liquitex matte gel and once
dry, colored them using a water pen and Derwent
Inktense Block 0400. I used a spiderweb stencil with
crackle paste. After it dried, I painted orange and raw umber acrylic 
paint over it. Random stamping, splatters, and gold Stickles were also added.
I added some themed paper and boarders, and finally alpha Thickers 
to spell REDRUM.
Here are some process photos:


I hope that you'll join us this month at the
Sisterhood of Snarky Stampers for our Spooky challenge!
Please do yourself a favor and check out what my 
sisters created and also our reigning Queen, Wendy! 
Thanks for visiting. Have a fabulous day!


Supplies:
Strathmore: art journal; mixed media paper w/vellum
Golden Gesso
Ranger Texture Paste - opaque crackle
Echo Park - Spooky Spiderweb stencil
DecoArt Americana - bright orange, raw umber
Stazon ink - Timber Brown & Jet Black
Indigo Blu - Tasty Textures stamps
Ranger - gold Stickles
Tim Holtz - Paper Dolls Halloween; water mister
Liquitex - matte gel
Derwent inktense block 0400
American Crafts - Thickers alpha stickers
Authentique - Enchanted papers
Recollections - Halloween boarder stickers
EK Success - Vampire die cut borders
Bearly Art glue
various brushes & pallet knife



Friday, December 22, 2023

Holiday Greetings

 Hello and happy Fri-Yay!
I've been having fun playing
with more poinsettia dies
and created another card with them:


In a challenge to myself to use older papers in my stash,
I grabbed a paper pad that's at least 11 years old,
and has a distressed, grungy look to it.
I die cut the main panel from kraft cardstock, then
decided to splatter it with black and white acrylic paints.
It reminded me of burlap after I did that!
I decided that the flowers and leaves needed to be
distressed also. I used a blending brush with whatever
brown ink was on it already and went over the petal tips and leaves.


Here's the finished inside:


I'm taking advantage while Mr. Mojo is in town and
am trying to make a card a day. 😁

That's it for now. Thanks for visiting.
I hope that you have a great day!
Merry Christmas!


Supplies:
Stamps: My Favorite Things - Christmas Wishes
Ink: Memento - Tuxedo Black; Versamark
DP: My Mind's Eye - Signature Christmas
CS: Thunderbolt; MFT
Accessories: MFT - Christmas Wishes dies, Winter Poinsettia dies, Cross Stitch Rectangle die; DecoArt Americana black & white acrylic paint; WOW! - clear EP; heat gun; MISTI; Nuvo Crystal Drops - dandelion yellow
Adhesives: 3L - tape runner, thin 3D foam squares; Ranger - MMM


Tuesday, December 19, 2023

A little mixed media casing

 Hello crafty friends and welcome!
Back at the beginning of December I 
and thought this card looked really cool,
so I tried my hand at making it.
Do I have any of the products used in
the video? Nope. I used what I already had on hand.
(My supply list is always at the bottom of my posts.)
Here's my version:


The background was created using Distress Inks, then splattered
with white and gold acrylic paint. The same gold was used on
the letters. I used foam strips on the letters, but I had to trim
the foam on a lot of the letters. (the foam strips were just
slightly thicker than the letters. Ugh!)
Here's the finished inside:


Luckily for me I made another panel, in case I messed up,
(But I didn't. Yay!), so I made another card.
This time I die cut the letters three times, stacked and glued together.
(Much easier, and less swear words were said. LOL!)


I really enjoyed the process of making the background,
and I'm thinking of trying it using just blues/greens or
maybe reds/pinks/purples. 
Thank you, Channin Pelletier, for the inspiration!

That's all I have for now. Thank you for
visiting, and I wish you a great day!


Supplies:
Stamps: Honey Bee - Inside Birthday Sentiments
Ink: Ranger DI- Peacock Feathers, Worn Lipstick, Saltwater Taffy, Spiced Marmalade, Mustard Seed, Twisted Citron; Memento - Tuxedo Black
CS: Strathmore watercolor paper; Neenah; scraps
Accessories: water brush; DecoArt Americana Acrylic Paints in white and gold; paint brush; Taylored Expressions - Sweet & Simple Upper Alphas dies; MISTI
Adhesives: 3L - tape runner, 3D foam squares; Ranger - mmm; Taylored Expressions - foam strips


Wednesday, June 15, 2022

A Tiny Craft (ATC) Challenge #10 - All Things Tim

 Hello and welcome!
It's time for the June challenge at
I predict this month's theme will be a 
much played one: All Things Tim!
As in Tim Holtz! Use any Tim Holtz products on your
artist trading card or coin.
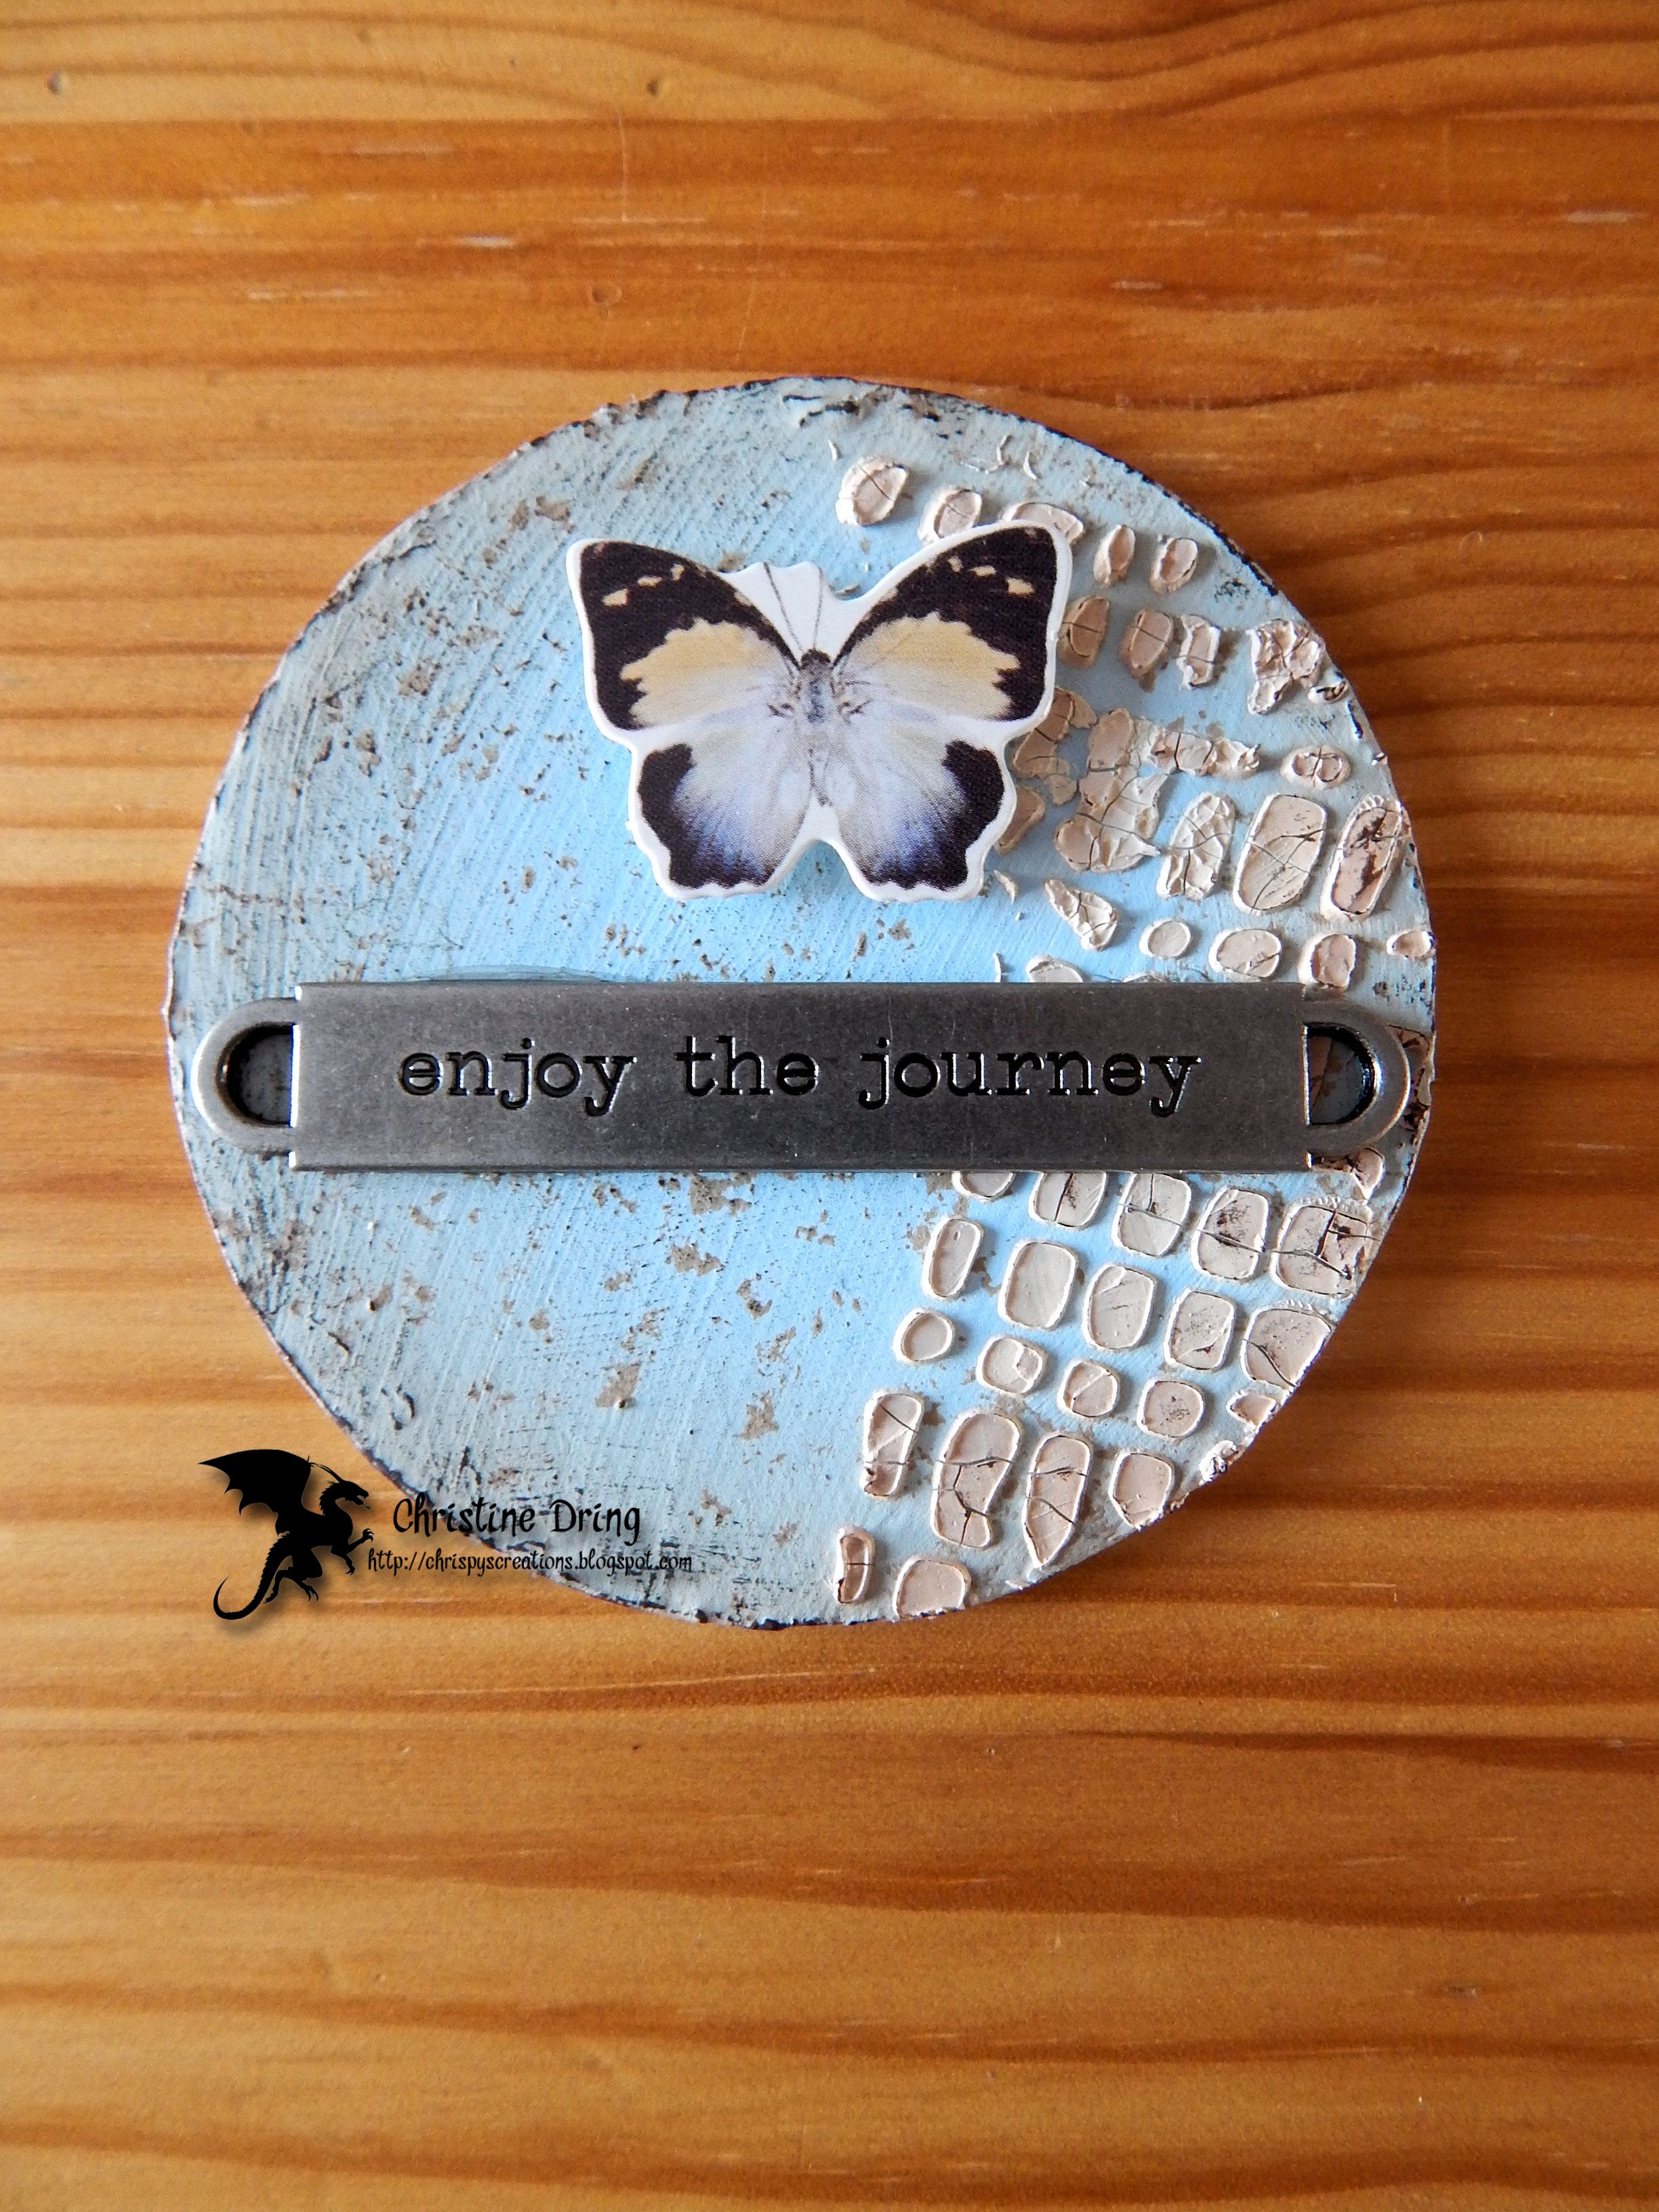
This month I made some coins:


Things by Tim used on these: burlap stencil, Vintage photo reinker
(Mixed in the crackle paste to tint it), Vintage Photo ink smudged
around the edges, Botanical Layers (butterflies), pen nibs, and
word bands.

Here are some close ups:


I hope that you'll join us for our All Things Tim challenge at
A Tiny Craft (ATC) Challenge! Need more inspiration? Simply
visit the blogs of my teammates to see the incredible projects they created!

Thanks for visiting. I hope that you have a great day!


Supplies:
recycled corrugated cardboard
DecoArt Media Gesso
Plaid - paintbrush
DecoArt Americana Acrylic paint - Blue Haven, Khaki Tan
sponge
Tim Holtz - Burlap stencil
DecoArt Media crackle paste
pallet knife
Ranger Distress re-inker: Vintage Photo
Ranger Distress Ink - Vintage Photo
Picket Fence Studio blending brush
Tim Holtz - Botanical Layers (butterflies), Word Bands, Pen Nibs
E6000 glue
SA by 3L - 3D foam squares
Staz On - Timber Brown

Saturday, October 16, 2021

SISTERHOOD OF SNARKY STAMPERS #196 - E is for Everything Pink


Hello and welcome snarky peeps!
It's time again for the next challenge at the
we'd like to see your predominately PINK projects.
Here's what I came up with:


and the inside:

The background paper was created with a gel press, a few different
pink acrylic paints, and some bubble wrap. Some die cut flowers, pearls and
a simple sentiment to finish. I did add some Star Dust Stickles to
the center of the daisy. No snark this time, none needed!


I'd love to see what you make for our Everything Pink challenge at the
Sisterhood of Snarky Stampers. For more ideas, simply check out
what my Sisters and our reigning Queen, Jane, have created 
for your viewing pleasure! 
Thanks for visiting, and I hope you have a wonderful day!


Supplies:
Stamps: Sunny Studio - Inside Greetings Birthday
Ink: Memento - Tuxedo Black
CS: Neenah; TE
Accessories: Gel Press; DecoArt Americana acrylic paints - Cotton Candy, Electric Pink, Dragon 
Fruit; brayer, bubble wrap; GC; Memory Box - Gerber Stems & Daisy Stems dies; Star Dust Stickles; Kaisercraft - pearls
Adhesives: SA by 3L - tape runner; Ranger - MMM

Friday, October 15, 2021

A Tiny Craft October ATC Challenge

Hello and welcome!
It's time for our third challenge at 
As you may have guessed, the theme this month is Halloween! 👻

I created a trio of artist trading cards this time around:
\\
Here are some close ups:


I recycled some cardboard for my cards. Coated them with gesso and once dry,
painted them with a couple hues of orange paint and let dry. Next I spread embossing paste
through a jack-o-lantern stencil, then sprinkled black embossing
powder over the pattern. I let them dry overnight then heat 
embossed. I thought that the orange was a bit bright so I smudged
black Staz On ink around the edges. (note: next time do this
before stenciling!) I fussy cut images from some Graphic 45 
paper and adhered with foam squares. I could have added more but
I didn't want to completely cover up the jack smiles in the background. LOL!
They are pretty shiny in real life:


Now it's your turn! I hope that you find some time to play along in our
Halloween challenge at A Tiny Craft ATC Challenge!
We'd love to see what you come up with.
Thanks for visiting!


I'd like to enter this at Try It On Tuesday - Halloween


Supplies:
Substrate - recycled cardboard
DecoArt Media gesso
DecoArt Americana acrylic paint 0 Tangerine, Persimmon
Simple Stories - Jack-o-lantern stencil
Dreamweaver - embossing paste
Inks: Staz On - Jet Black; Ranger DI - Vintage Photo
Inkadinkado - black embossing powder
heat gun
Graphic 45 - Rare Oddities paper
paint brush and pallet knife
SA by 3L - thin 3D foam squares; Scor Tape
Tonic distressing tool

Tuesday, June 29, 2021

STAMPlorations is celebrating 8 years!


(This post contains affiliate links. When you click on any of the STAMPlorations store links
below and place an order, I will receive a small commission at no additional cost to you.)
 
Hello and welcome crafty friends!
Today is day two of the revelry that is

Today, we are showcasing Birthday Bundle #2
and here are the two cards I've created:


I started by die cutting the main panel from the crazy double running stitch rectangle nesting dies
and using a few DO inks, sponged them over the Design Blox Template #6.
Before removing the template, I splattered white, black and gold paint over the panel.
After cleaning the template and setting the panel aside to dry, I white heat embossed 
the Blossom Sprays #5 stamp onto vellum and fussy cut.
I used vellum tape to attach it to my card, then gold heat embossed the sentiment
from Balloons and Banners onto a strip of black card stock and adhered towards
the bottom of my card. 

*********


For my second card, I die cut the new Art Border #2 die twice on the main
panel and corner rounded the top right corner. I stamped one of the sentiments from
the See the Good stamp set then adhered to the card base. Then using some
fun card stock colors, I die cut some of the flowers and leaves from the
Trendy Spring Blooms dies, arranged and glued them to the card.
I finished by adding a rhinestone in the center of the stacked flower.

What's a celebration without prizes? There are a few ways you
can celebrate with us, so be sure to read all the details on the
STAMPlorations blog to join in on the party!

Thanks for visiting! Have a great day!


Supplies:
Card 1:
Stamps: Blossom Sprays #5, Balloon and Banners
Ink: Versamark; Ranger DO - Fired Brick, Picked Raspberry, Spiced Marmalade
CS: Neenah; Bazill
DP: Recollections - vellum
Accessories: ARTplorations - Design Blox Template #6; CUTplorations - Crazy Double Running Stitch Rectangle Nesting die; DecoArt Americana acrylic paints - white, black, Glorious Gold Metallic; PFS- blending brushes; MISTI; Stampendous - detail white and gold EP; heat gun
Adhesives: SA by 3L - tape runner; Scotch Vellum tape

Thursday, April 15, 2021

STAMPlorations April Theme & Photo Prompt challenge reminder


Hello and welcome!
Just popping in with a reminder about the
 
(This post contains affiliate links. If you click on any of the
STAMPlorations store links below and place an order, I will
receive a small commission at no additional cost to you.)
 
For my second project, I painted a few of the
CRAFTplorations Butterflies using the colors in the photo:

 
The raspberry butterfly is stenciled in white paint using the
 Make Marks #3 ARTplorations stencil. Once the paint dried,
I placed the stencil back on and traced around the design 
with a blue marker, to give it a fun, whimsical look:
 

On the green butterfly, I used a white Gelly Roll pen to trace the
design using the Swirly Blooms ARTplorations stencil. I dotted the 
centers of the flowers with the raspberry paint:

On the blue butterfly, I started with one wing and using the white
Gelly Roll pen, traced the design from the Christmas Wreaths
ARTplorations stencil. Then I flipped the stencil over onto the
other wing, trying to line up the design as close as possible to get
a mirror image, and traced the design. I color filled the leaves and
berries with the same green and raspberry paints:


Once the sealer was dry, I added rhinestones to the bodies for
some sparkle! I haven't decided yet if I want to add these to
a wreath, or to make them into ornaments. Decisions, decisions! 😀

You still have plenty of time to link up your projects at
I hope you play along!

In case you feel compelled to shop at STAMPlorations,
don't forget to use my discount code for an
extra 20% off and a freebie!


Thanks for visiting. I hope that you have a wonderful day!


Supplies:
CRAFTplorations - Butterflies
ARTplorations - Christmas Wreaths, Make Marks #3, Swirly Blooms
DecoArt Media Gesso
DecoArt Americana acrylic paint: Dragon Fruit, Ultra Blue Deep, Sour Apple, Titanium White
DecoArt DuraClear gloss Varnish
sponge wedge, paint brush
Sakura white Gelly Roll pen
Faber-Castell blue Artist PITT pen
David Tutera - rhinestones
adding pinterest script 3. Changing the Position of the Pin it! button The cool thing about this code is that you have some freedom over where the Pinterest button for Blogger will go over the image. Take a look at the code that you just copied and pasted into the HTML for the word 'center'.