Showing posts with label Derwent Inktense blocks. Show all posts

Saturday, October 4, 2025

SISTERHOOD OF SNARKY STAMPERS #267 S is for Spooky


Hello snarky peeps and welcome!
Can you believe that it's October already?
A new month means a new challenge at the
No surprise here. We want to see your spooky
projects! Also, this being 
Breast Cancer Awareness Month, as an option,
use the color pink on your creation.

I decided to make an art journal page:


I went all out spooky for this page,
my inspiration being the movie, The Shining.
What started it was the two girls (Tim Holtz Halloween
Paper Dolls). I coated them with Liquitex matte gel and once
dry, colored them using a water pen and Derwent
Inktense Block 0400. I used a spiderweb stencil with
crackle paste. After it dried, I painted orange and raw umber acrylic 
paint over it. Random stamping, splatters, and gold Stickles were also added.
I added some themed paper and boarders, and finally alpha Thickers 
to spell REDRUM.
Here are some process photos:


I hope that you'll join us this month at the
Sisterhood of Snarky Stampers for our Spooky challenge!
Please do yourself a favor and check out what my 
sisters created and also our reigning Queen, Wendy! 
Thanks for visiting. Have a fabulous day!


Supplies:
Strathmore: art journal; mixed media paper w/vellum
Golden Gesso
Ranger Texture Paste - opaque crackle
Echo Park - Spooky Spiderweb stencil
DecoArt Americana - bright orange, raw umber
Stazon ink - Timber Brown & Jet Black
Indigo Blu - Tasty Textures stamps
Ranger - gold Stickles
Tim Holtz - Paper Dolls Halloween; water mister
Liquitex - matte gel
Derwent inktense block 0400
American Crafts - Thickers alpha stickers
Authentique - Enchanted papers
Recollections - Halloween boarder stickers
EK Success - Vampire die cut borders
Bearly Art glue
various brushes & pallet knife


Saturday, April 15, 2023

SISTERHOOD OF SNARKY STAMPERS #232 Z is for Zodiac


Hello and welcome back, snarky peeps!
are back with another challenge. Possibly even a tough one:
Z is for Zodiac!
I'm not gonna lie, this one was a difficult one, but I did
what I usually do when stumped on a challenge:
Look up funny memes for inspiration!
I created a water colored panel to add to my art journal:


When I saw the meme, first I thought it was funny, but then I was like,
did we gain another zodiac sign and I never noticed??
So I did some research. Lots of articles about whether 
Ophiuchus is or isn't.
Anyhoo, I decided to make a water colored galaxy panel to
add to my art journal. I cut a piece of water color paper and
used four colors of Derwent Inktense Blocks.
I scribbled them onto the paper, then used a paintbrush
with water to move and blend the colors.
I did this three more times, making sure the paper was
dry between layers before starting the next.
Here are some process photos:


I mixed a bit of water to some gesso and splattered over the
panel to create my 'stars'.


Once that was dry, I trimmed the panel and glued it to my art journal.
Then I looked up what the supposed new zodiac sign of Ophiuchus
 looked like, and drew it onto my page. Of course, I used 
the first picture I came across, then only after I added it,
 discovered there's more to the sign. (Insert facepalm here)
Well, this is an "artist's interpretation" then. LOL!


I hope that you'll join us in our Zodiac
If you visit the blogs of my Sistahs and our newest reigning
Queen, Fran, you'll see just how clever they were
with their projects!

Thanks for visiting. Have a great day!


Supplies:
Strathmore art journal
Derwent Inktense Blocks
water and paintbrush
DecoArt Media Gesso
Computer and printer
white cardstock
Sakura white Gelly Roll pen
Scor Tape
ruler


Tuesday, February 15, 2022

A Tiny Craft ATC February Challenge

 Hello and welcome friends!
The team at A Tiny Craft (ATC) Challenge had a lovely
holiday season and now it's time for the
challenges to resume! This month,
the theme is NBUS: never before used stuff!
(Thank you, Darnell, for allowing us to 
use your moniker! It's all out of LOVE!)
Simply use those new crafty goodies, and/or perhaps
use something you had in your stash, but haven't used yet.
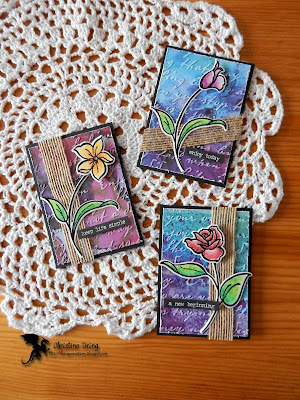
Here's my offering:


My new stuff is the floral stamps and the paper.
I know one of the big trends right now is alcohol ink backgrounds,
but I haven't jumped on that band wagon yet.
I did the next best thing: I bought a paper pad in
a rainbow of alcohol ink backgrounds!
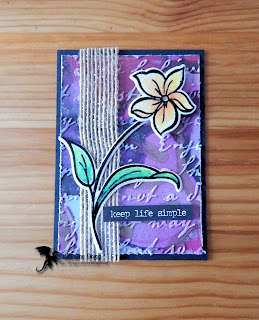
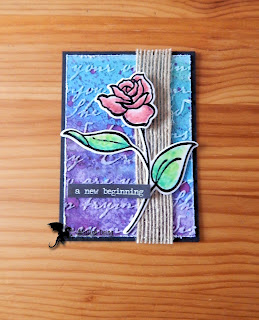
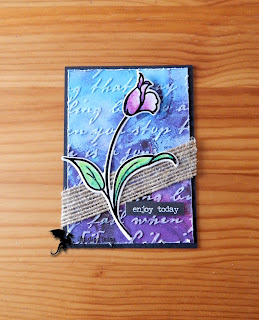
I ran the panels though a scripty embossing folder, then
brayered white ink over the raised parts so they
showed up a bit better. The flowers were heat embossed then painted using
a water brush and Derwent Inktense blocks. A bit of 
ribbon and some of Tim's small talk stickers and these were done!

Here are some close ups:


I hope that you'll join us for our NBUS challenge
and link up your ATC cards or coins at
to see your creations!

Thanks for visiting, I hope that you have a great day!


I'd like to enter this at NBUS challenge #35


Supplies:
Stamps: Altenew - Amazing You
Ink: Versamark; ColorBox/Susan K. Weckesser - Snow
DP: Reminisce - Got Ink?
CS: Strathmore mixed media paper; Cardstock Warehouse
Accessories: GC; Park Lane - Old Style EF; brayer; Tim Holtz - distressing tool, Small Talk Occasions stickers; May Arts ribbon; Inkadinkado - black EP; heat gun; Derwent Inktense Blocks; water brush; MISTI
Adhesives: 3L - tape runner, 3D foam squares; Ranger - MMM; Recollections - red tacky tape; Scotch foam tape


Monday, March 8, 2021

Women's Day Insta Hop, Blog Hop & Linky Party


Hello and welcome crafty friends!

I'm thrilled to be joining in the

International Women's Day Insta and Blog Hop & Linky Party!

STAMPlorations is one of the many amazing

sponsors joining in this fun hop & linky party.

Just look at all of these fabulous companies

who are contributing! WOW!


Today we celebrate all women, all around the globe, in all their diversity!

It's a beautiful thing!

For my card, I started by die cutting water color paper using the largest die from the

Crazy Double Running Stitch Rectangle Nesting dies.

Once I heat embossed in gold the images and sentiment from the

Shine Bright stamp set, I set about

 coloring the light bulbs using Derwent

Inktense blocks. After the panel dried, I drew

some 'cords' to have them hanging off the top edge:


So shiny!


For all the details about the hop and linky party, do visit

the Women.beyoutifully,you blog.

Today, and everyday, is all about lifting women up!

Come join the celebration!!

Hugs,


Supplies:

Stamps: STAMPlorations - Shine Bright

Ink: Versamark

CS: Strathmore water color paper; Neenah

Accessories: Derwent Inktense Blocks; paintbrush; MISTI; CUTplorations - crazy double running stitch rectangle nesting die; MISTI; Stampendous - Champagne EP; heat gun; GC; Faber Castell - black artist PITT pen and ruler; WOS pen

Adhesives: SA by 3L - tape runner


Thursday, August 2, 2018

Celebrating National Coloring Book Day with STAMPlorations new coloring book!


Hello crafty friends! Happy National Coloring Book Day!
To celebrate, there is a coloring contest happening on the

Simply download the Blossom Bliss sampler sheet, color and use it on a
project, and link up for a chance to win a copy of this incredible
new coloring book by Shery Russ!

Here are just a few of the pages I've colored and
created cards with:

My first card using PrismaColor pencils:

and the inside:


My second card is colored with Derwent Inktense blocks and a water brush:

and the inside:


My third card using Spectrum Noir markers. I loved how this turned out,
but when I happened to flip the colored page over, I saw that it looked
like no-line coloring. I couldn't resist using
the back side!


and the inside:

So there you have it. A small sampling of this amazeballs new coloring book!
I hope that you join the fun and create a project with the 
sampler page. We'd love to see what you come up with when you link up at the 
Thanks for visiting, and I hope you have a colorful day!


Supplies:
Card 1:
Ink: VersaMark; Memento - Tuxedo Black
CS: TE; Bazzill
Accessories: PrismaColor pencils; Stampendous - champagne EP; heat gun; MISTI
Adhesives: 3L - tape runner

Card 2:
Ink: Memento - Lilac Posies
CS: TE; Bazzill
Accessories: Derwent - Inktense blocks; water brush; STAMPlorations - Make a Wish word die; MISTI; Wink of Stella pen
Adhesives: 3L - tape runner; Ranger - Multi Medium Matte

Card 3:
Ink: VersaMark; Memento - Rhubarb Stalk
CS: TE; Neenah; scraps
Accessories: Spectrum Noir markers; Stampendous - white EP; heat gun; MISTI; Wink of Stella pen
Adhesives: 3L - tape runner, Thin 3D foam squares

Monday, January 8, 2018

OBAJ 2017 more pages

Hi there!
I'm popping in to show a couple more pages I created in my
One Badass Art Journal 2017.
(Yes, I'm still trying to finish it up. 2017 really sucked)
But I've signed up for this year's classes, so now
I'm really motivated to finish this one.

Here is week 9 taught by Amanda Trought:

 We were supposed to alter a few large playing cards. I didn't want to
buy a pack just for a few cards, so I cut mine from some
recycled chipboard.

 first layers. Sorry got into the process and forgot to take
more pictures.

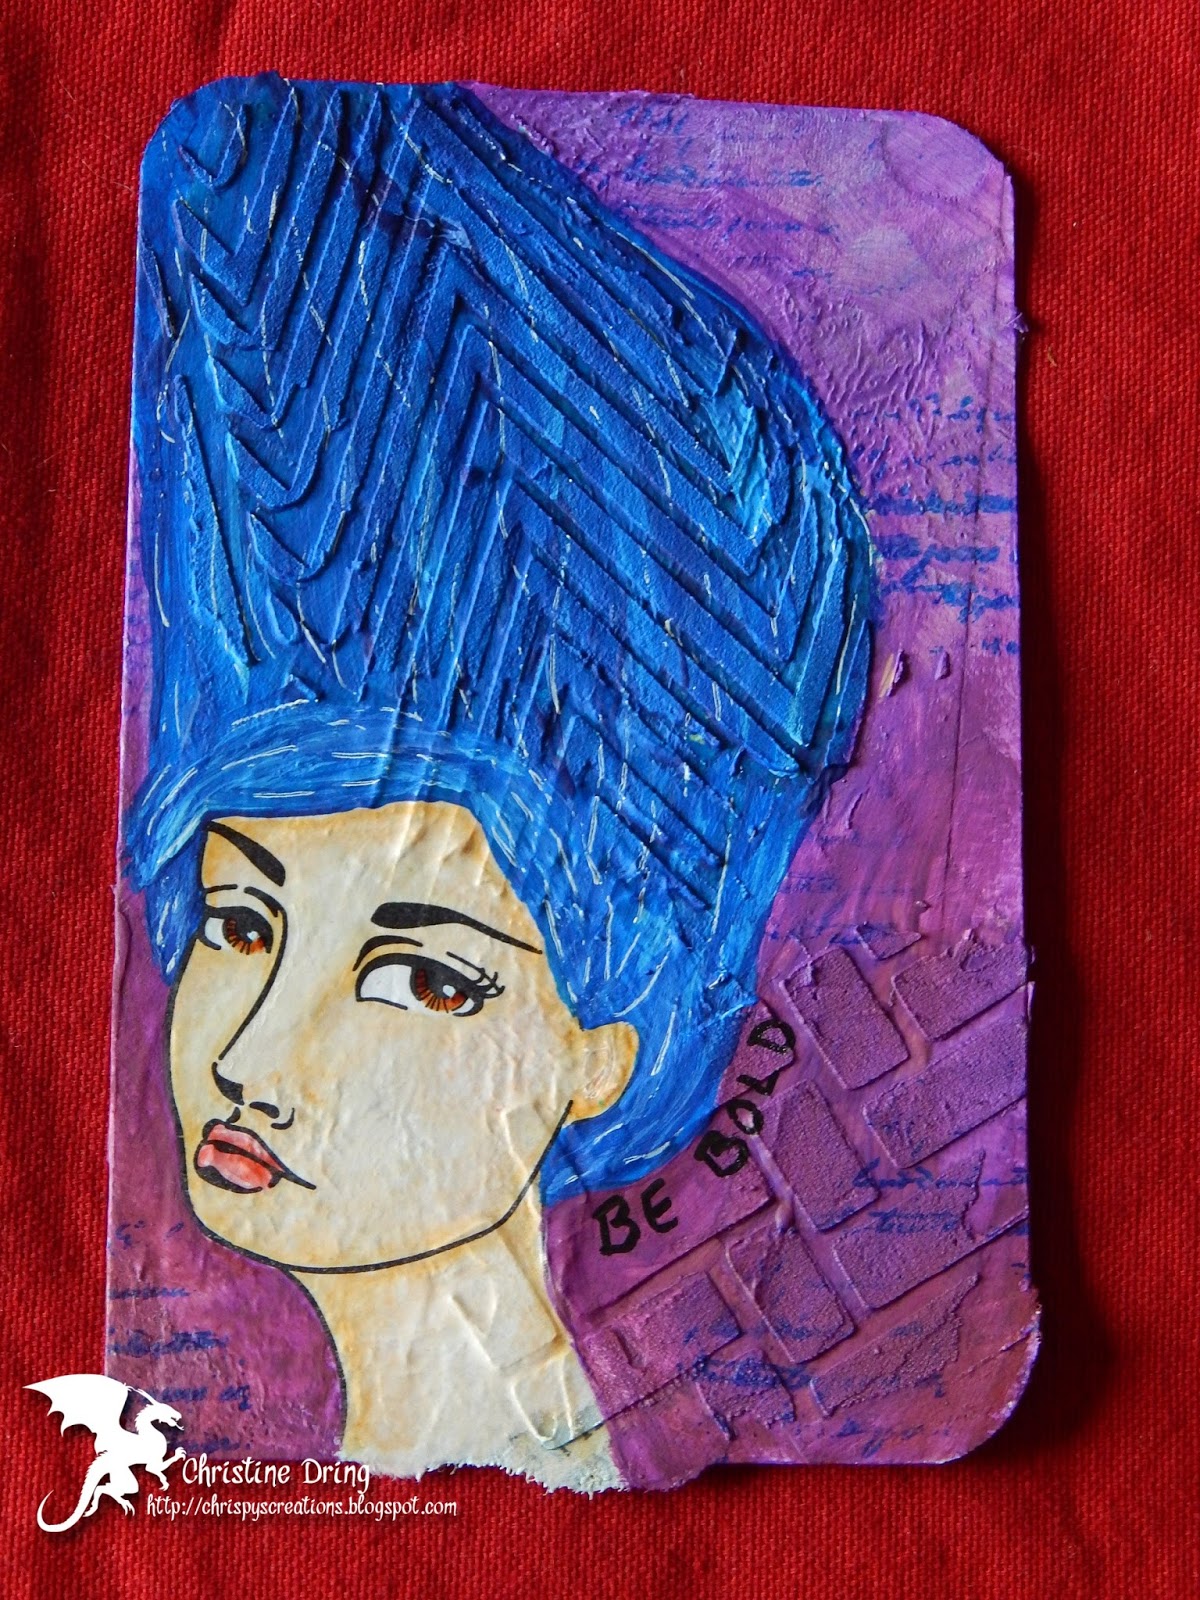
 We were supposed to paint a face onto the card, but I suck at
faces, so I stamped face images onto tissue paper.

 adhered and colored with Spectrum Noir markers. Lightly gesso'd
around face and where my hair would go.

painted the background, then added some stamped handwriting

 blue hair? yes please! added more highlights with
a white marker and wrote my words - to - self.
On backside I've written a private, encouraging message
to myself.

we were prompted to recycle an old envelope for the pocket,
but since I recycled all my junk mail, I just created it
from some scrap cardstock.

 all the leftover paint was wiped off randomly on
my page and the pocket. Pocket was glued down
and I added some additional text and washi tape.
Ta-da!

The card fits into the pocket.

This class was very tough for me. I think I worked on this page on and off for
over 1-1/2 months. It was the face. But once I got the idea of using face stamps, I
finally finished it. And I'm glad that I did.

Next is week 10 taught by Tiare Smith.
I started, and finished this yesterday.
I was so engrossed in making the pages, that I 
completely forgot to take process pics, so
here are the finished pages and a couple close-ups:


I gifted myself for Christmas the 24 pack of Derwent Inktense blocks, and boy
were they fun to play with!! I found some ancient vellum that had
quotes printed on them so I used that with torn 
book pages for my first layer. 
The quote I used around the edge of the pages read:

"Most people never run far enough on their first wind to find out
they've got a second. Give your dreams all you've got and
you'll be amazed at the energy that comes out of you."
- William James

Words I hope to remember to keep inspiring me. (That will be tough
with my C.R.S. *can't remember shit!* HA HA HA!)

Congratulations, you've made it to the end of this post!
With the weather about to 'gift' us with freezing rain any moment now,
I think I'll go up to my craft room and have some more fun playing
with those Inktense blocks. LOL!
Thanks for visiting, and I hope you have a great day!


Supplies
Week 9:
recycled cardboard
Fiskars corner rounder
Golden Gesso & Matt Medium
torn book paper, tissue paper, paper napkin
various paint brushes
Simon Say Stamp - zig zag stencil
STAMPlorations - gridlocked stencil
Dreamweaver - embossing paste
Deco Art Americana acrylic paints - desert turquoise, green tree, tangerine, berry red, irish moss, purple pizzazz, bluegrass green, indian turquoise, dark chocolate, khaki tan, marigold, ultra blue deep, blue harbor (I did 2 of 3 cards so some of these colors are on the other one)
water mister
Diane Davenport - face stamps
Spectrum Noir markers
STAMPlorations - Mixed Media Elements stamp
Staz On - jet black, blue hawaii
Sakura - white Gelly Roll pen
Faber Castell - medium and bold black Artist PITT pens
Recollections - washi tape
Elmer's extra strength glue stick

Week 10:
Golden Gesso & Matt Medium
mystery quote on vellum
torn book page
various paint brushes
Derwent Inktense blocks
Faber Castell - medium and bold Artist PITT pens
Dylusions - white linen paint pen
adding pinterest script 3. Changing the Position of the Pin it! button The cool thing about this code is that you have some freedom over where the Pinterest button for Blogger will go over the image. Take a look at the code that you just copied and pasted into the HTML for the word 'center'.