Showing posts with label Mixed Media World challenge. Show all posts

Saturday, November 25, 2017

SISTERHOOD OF SNARKY STAMPERS #98 - I is for Industrial


Hello and welcome snarky peeps!
I hope those who celebrated had a happy Thanksgiving, and
that those who braved the Black Friday sales
made out with some excellent deals.

Our next challenge at the SISTERHOOD OF SNARKY STAMPERS
is one of my favorites: I is for Industrial 
It's time to get your Steampunk on!! YAY!

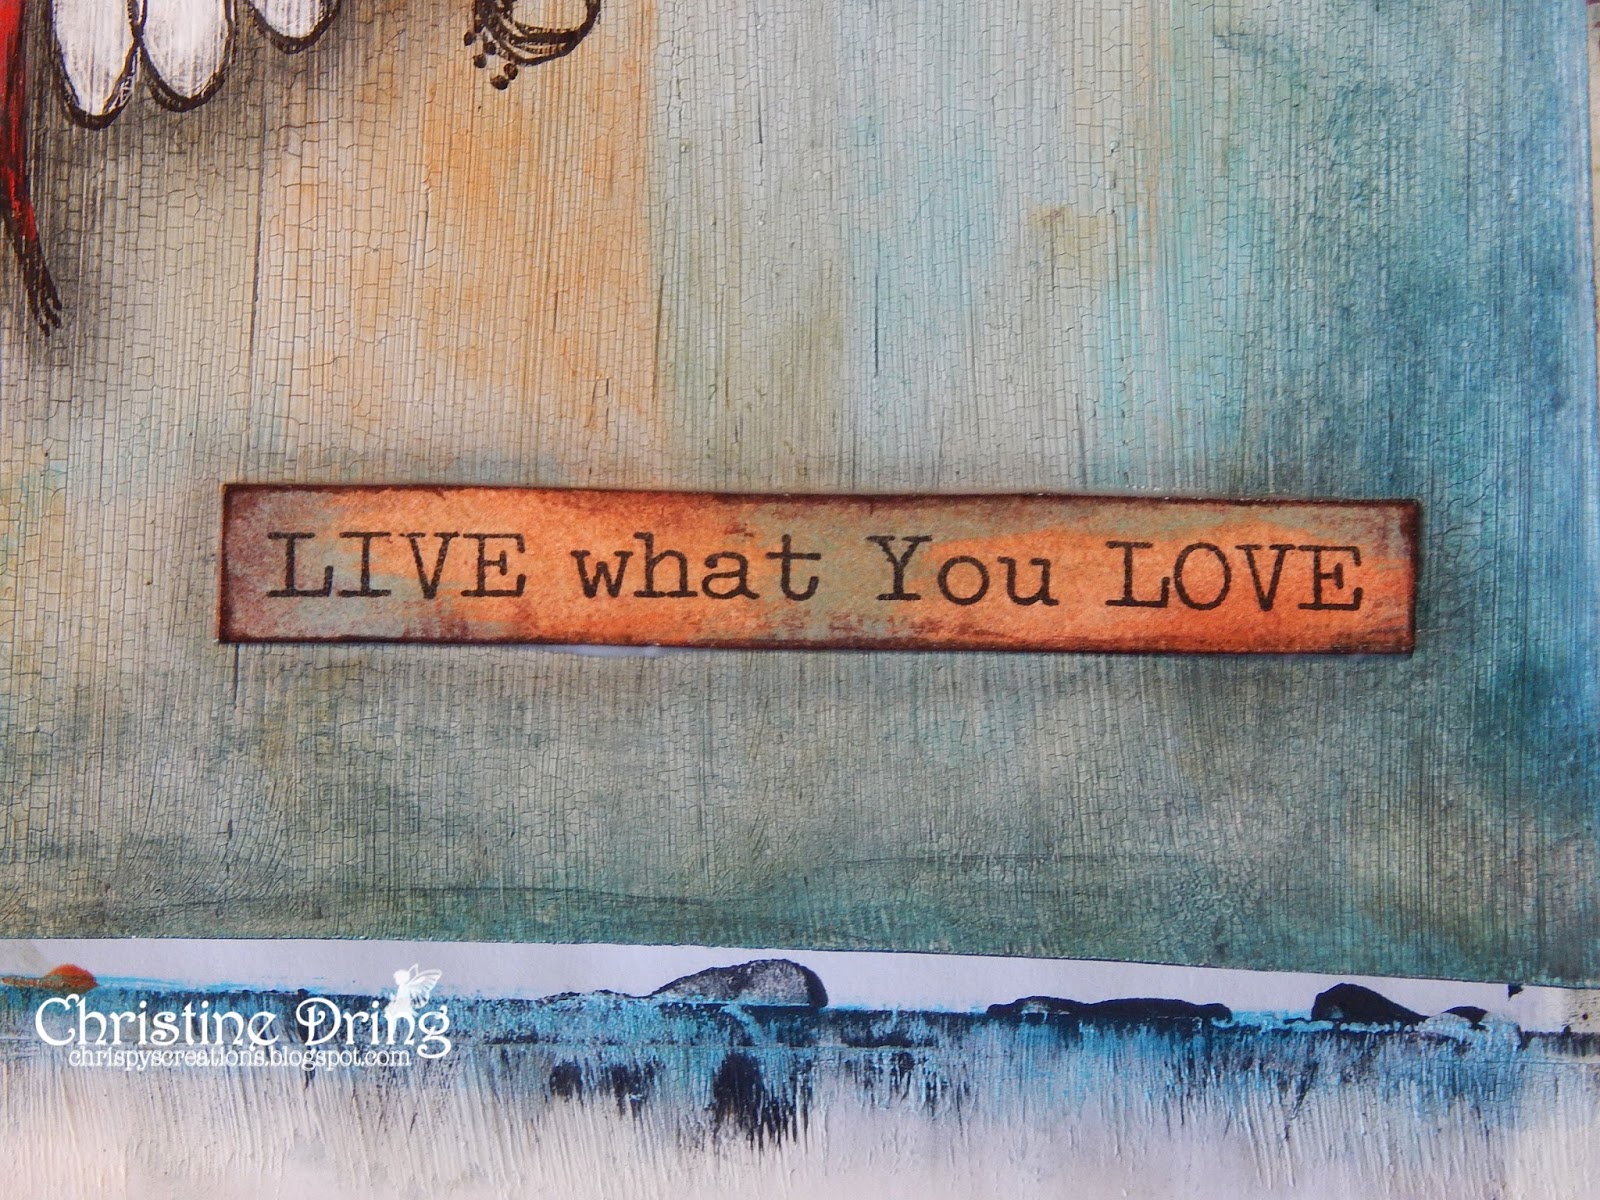
I went all mixed media and created this canvas panel:
(grab your favorite beverage, this is gonna be a photo heavy post)


This baby has sooooo much texture!
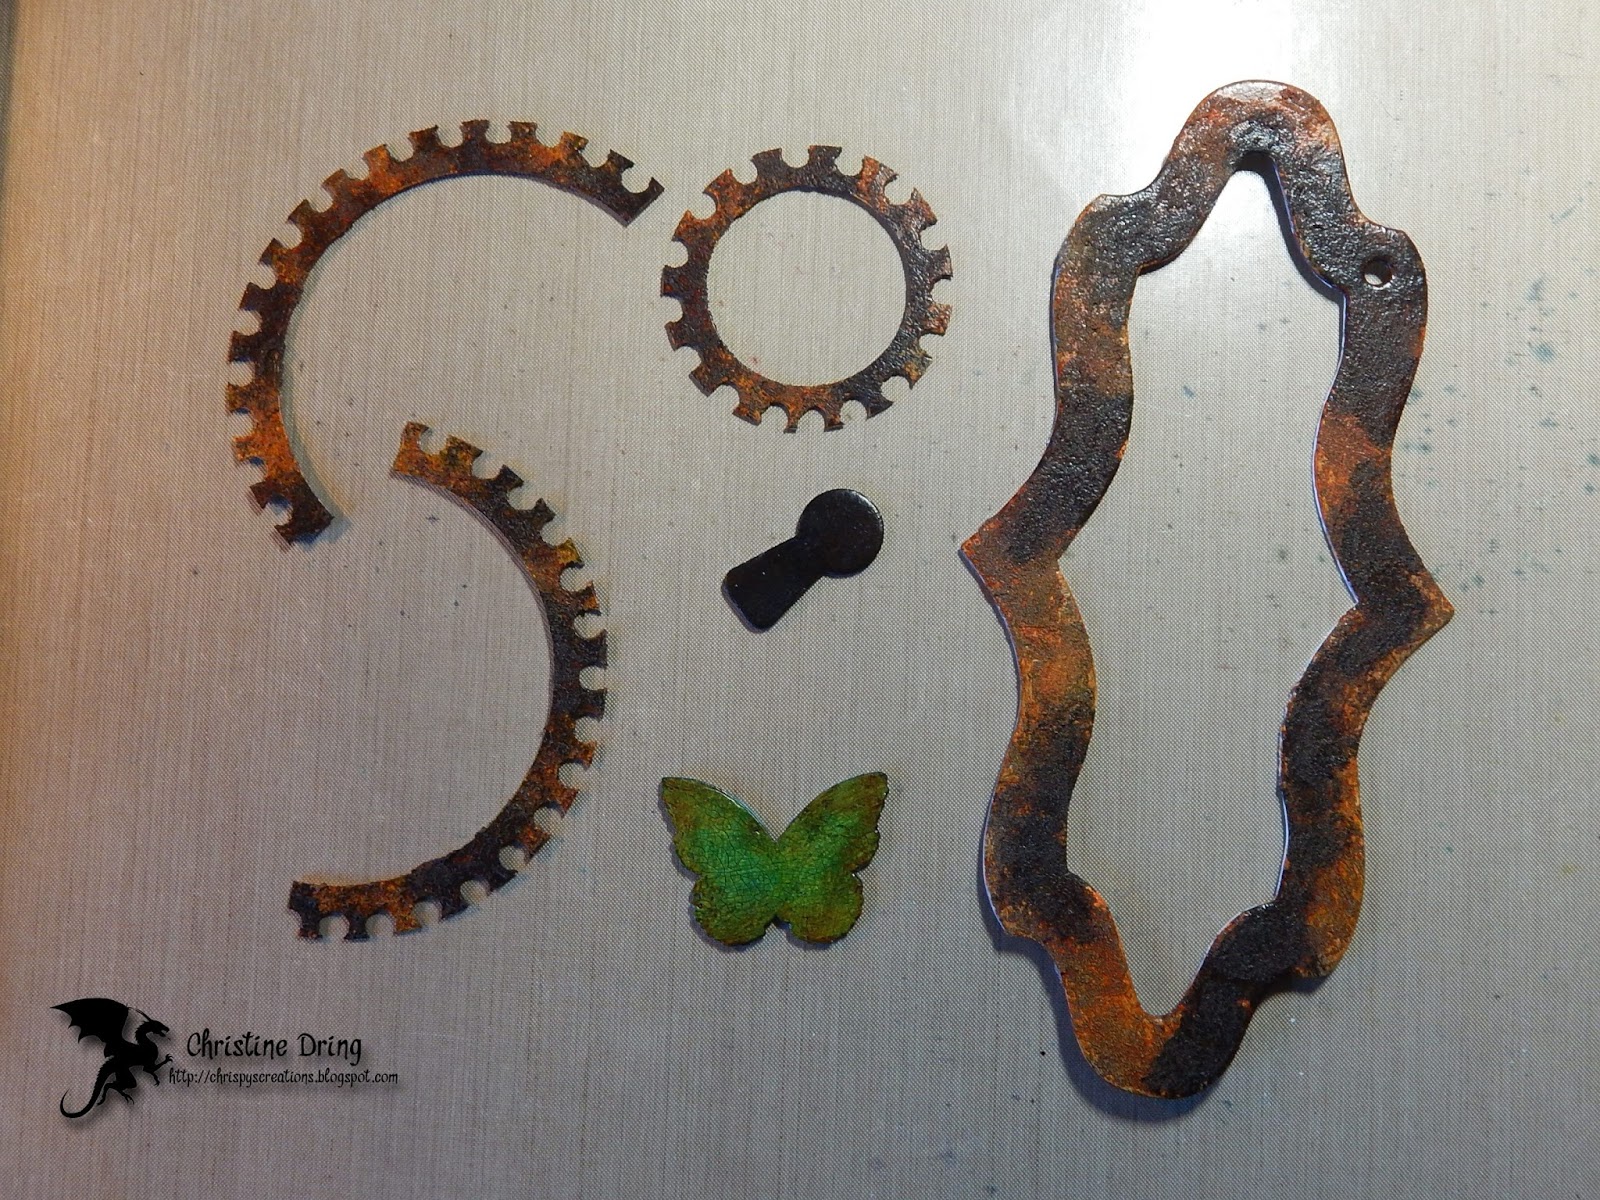
There were some new to me techniques I tried out, one being how
I created those large cogs. I found some round chipboard frames in my stash
and decided to turn them into cogs using a hole punch!
They originally had a flowery pattern on them, but a couple coats of
gesso fixed that. Then I simply punched around the frames, being sure to
punch off the edge and not make a complete circle.


 I also rediscovered a chipboard album, and used parts from that also. On the cogs and
frame, I used another new to me technique called the Faux Rust Technique by Andy Skinner,
using texture sand paste and DecoArt Media fluid acrylics.
Holy crap, I had a blast making rusty cogs! LOL!
The wooden butterfly was a gift from my E.D.M.T., Jessi.
(Evil Double Mint Twin)
I gave it a coat of gesso, then crackle paste, and then painted it.
(air drying between each process, of course)


Ok, so here are a bunch of close ups of the canvas:


 One last view :


I hope that this inspires you to unlock your inner muse and create
something steampunk! We'd love to see it in our gallery at the
Sisterhood of Snarky Stampers! Need more ideas? Well then, do yourself
a favor and go check out what my Sistahs of Snark, 
and our guest designer, Corrie, have created for your viewing pleasure!
Yay! You made it to the end!
Thanks for visiting and I hope you have a fantastic day!


I'd like to enter this at:


Supplies:
substrate: 7" x 9" canvas panel, a gift from my neighbor
various paint brushes
Golden gesso
DecoArt Media - Crackle Paste
pallet knife
My Favorite Things - brick wall stencil
Maya Road - chipboard keyhole album
Golden matte medium
DCWV - Tattered Time Stack - script paper
X-Acto knife
Colorbok - round chipboard frames
Fiskars hole punch
DecoArt Media - Texture Sand Paste
DecoArt Media fluid acrylic paints: Paynes Grey, Quinacidone Gold, Primary Yellow, Green Gold,
Phthalo Turquoise
DecoArt Americana acrylic paint - Natural Buff
Beacon 3 in 1 glue
SA by 3L - 3D foam squares
Scotch - foam tape
Tim Holtz - sprocket gears, typed tokens
Art-C - gears, key
found sprocket
Wooden butterfly from Jessi
Darice - galvanized wire and wire cutters
Studio G - alpha stamps
Staz On - Jet Black ink
white card stock
Ranger Distress ink - Antique Linen, Vintage Photo


Saturday, April 29, 2017

SISTERHOOD OF SNARKY STAMPERS #83 - Y is for Yippee


Yippee!!
It's time to celebrate with the
What does that mean? Well, we want to see your
CONGRATULATIONS CARDS OR PROJECTS!

Here's what I came up with:


 and the inside:

I got inky again using my Magenta dye powders in turquoise and royal blue.
After heat embossing the image and sentiment in white, I sprinkled on the powders,
spritzed with a water mister, and watched the magic happen!

Here's a close up of the yumminess:

On the inside, I heat embossed the congrats in silver EP.
I know what you're thinking: Where's the snark?

Well, if you made something as pretty as this (IMHO), would
you ruin it with snark? I didn't think so either. LOL!

Now it's your turn to make a congrats themed card or project. It's graduation season. 
What better way to crank out a card or six? Just be sure to link up at the 
Sisterhood of Snarky Stampers so we can admire it!
Need more ideas? Then check out what my Sisters, and our
have created for your viewing pleasure!

Thanks for popping by. Have a fantastic day!
Hugs,

I'd like to enter this at:


Supplies:
Stamps: So Suzy Stamps - Congrats, Always & Forever, Bride and Groom
Ink: VersaMark
DP: American Crafts - silver glitter paper
CS: Strathmore - Mixed Media paper with vellum; TE; Darice
Accessories: Magenta - Nuance powder dyes; Stampendous - white EP; Whispers - silver EP; heat gun; water mister; MISTI
Adhesives: SA by 3L - tape runner

Tuesday, March 7, 2017

SHOPPING OUR STASH #293 - All That It's Cracked Up To Be


Good morning friends and welcome. 
This week at SHOPPING OUR STASH, we are challenging you to
use crackle paste or a crackle technique on your card or project!
For my project, I created an art journal page.
(You might want to get your favorite beverage, because this is a
photo heavy post!)


I based my page on this art journal page by Tracy Weinzapfel. Thanks Tracy! I recently
won some of Tracy's stamps and so (instead of hoarding them, like I usually do), 
I used one of the sets, called Heart Swirls & Doodles. Now, if you watch her video, you'll 
notice that she has pretty much every color of paint bottles on her back wall. (so jealous!),
Me? Not so much. In fact, most of the colors I used on this page, I mixed, because I only have 
about 15 colors of paint. LOL!

Here are the colors I used:
(a complete supplies list is at the bottom of my post)


I started off by first going over the page with Gesso and dried it with my heat gun. Then I mixed black and white paint to get a dark grey and added that. Again, heat gun to dry.
Next I took a little bit of Blue Harbor and a couple drips of Kelly Green and mixed that with
my crackle paste, and painted that on. I left that to dry naturally overnight. 
(Of course, I forgot to take pictures of those two steps.)

Ok, so instead of boring you any more with my blabbering,
I'm just gonna bombard you with a bunch of process photos,
(that I did take pictures of):


I stamped the hearts, then painted them. Once the paint dried (by heat gun), I re-stamped
the images, not caring if I didn't line them up exactly again, because,
this is ART people! LOL! I went over the lines with F-C black Artist Pitt pen to 
darken them. I used a black Prismacolor pencil and Fantastix to
blend the shadow around the hearts. Added shading and highlights.


I stamped the sentiment onto some scrap paper, painted over it with some watered down
rust and turquoise paints, hit it with the heat gun, edged it with brown ink,
and adhered with Multi Medium. Hit it with the heat gun again, and went around it
with the Fantastix for some shading.


I cleaned up a bit before taking these shots, but yeah,
this is my happy place!


One last shot:


I hope that you step outside your comfort zone and try using crackle paste, or 
a crackle technique, and link up your project at Shopping Our Stash! We'd love to see it.
Looking for more ideas? Then check out what the SOS Crew, and our new Guest Designer,
Wendy Townsend, have created to inspire you. 

You made it to the end! Thanks for visiting. Have a great day!


I'd like to enter this at:


Supplies:
Stamps: Dare 2B Artzy/Totally Tracy stamps - Heart Swirls & Doodles
Ink: Staz On - Jet Black; Memento - Rich Cocoa
Accessories: Strathmore art journal; Golden - Gesso; Deco Art - Media Crackle paste & Multi Medium; Deco Art Media Acrylic paints - carbon black, titanium white, cadmium red hue, primary yellow; Deco Art Americana acrylic paints - blue harbor, kelly green, irish moss, dark chocolate; Ranger Adirondack acrylic paint daubers - stream, terra cotta; various paint brushes & sponge brush; water mister; Faber Castell - black fine Artist PITT pen; Prismacolor pencil - black; Fantastix; baby wipes; paper towels; heat gun
adding pinterest script 3. Changing the Position of the Pin it! button The cool thing about this code is that you have some freedom over where the Pinterest button for Blogger will go over the image. Take a look at the code that you just copied and pasted into the HTML for the word 'center'.