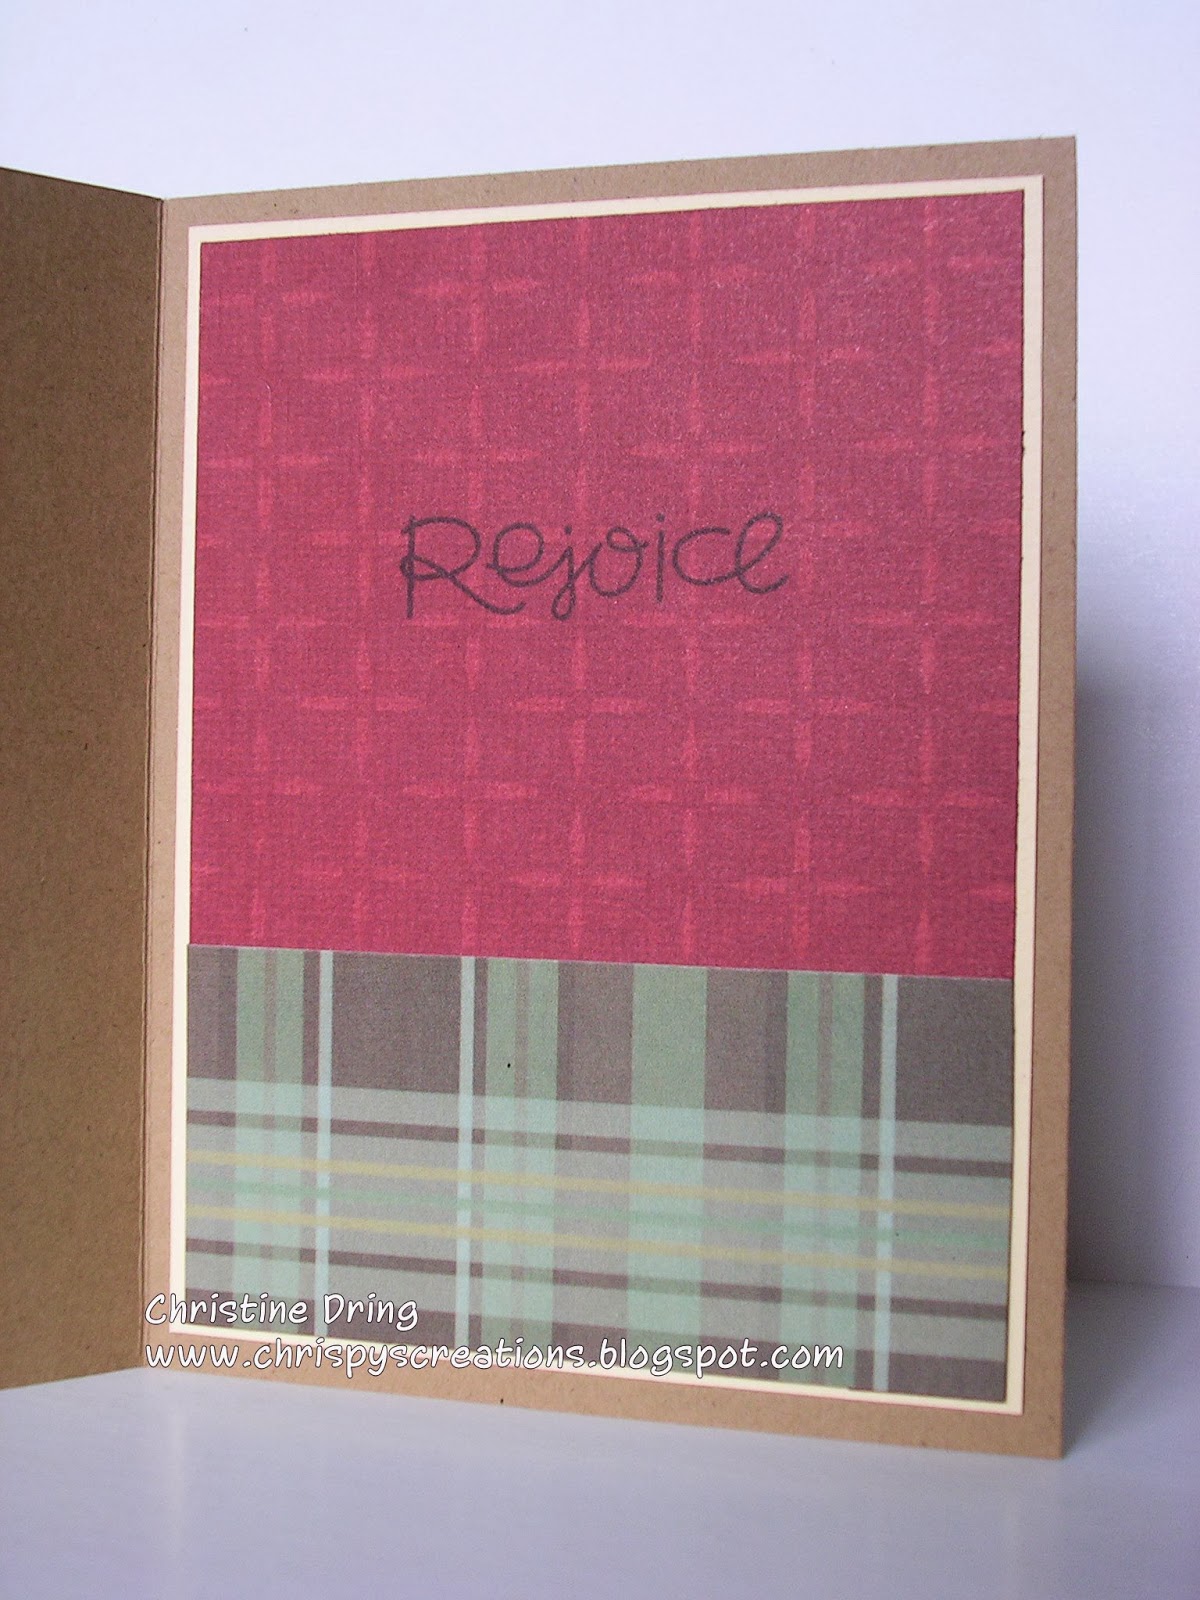
Thursday, March 27, 2014

Bear Hugs - Retro Sketch #107

Hi there, I'm back with another post today. It's a two for! Lucky you! LOL! (joking. sort of. wink!) Anyhooo, I based this card using the sketch from Retro Sketches #107:


Here's the inside:

and the sketch:

A long time ago, in a galaxy far, far away, I bought a handful of wood mount rubber stamps from a clearance bin at a big box craft store. Along with a black ink pad, I thought I'd try my hand at stamping. Fast forward to today, I finally inked up one of the stamps! Yay me! Glad I waited the, oh, 7 years to ink and color Pooh Bear, because back then my mad coloring skilz weren't so mad. (Not to say they are mad now, just better.) Anyway, I mirrored the sketch to have my negative die cut on the other side. The paper used to die cut the heart has a bit of shimmer to it, and therefore, it was a bit hard to photograph. Just when I was about to snap pictures, I had an epiphany: This needs a bee! Back up to the craft cave I went in search of this bee stamp. (I knew I had it, I used it before) I had to do the stamp kissing thing as it's actually buzzing in the opposite direction (I used the solid circle stamp from PS - Hullabaloo for the kiss. That's why it's in my supplies list) I traced the image with a black marker as it doesn't come out very dark, then colored with white and yellow Prismacolor pencils. I hand drew it's flighty flight path. There. THAT'S better! LOL!

Well, that's it for today. I think. I hear my wine bottle calling me, so I must go comfort it. (wink!) Have a great evening and stay crafty my friends!

Chris
Supplies:
Stamps: All Night Media - Pooh Bear; Paper Smooches - Chubby Chum Pals, Spring Fling, Hullabaloo, Cosmos
Ink: Memento - Tuxedo Black
CS: Recollections (kraft, white); DCWV (reds)
Accessories: Spectrum Noir markers; Slice die cut machine & Basics 1 cartridge; white & yellow Prismacolor pencils; AC Slick Writer pen
Adhesives: SA by 3L - MyStik permanent, 3D foam squares


Happy Birthday - Mojo Monday #338

Hello and happy Thursday to you! I have a card to share using the sketch from Mojo Monday #338:


Here's the inside:


A couple weeks ago, I was at the beach in NC with my sister and her family. It was supposed to be mid 70's there and we were so looking forward to basking in the sun. Well, it was that warm.....for two days. After Monday? Not so much. If it got up to 52 degrees, we were lucky. And it was soooo windy! First time I've been on the beach walking in jeans, running shoes, winter coat, hat and gloves! That's Cray-Cray!! So, what's a girl to do? Luckily I brought my SN markers and a bunch of images to color, you know, just in case. This was one of them. I did something different also. Usually I'll pick out the papers I want to use first, then color an image based on the colors in the papers. Not this time. I asked my sister to pick out the colors to use for this image. At first I thought they weren't going to go well. But I gotta say, I really love how this turned out! (Way to go, Sandy!) It's kind of hard to see, but I covered the balloon with Glossy Accents. I used the other cut piece of patterned paper and repeated the scalloped circle to finish the inside.

That's it for now. Thanks for hanging out with me, and I hope you have a great day!


Chris
Supplies:
Stamps: Some Odd Girl - Balloon Kaylee; Paper Smooches - Hullabaloo
Ink: Memento - Tuxedo Black; Staz On - Jet Black; Ranger DI - Shaded Lilac
DP: Webster's Pages - Hollywood Vogue
CS: Copic - X-Press It; Darice (white); The Paper Co. (blue)
Accessories: Spectrum Noir markers; Sakura - white Gelly Roll pen; Ranger - Glossy Accents; Grand Calibur; Std. circles sm & Lacey circles Nesties; Vellum scrap; Nicole Crafts - sequins
Adhesives: SA by 3L - MyStik permanent, 3D foam squares; Ranger - Glossy Accents

Tuesday, March 25, 2014

Shopping Our Stash #144: Oldest Tree Stamp

Good morning and Happy Tuesday peeps! We have another fun challenge at SHOPPING OUR STASH! This week we want you to dig out your oldest tree stamp and create a project with it. I have used items that were gifts, either from a great friend, or from comment-to-win goodies.


Here is the finished inside:

My tree stamp was a comment-to-win prize from 2 or 3 years ago at Moxie Fab World, from none other than Cath Edvalson herself! (Does anyone else feel like MFW isn't the same without her?) This is also the first time it was inked, er, colored. I tried a faux water color technique for the tree panel. I used my Marvy Uchida markers and colored the tree, misted it with water, and stamped on water color paper. The colors blended a little. Not too much, and that was what I was hoping for. (otherwise, it probably would have looked like a big blob) It's hard to see, but I dotted glitter glue in the flower centers. (That was part of another MFW win from Cath last year) The best item on this card, I think, is that little birdie wood cut, which was a gift from none other than Jessi Fogan! (See? I AM using and not hoarding them!) It was sprayed with Yellow Daisy Glimmer Mist and, once dry, adhered to my card.

In my previous blog post, I said that I couldn't cut straight and square to save my life. So, I embraced that and purposely cut my panels all wonky. Kind of like how that turned out too!

So, ready to play along? I know you are! Be sure to link your project at SHOPPING OUR STASH, and while there, please check out what my teammies came up with for your viewing pleasure! You won't be disappointed! Thanks for stopping by and I hope you have a fantastic day!

Chris
Supplies
Stamps: My Cute Stamps - Owlways Friends; MFT - Essential Sentiments
Ink: Memento - Tuxedo Black
CS: Paper Smooches (lime); scraps
Accessories: water color paper; Marvy Uchida markers; Doodlebug twine; Grand Calibur; Darice - Flower Frenzy EF; wooden birdie die cut from Jessi; Tattered Angels - Yellow Daisy Glimmer Mist; glitter glue; water mister
Adhesive: SA by 3L - MyStik permanent, 3D foam squares, Crafty Power Tape; Glossy Accents; Glue Dots

Saturday, March 22, 2014

Sisterhood of Snarky Stampers #4: F is for Fancy Fold

Hey there and good morning to you all! It's time for another fun challenge with the SISTERHOOD OF SNARKY STAMPERS! For the next two weeks, the alphabet soup letter is F for Fancy Fold!


(No, not that other F word! LOL!) We want to see you step outside your A2 sized comfort zone and make a fancy fold card! Yes, this was scary to me. I like my A2 sized comfort zone just fine, thank you very much. But I also like a good challenge, so off I went to Googleland and checked out various video tutorials. I picked one that was not very elaborate. (I can't cut square and exact. What makes me think I can fold square and exact!) Here's what I came up with:

(cue 2001 a space odyssey monolith music here) 
 da, da, daaaaaa
 DA DAAAAAAAAA!!!!!
(Yep, I'm a total Sci-Fi nerd! LOL!)

My card is based off of this video. It's simple, but that was the point. I admit it, I was afraid to get all technical with the fancy fold. And I'm not kidding about not being able to cut square. Look at my card in the first picture. Right above the image, there is a slight gap. Now glance down to where it's sitting in the frog. The sides are overlapping!! Yeah, perfection? We don't get that here. LOL! Anyhooo, I of course, put a little snark into my card (Duh!), as in, the inside sentiment. I love that you can just see she's thinking it! LOL! Then I had to make a big mess of this and add those bubble-like stickers. (Cuz I HAD to add something else to this!) Ugh. Oh well. I was thinking, bubbles go with the bathing beauty picture, so I went with it. 

So there you have it. Want to get your fancy fold on? Then join us at the SISTERHOOD OF SNARKY STAMPERS, make a fancy fold card and link it to us, so that we may bask in your genius! LOL! And please go check out what my Snarky Sistahs made too. You. Will. Be. Blown. AWAY!! No lie! Thanks for stopping by and have a fantastic day!

Chris
Supplies:
Stamps: Dylusions - Say it how it is
Ink: Memento - Teal Zeal
DP: Echo Park - Metropolitan Dots & Stripes; G45 - On the Boardwalk
CS: scraps
Accessories: Grand Calibur; Classic Ovals sma & lg Nesties; Martha Stewart scoring tool; Momenta - bubble stickers
Adhesive: SA by 3L - MyStik permanent, 3D foam squares

Thursday, March 20, 2014

Good Cheer - MM#100

Hello and HaPpY 1sT dAy Of SpRiNg!!!!! It's here! It's FINALLY here!!! Woot! Woot! Ironically, and in honor of this most auspicious of days, I made a Christmas card! BUAHAHAHA!


the inside:

My card is based off of Merry Monday #100:

Merry Monday is celebrating it's 100th challenge. It's an either/or/or both. I did both, cuz that's how I roll! LOL! I even created a literal interpretation of the photo - it was just so cute! Even more ironic - I used DCWV's Spring Mix Stack for this card. ☺ The presents are actually the cake layers from the PS - Hullabaloo set. I just stamped them on different papers, fussy cut and reassembled, then adhered over the pillow on the bench to hide it. Super easy!

That's it for now, but I will leave you with a cute picture of my fur baby, Colby, who is celebrating his 5th birthday today! Have a great day today and stay crafty my friends!


Chris

Supplies
Stamps: Paper Smooches - All Yule Need, Vogue Abode, Hullabaloo, Christmas Sampler
Ink: Memento - Tuxedo Black
DP: DCWV - Spring Mix Stack
CS: Paper Smooches (lime); Darice (white); pink scrap
Accessories: Grand Calibur; Cuttlebug - D'Vine Swirls EF; Rhinestones from my stash; pink Marvy Uchida marker
Adhesives: SA by 3L - MyStik permanent, 3D foam squares; Ranger - Glossy Accents

Tuesday, March 18, 2014

Shopping Our Stash #143: Buttons and Bows

Hello and welcome to another fun challenge at SHOPPING OUR STASH! This week, we want you to use buttons and bows on your projects! It's a no brainer! LOL! Here's what I came up with:


Here's the inside of my card:

I knew exactly what I wanted to do for this challenge, and, if I do say so myself, it came out pretty much the way I dreamed it up! My only roadblock was finding an orange and a violet button in my mason-jar-full-o-buttons. Not a one of either color. DOH!!  What's a crafty gal to do? Well, I knew you could color rhinestones with alcohol markers for a custom color. So I thunk to myself: Self, why not try that on some clear buttons? Yeah, totally worked!! I gave each button a double coating with my SN markers. (Crafty Tip: The more coats, the darker the color gets. Same goes for coloring rhinestones. FYI) After adhering the twine on the back side of the white panel, I tied bows on all the buttons. Using a toothpick, I dabbed Glossy Accents on the bows to keep them from unbowing, then more Glossy Accents to glue them down on the panel. When all was dry, I adhered the white panel using foam dots to the card base. On the inside, I stamped the sentiment and then thought it needed something more. (As I always do!), so I found and used that cute button stamp under it. (using 3 DI's and stamping off first on scrap paper before stamping on the card itself). Me likey!

So, think you're up to this challenge? I bet you are! Now go forth and crank out a project using buttons and bows and make sure you link up to SHOPPING OUR STASH! (How else are we supposed to OOH and AAH over your brilliance?!) Don't forget to check out what my teammies came up with too! Thanks for stopping by and I hope you have a fabulous day! Stay crafty my friends!

Chris
Supplies:
Stamps: Paper Smooches - Spectrum, Digits, Needle Little Love
Ink: Memento - Gray Flannel; Ranger DI - Broken China, Wild Honey, Fired Brick
DP: WRMK - Family Keepsakes
CS: Darice
Accessories: Twine - Doodlebug, MS, MME; Buttons from my stash; SN markers
Adhesives: AC Foam dots; Recollections - red tape; Ranger - Glossy Accents


Tuesday, March 11, 2014

Shopping Our Stash #142 - Sentiment(s) only

Good morning my friends! It's the start of a new challenge at SHOPPING OUR STASH! This week, we want you to only use a sentiment, or sentiments on your card or project. Only stamps with words. How hard could that be? Hmmmmm, a bit. But I over came. Sort of. Actually, I loved this card by Heidi Van Laar, so I CASEd it. Here's my version:


Here's the inside:

And that big speech bubble? I created it following Savannah's tutorial video at the Virtual Smooches blog. Seriously easy to do. I even went a step further and added a white frame around it with some scrap paper. Bonus!


So, ready to take on this challenge? Cool beans! Don't forget to add your project to the link up at Shopping Our Stash! Please be sure to check out what my teammates created while there! Thanks for stopping by! Now, go get your craft on!

Chris
Supplies
Stamps: Paper Smooches - Happy Birthday
Ink: Memento - Teal Zeal
DP: Echo Park - Happy Days
CS: Darice; scrap
Accessories: Grand Calibur; Paper Smooches - Bam Bubbles, Cardbooking dies; Fiskars corner rounder
Adhesives: SA by 3L - MyStik permanent, 3D foam squares; Glue Dots

Saturday, March 8, 2014

Sisterhood of Snarky Stampers #3 - P is for Paddy!

Top o' the morning to ya! LOL! It's time for another alphabet soup challenge at the SISTERHOOD OF SNARKY STAMPERS! This 2 week challenge is brought to you by the letter P!


St. Patrick's Day to be exact! Our lovely model is all decked out for this most festive of drinking holidays! LOL! She, and we, want to see your St. Paddy's Day creations! Snarky or not, we wanna see 'em! Here's what I came up with - I call it "LIQUID GOLD"! (Say it how the Velveeta skillet guy says it! Buahahaha!)


(here's the inside)

I don't know about you, but finding the golden amber that is beer, at the end of a rainbow would be awesome!! LOL! I used up a lot of scraps for this card - which is also awesome! The beer mugs were stamped, colored and fussy cut before being adhered with foam squares and doubled up glue dots. I went over the rainbow (Ha ha ha! That sounds funny!) and the beer foam with Diamond Stickles for even more sparkle. I have a friend who's birthday is on St. Paddy's Day, so this is for her.

So, are you ready to play along with the Sisterhood of Snarky Stampers? I double dog dare ya! HA! You have two weeks to play along. Don't forget to link up your project, and also please stop by my teammates blogs to see what fantabulous creations they came up with! Thanks for hanging out with me, and I hope you have a great day! Stay crafty my friends!

Chris
Supplies
Stamps: Paper Smooches - A Magical Spring; Happy Birthday
Ink: Memento - Tuxedo Black
DP: American Crafts - gold glitter paper; light blue ??
CS: The Paper Co. (green card base); Copic X-Press It; scraps
Accessories: Grand Calibur; Paper Smooches - Rainbow, Clouds, Chains dies; Spectrum Noir Markers; Ranger - Diamond Stickles
Adhesives: SA by 3L - MyStik permanent, 3D foam squares; Glue Dots; Scotch - Scrapbooker's glue

Wednesday, March 5, 2014

Merry Monday #98

Hello peeps! Thought I'd pop in with a card I made following the prompts from Merry Monday #98 - to add country charm with stitching and a button(s). Here's my take on the challenge:


Here's the inside:


Well, I figured plaid was pretty country, so I put a strip of that on my card. I dusted off my Sew Easy tool and used it to pierce the holes on both sides of the panel, and stitched with embroidery floss. (Because there is no way I could stitch that perfectly free hand!) I shopped my stash of stickers and found this dimensional sentiment - and it just about matched the red and green colors I used - Sweet! I die cut an oval and a scalloped oval and put them together. That star is a shank button - it even has stitching on it! SCORE! I tied a double bow behind it with more floss before I poked it through one of the scallops. Used some Helmar 450 on the back side to keep it from popping out. The oval is adhered to the card with foam squares. Some more paper and a stamped sentiment finishes the inside.

So, a funny story to share with you all. Yesterday I'm mopping the kitchen floor, and I accidentally stepped in a wet part of the floor. My slipper lost traction, I just about did the splits, and wiped out on my wrist. I'm ok, nothing broke. The only thing I hurt was my pride. ;) Today though, I feel like I ran a marathon without having stretched out first. Oh, and I don't run. Ever. It's not a pretty sight to behold. 

I leave you with that scenario running through your brain. LOL! Have a great day!

Chris
Supplies
Stamps: Paper Smooches - Christmas Sampler
Ink: Memento - Tuxedo Black
DP: MME - The Merry Days of Christmas (red); plaid scrap
CS: Bazzill (beige); Recollections (kraft)
Accessories: Grand Calibur; Std. Sm Oval & Classic Scalloped Oval Nesties; WRMK - Sew Easy tool; DMC floss; Michael's - sticker; shank button from my stash
Adhesives: SA by 3L - MyStik permanent, 3D foam squares; Helmar 450 adhesive


Tuesday, March 4, 2014

Shopping Our Stash #141: 3-2-1

Good morning and welcome to another fun challenge at SHOPPING OUR STASH! This week is a 3-2-1 challenge. What the heck is that? Well, you use 3 of something, 2 of something, and 1 of something! Pretty simple idea, but I had such a hard time trying to figure out which somethings to use and how many of each somethings. (Did you understand that at all?!) Anyhoooo, here is my card for your viewing pleasure:


The Somethings: 3 patterned papers (green, rust, brown), 2 stamps, and 1 metal badge thingy (that I found at the park during one of my doggy walks last year. I thought it would look good on card, at some time, in some way. (Hey, that sassy cowgal needs a ranger badge, doesn't she?) And before you say it, I will say it for you: "Badges? We don't need no stinkin badges!" - from the movie Blazing Saddles. (One of my all time favorite movies!) 

Ok, I digress. Come and play along with us at Shopping Our Stash for the 3-2-1 challenge! (Don't forget to let us know your 3-2-1 combo!) Oh, and please stop by my teammates blogs to see what fabulousness they dreamed up! Thanks for stopping by! Stay crafty my friends!

Chris
Supplies
Stamps: Bugaboo - Cowboy Dottie
Ink: Memento - Tuxedo Black
DP: Cosmo Cricket - Honky Tonk (from 2006!!)
CS: Recollections; Copic X-Press It
Accessories: Grand Calibur; Sm & Lg standard circle Nesties; Spectrum Noir markers; Metal star found on the ground
Adhesives: SA by 3L - MyStik permanent; Helmar 450 adhesive

adding pinterest script 3. Changing the Position of the Pin it! button The cool thing about this code is that you have some freedom over where the Pinterest button for Blogger will go over the image. Take a look at the code that you just copied and pasted into the HTML for the word 'center'.