Wednesday, August 30, 2017

BLOOMTANGLED Blog Hop & Linky Party at STAMPlorations!


Hello crafty friends!
I'm excited to be hopping along with the STAMPloration Girls for the


On August 2nd, I showed you a little sneak peek of the 
pages I colored. Both pages are colored with PrismaColor pencils.
Here are the projects I've made with them:

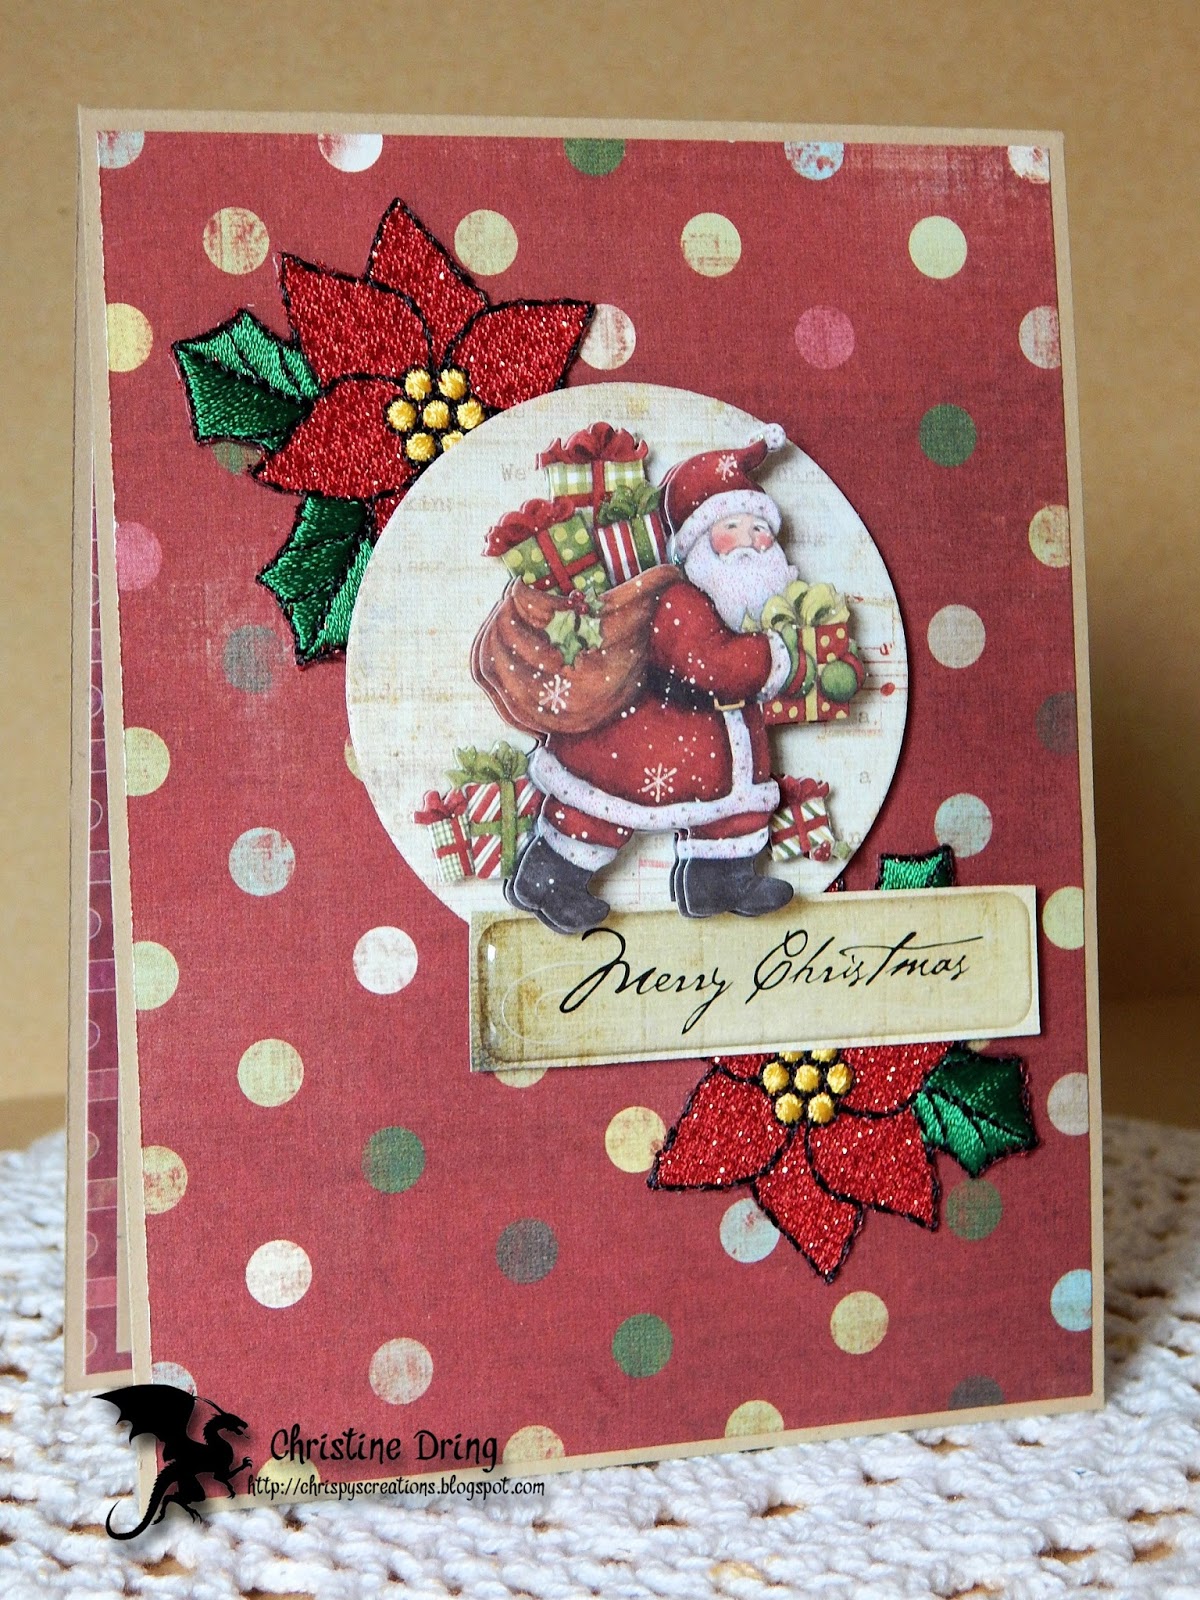
First up is a birthday card using this page:


 and the inside:


Once the Bloomtangled coloring page was colored, I added a Stick It adhesive sheet to
the back of it, and die cut a section out using one of the Crazy Double Running Stitch Rectangle Nesting dies.  The card base was lightly stenciled using the ARTplorations Delicate Links stencil
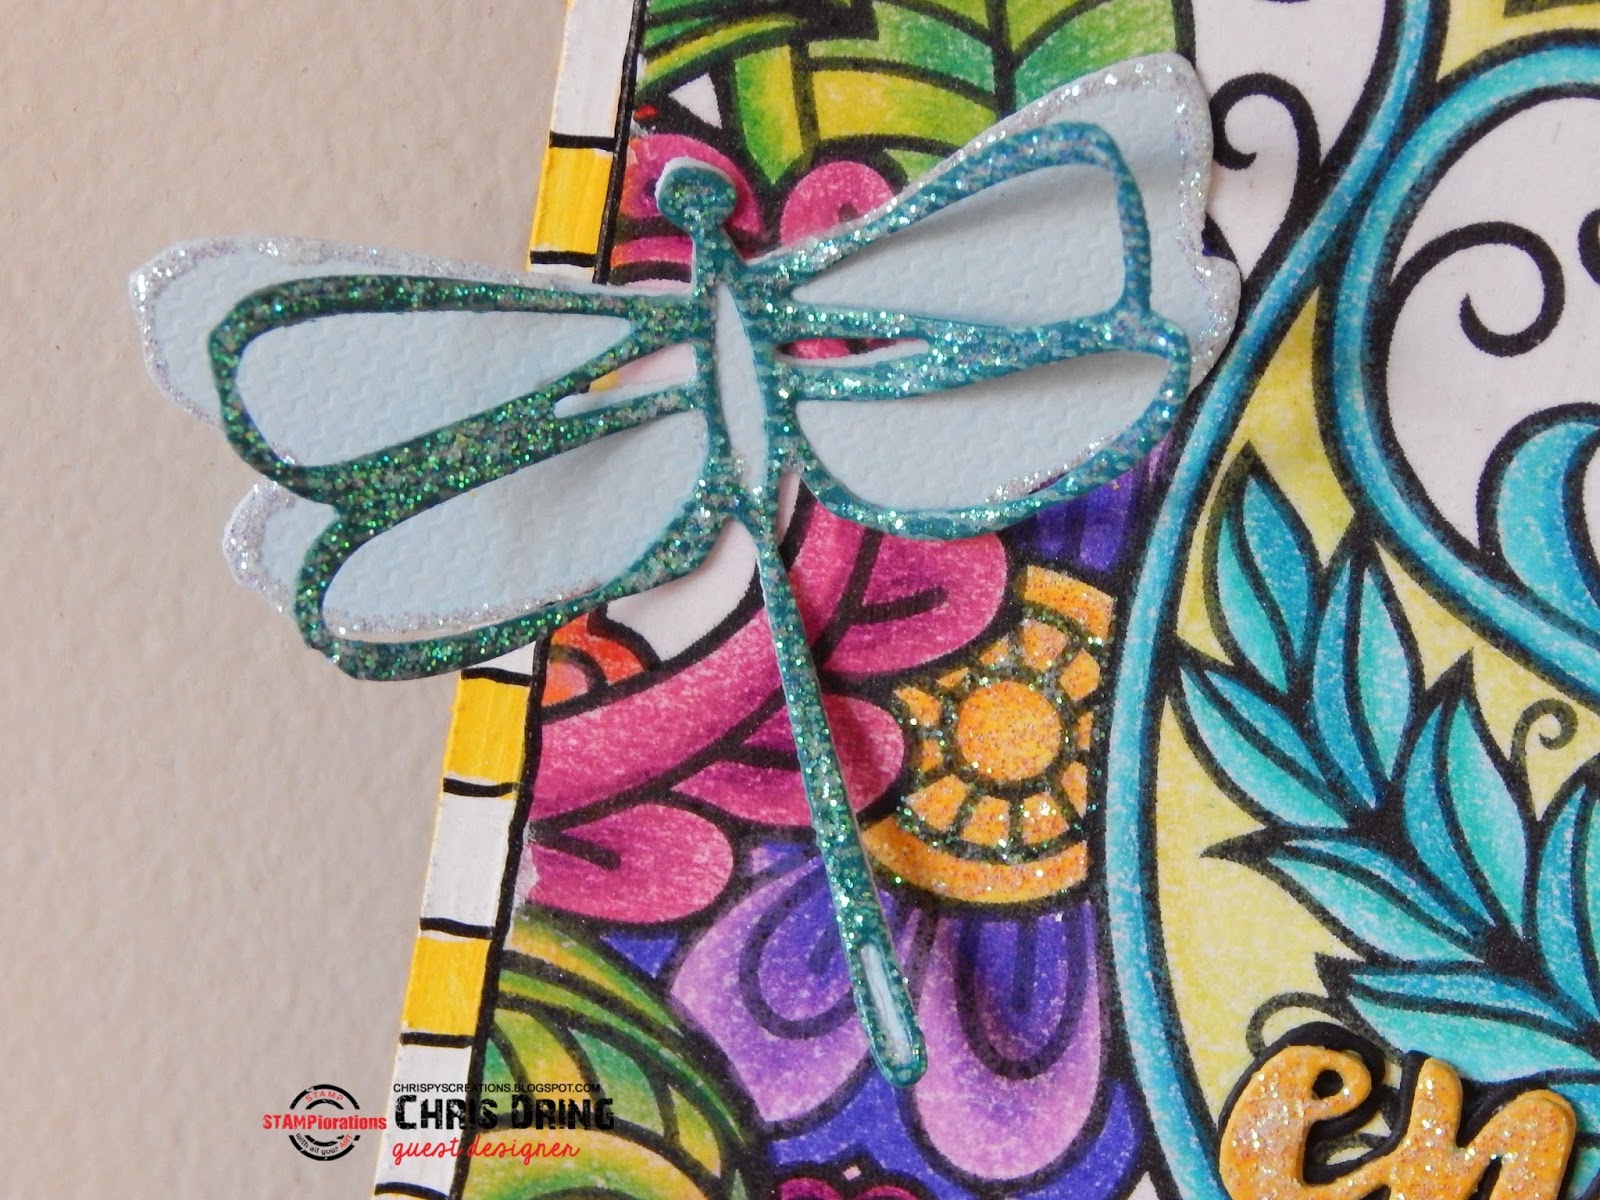
before I adhered the coloring book panel. I die cut the Dragonfly laying dies, added Stickles and rhinestones and adhered once dry. The Enchanting word die was cut three times, stacked and glued, and 
more Stickles added before adhering to the card base. On the inside, I used a sentiment from

For my second project, I created a mixed media wall hanging using the
second page I colored:


Here are some close ups:


I started with a thick piece of cardboard that I already had gessoed and punched holes for
hanging a while back. I used matte medium to adhere the colored page to the board. (I brushed too
much in some areas and the coloring started to bleed. Grrrr! Oh well, I covered most
of the spots up with the die cuts. LOL!)
I painted yellow acrylic paint around the edges. Once dry I used a white paint pen and made
stripes around the yellow area. When that dried I drew in black lines using a Faber Castell Artist PITT pen. At this point I sprayed an acrylic sealer onto the board. I found some beaded fringe and some bright pink rose ribbon in my stash and glued them on the bottom. I die cut two of the Dragonfly layering dies and one of the Flutter Zen layering dies, and added Stickles to them. I also cut three Enchanting word dies, stacked and glued and also added Stickles. It occurred to me when I was placing the sentiment die that it got lost in the background. So I die cut two more in black card stock and glued them on the back, offsetting one top left and the other bottom right so there was a shadow around the word. After all the die cuts were adhered, I added more Stickles to the flower centers, because you can never have too much sparkle! All that was left to do was string some beads onto wire and attach. I also added a few tassels on one side for some more whimsical fun.

Congratulations! You made to the end of my photo heavy and long winded post! LOL!

Don't forget to leave a comment here and on the STAMPlorations blog for your chance to win!


Simply comment on all our blogs and feel free to download the sampler page, color it, create something with it (card, ATC, bookmark, anything) and then link it up to the linky for a chance at the prizes.

Commenting and linking up closes on Tuesday, September 5.

Prizes:
- one commenter randomly drawn from the STAMP blog and designers blogs will win a $10 gift certificate to the store
- one participant randomly drawn from the linky party entries will win a copy of Bloomtangled and a $15 gift certificate to the store

Winners will be announced on Sunday, September 10.


Thanks for visiting! Have a great day!


Supplies for card:
Stamps: STAMPlorations - Faerie Door
Ink: Memento - Angel Pink, Tuxedo Black
CS: TE; Recollections, scrap
Accessories: STAMPlorations - Bloomtangled coloring book; ARTplorations - Delicate Links stencil; CUTplorations - Dragonfly layering dies, Enchanting word die, Crazy Double Running Stitch Rectangle Nesting die; PrismaColor pencils; Ranger - Crystal Stickles; GC; MISTI; Nicole - rhinestones; Faber Castell - bold black Artist PITT pen
Adhesives: SA by 3L - tape runner, 3D & Thin 3D foam squares; Ranger - Multi Medium Matte

Supplies for wall hanging:
STAMPlorations - Bloomtangled coloring book;
CUTplorations - Dragonfly layering dies, Flutter Zen 1 layering dies, Enchanting word die
Card stock scraps
Substrate: recycled thick card board
Golden Gesso & Matte Medium
PrismaColor pencils
DecoArt Media Fluid Acrylic paint - Primary Yellow
Marvy Uchida - Acrylic white paint marker
Faber Castell - bold black Artist PITT pen
DecoArt Americana acrylic spray sealer
Fiskars hole punch
Webster's Pages - pink rose ribbon
Hirschberg Schultz & Co. - beaded fringe
Darice - 20 gauge wire; wire cutting tools
Cousin - acrylic beads
Ranger - Crystal Stickles & Multi Medium Matte
Fray Check
Beacon 3 in 1 glue
Michael's - jump rings
Jesse James beads - tassels

Tuesday, August 29, 2017

SHOPPING OUR STASH #318 - Your Favorite Season


Hi there crafty friends!
This week at
we want you to show us what your favorite season is!
You probably thought I'd go with another beach themed card, but
surprise! I'm actually falling in love more and more with Autumn.
The cooler air, the tree leaves bursting in all sorts of color, sleeping with the
windows open instead of the AC running. Ahhhhh!
(Going through menopause and experiencing dozens of hot flashes day 
and night has nothing to do with my choice. *wink*)

Here's my card:

Sometime last year, I was experimenting with the smooshing technique, using a piece 
of acetate to smoosh my inks. I didn't like how the panels came out though.


But instead of filing them under "G" (for garbage), I kept them, thinking I could
cut them up or die cut smaller images from them. And that is where all my
die cut leaves and flowers came from!

So, which season is your favorite? We'd love to see what it is. Simply link
up your project at Shopping Our Stash so we can admire it!

Thanks for visiting. Enjoy your day!


Supplies:
Stamps: Paper Smooches Natural Beauties 
Ink: Memento - Tuxedo Black, Rich Cocoa; various Distress Inks
DP: Recollections - gold paper
CS: TE; scraps
Accessories: GC; Paper Smooches - Natural Beauties dies; MFT - single stitched round frame die;
Darice - woodgrain EF; card designed using CTS#234
Adhesives: SA by 3L - tape runner, Thin 3D foam squares; Recollections tacky tape

Tuesday, August 22, 2017

SHOPPING OUR STASH #317 - Wood is Good


Hello crafty peeps and welcome!

This week at
we want to see some kind of wood or woodgrain on your projects!

I've have these wooden word bubbles for about a year, sitting, lonely,
waiting to be used, and this was the perfect time to!


My card is based off of Freshly Made Sketch #299 (yes, I was working ahead)
I painted the word bubble with Forest Moss Distress Paint (DP), then went over the edges lightly with  Vintage Photo DP.  While that was drying, I added the strips of paper to the main panel, then
embossed it with that cool embossing folder. I did finish the inside, but I've used
my favorite swear word on it, so I've left that pic out. LOL!

So now it's your turn! Break out those wooden embellies, the woodgrain paper, 
that woodgrain embossing folder and have some fun! Be sure to link up your
project at Shopping Our Stash so we can check it out!
Thanks for visiting and I hope you have a great day!


Supplies:
Stamps: Paper Issues - Freaking Sentiments (on the inside)
Ink: Memento - Bamboo Leaves, Nautical Blue
DP: Basic Grey - South Pacific
CS: Bazzill, Recollections
Accessories: Recollections - wooden OMG word bubble; GC; Sizzix/TH - Steampunk EF; 
Ranger Distress Paint - Forest Moss & Vintage Photo; paint brush; MISTI
Adhesives: SA by 3L - tape runner; Ranger - Multi Medium Matte

Saturday, August 19, 2017

SISTERHOOD OF SNARKY STAMPERS #91 - W is for Wedding


Welcome snarky peeps!
Doesn't Edna look ravishing in her Victorian wedding gown? That 
bouquet of blue flowers is gorgeous. And, wait -
is that a ball and chain?!! 
LOL!
This fortnight at the
we'd like to see your Wedding/Wedding Anniversary projects!
But wait, there's a catch to our challenge:
You know the old saying,
"Something old, something new, something borrowed, something blue"?
We challenge you to create your project with that in mind!!
(and don't forget to tell us what those items are, if it's not obvious. wink!)
Here is the card I made:


and the inside:


Here is what I used for my prompts:
Old: DP and glitter paper, number stickers, blue ink pad, banner stamp, EF
New*: flower heart die, gold ink pad, white cardstock
Borrowed: I cased (borrowed) this card by Di Barnes. Thank You! I also found
the inside sentiment on the Google. 
Blue: blue cardstock, blue ink, the inside sentiment was printed in blue.
*New-ish - these items I've had for under a year. 

So, you think you can handle this challenge? Of course you can! Just be
sure to link up at the Sisterhood of Snarky Stampers so we can see it!
Need more inspiration? Then do check out what my Sisters, and our
newest Guest Designer - Ike, have made for your viewing pleasure!

Thanks for popping by! I hope that you have an excellent day!


Supplies:
Stamps - Paper Issues - Freakin Sentiments; Lawn Fawn - Home Sweet Home
Ink: Memento - Paris Dusk; VersaMark; Colorbox/Susan K. Weckesser - Shimmer
DP: AC - glitter paper; Carta Bella - Well Played
CS: TE; scraps
Accessories: GC; Simon Says Stamp - Heart of Roses die; Cuttlebug EF; K & Co. - gold number stickers; Wow! - clear EP; heat gun; MISTI; computer and printer
Adhesives: SA by 3L - tape runner, 3D foam squares; Ranger - Multi Medium Matte

Tuesday, August 15, 2017

SHOPPING OUR STASH #316 - Chillaxin and Relaxin


Hello and welcome crafty peeps!
We hope that we didn't scare you away with
last week's Spice Girls challenge at
(Come on, you know that was a fun challenge!)
So for this week's challenge, we are Challaxin' and Relaxin'!
Yep, today is National Relaxation Day, so we want you
to create something that reflects what is relaxing to you.
For me, a day (or more) at the beach is my kind of relaxation!


Sun, sand, and a drink in my hand. Can't get better than that!
Now it's your turn! Just create something that shows us what 
you think of as relaxing to you and link it up at Shopping Our Stash!
Be sure to visit the blogs of my teammies to see what they consider
relaxing to them, and leave some love!
Thanks for visiting. Have a great day!


Supplies:
Stamps: Paper Smooches - Slang Gang
Ink: Memento - Tuxedo Black; Ranger DI - Mermaid Lagoon, Salty Ocean, Peacock Feathers, Brushed Corduroy, Antique Linen, Tumbled Glass
CS: TE, scrap
Accessories: paint brush; Tattered Angels - Pearl Glimmer Mist; Taylored Expressions - flip flop die; Nicole - rhinestones
Adhesives: SA by 3L - tape runner, Thin 3D foam squares; Ranger - Multi Medium Matte

Tuesday, August 8, 2017

SHOPPING OUR STASH #315 - Spice Up Your Life


Hello and welcome crafty friends!
This week at SHOPPING OUR STASH
we are challenging you to make a project
based off of one of the Spice Girls!

Baby Spice (could be a baby card, or something cute), 
Ginger Spice could be orange or food inspired),
 Sporty Spice (sports theme or color of your favorite team), 
Posh Spice (something elegant maybe?) or 
Scary Spice (skulls, bats, Halloween)

How's THAT for a challenge?!!

As for me, I've gone with Scary Spice, and made a Halloween card:


and the inside:

I hope YOU won't be scared of this challenge! We'd love to see your take on it!
Simply link up your project at Shopping Our Stash so we can check it out.
Need more inspiration? Then please do check out what my teammies 
created for this fun challenge!
Thanks for visiting!


Supplies:
Stamps: Stampendous - Dance Macabre; Hampton Arts - Beware
Ink: Memento - Tuxedo Black; Ranger DI - vintage Photo
DP: HOTP (2005)
CS: TE; Recollections
Accessories: MISTI; Tonic/TH distress tool; Ranger blending tool; Wink of Stella pen
Adhesives: SA by 3L - tape runner; Scotch foam tape

Saturday, August 5, 2017

SISTERHOOD OF SNARKY STAMPERS #90 - M is for Mink


Hello snarky peeps!
For the next two weeks,
challenge you to create something that has a furry animal on it!
Any furry critter will do.
You'd think with being a dog owner I'd have gone with that animal, but no:


That face! That is THE perfect image of a cat if I ever saw one! LOL!
And of course, I went with a snarky sentiment.
But wait, I couldn't stop at one, so I made another card:


I know this cat could have been singing, but I saw him as lamenting the stupidity of humans.
(Like the current dumb ass sitting in the White House, for example.)

So now it's your turn to create something with a furry critter on it. Just link up at 
the Sisterhood of Snarky Stampers so we may admire it! For more ideas, please
do visit my Sisters in Snark, and our newest Queen of Snark: Mimi,  
and leave them some bloggy lovin. 

Thanks for stopping by!


Supplies:
Stamps: Katzelkraft - les Chats Russe; Dylusions - Say it how it is
Ink: Memento - Tuxedo Black; Ranger DI - Fired Brick, Barn Door
CS: Strathmore Mixed Media paper; TE; Recollections
Accessories: Spectrum Noir markers; MFT - Sm brick wall stencil; Ranger - blending tool; MISTI;
Inkadinkado - masking paper
Adhesives: SA  by 3L - tape runner

Wednesday, August 2, 2017

Celebrating National Coloring Book Day with STAMPlorations!

Welcome crafty peeps, and
Happy National Coloring Book Day!!

I'm coloring along with the STAMPloration Girls at
STAMPlorations
using a couple pages from Shery's second
coloring book,

BLOOMTANGLED,
coloring pages for creative cardmakers and crafters!
This new coloring book is available NOW in the store!


Here's a little sneaky peeky of a couple of the pages in this book:


I've colored my pages using Prisma Color Pencils.
Check back later this month to see what I've created with these!

Want a chance to win this new coloring book? All you need to do is
go to the STAMPlorations blog, download the BLOOMTANGLED sampler,
print it out, color it, and link it up for chance to win!
What better way to celebrate National Coloring Book Day!

Have fun, and I hope you get the chance today to do some coloring!
Thanks for visiting!


Tuesday, August 1, 2017

SHOPPING OUR STASH #314 - Countdown to Christmas


Hiya crafty friends!
This week at
we want to see your Christmas creations!
Here's the card I made:


and the inside:

Oh Holy Night, did I shop my stash for this card! LOL!
The paper collection I used is dated 2011, and most of the stickers I've had at least
 7+ years. See those poinsettias? They are iron on appliques! (I just glued them on. LOL!)

Now it's your turn! Just make a Christmas project and link up at Shopping Our Stash!
I can't wait to see what you come up with. For more ideas, please do visit the blogs
of my teammies and leave some lovin while there!
Thanks for visiting, have a great day!

I'd like to enter this at:


Supplies:
Stamps: Taylored Expressions - In & Out Christmas
Ink: Memento - Tuxedo Black
DP: My Mind's Eye - Signature Christmas (2011), scraps
CS: Thunderbolt
Accessories: K & Co - Santa sticker; Hirschberg Schultz - poinsettia applique; Cloud 9 - epoxy Merry Christmas sticker; GC; SB - Lg Std Circle Nestie; MISTI
Adhesives: SA by 3L - tape runner, 3D foam squares; Ranger - Multi Medium Matte

adding pinterest script 3. Changing the Position of the Pin it! button The cool thing about this code is that you have some freedom over where the Pinterest button for Blogger will go over the image. Take a look at the code that you just copied and pasted into the HTML for the word 'center'.