Showing posts with label HLS Water Color challenge. Show all posts

Monday, January 13, 2020

Easy water coloring...

Hey there, it's a two-fer Monday posting!
Earlier last week, I watched this video by Bonnie and was inspired
to try my hand at water coloring again.
I used a hydrangea stamp from a set that I've had for at least
five years. I've never used this flower from the set before so 
I challenged myself to use it.
I had the added task of making a mask for the hydrangea as the leaves
are a separate stamp. Other than that, I pretty much followed
along with Bonnie's tutorial, and Holy Crow, it worked!!


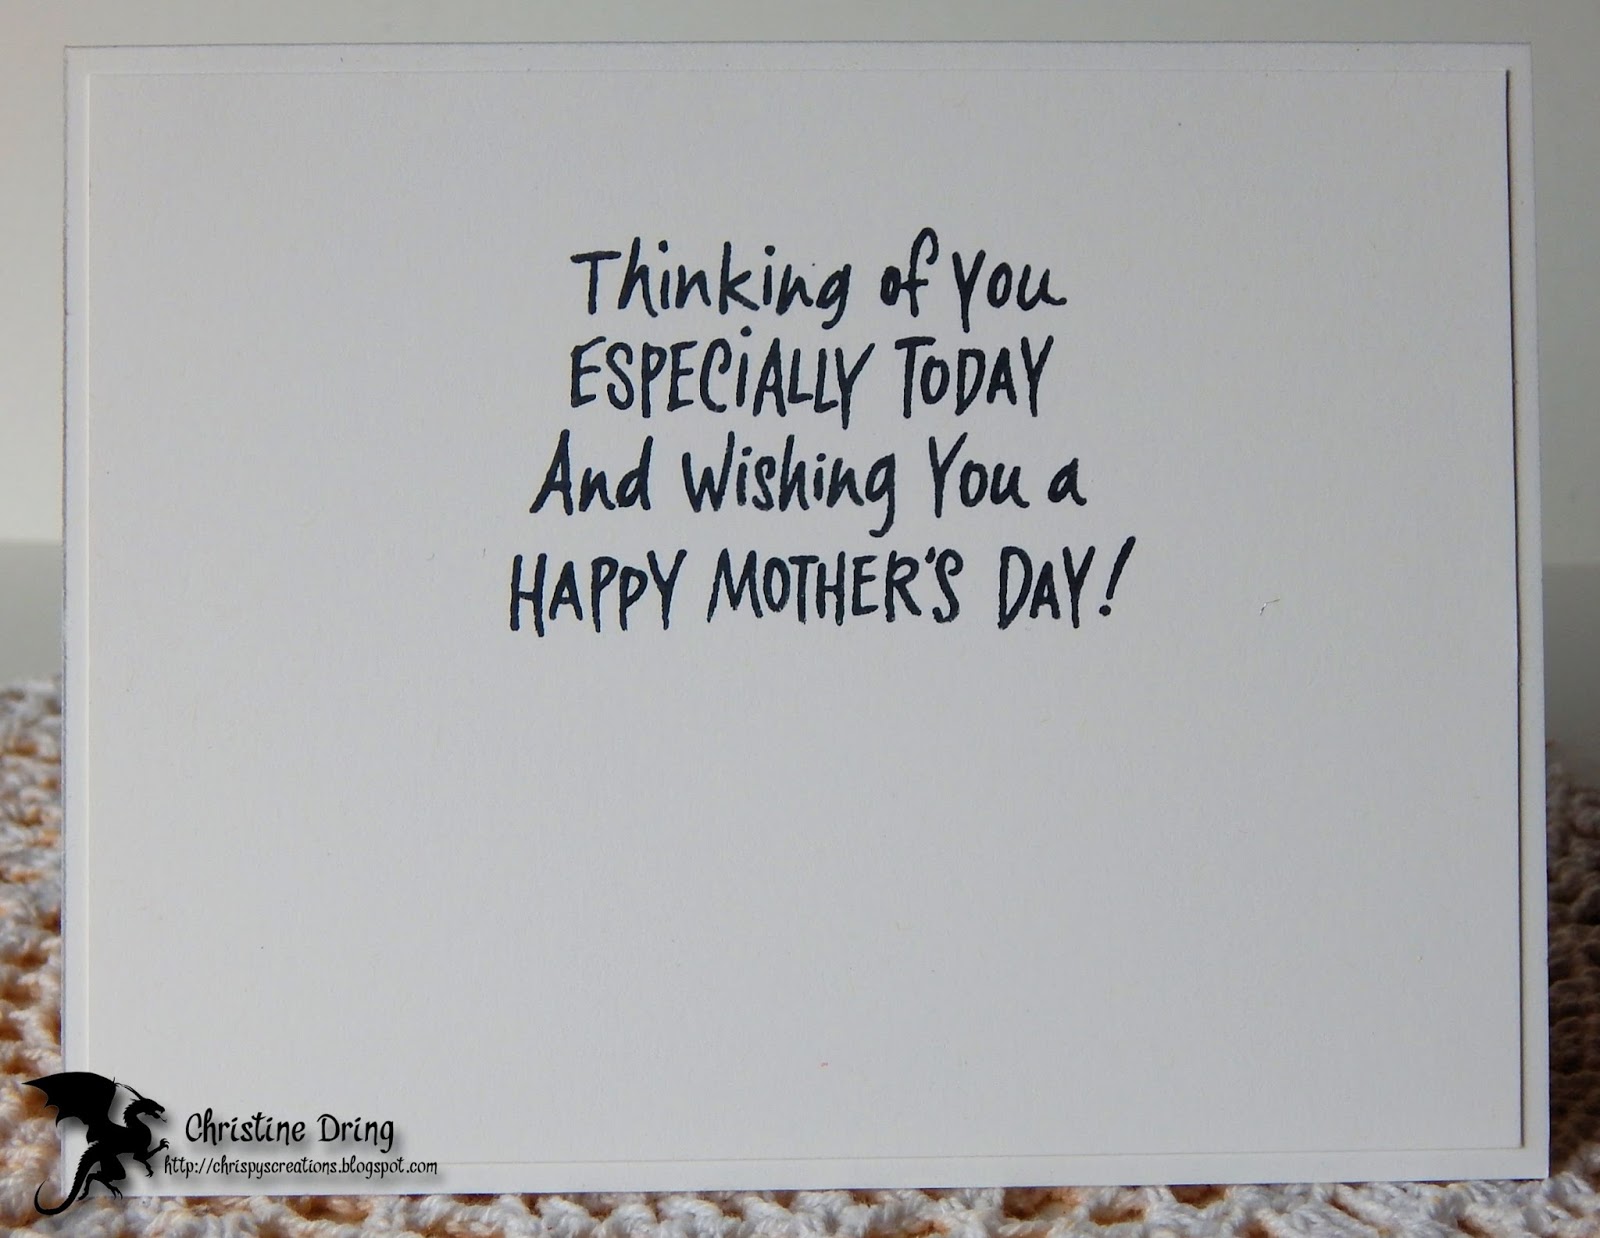
Here's the inside:


I have Marvy LePlume II markers (it's been so long using these 
that many are dried out. I haz a sad.) In hindsight, I should have
used the medium green to stamp the leaves. I used the lightest color and
the details disappeared when I colored them, so I restamped them
with the medium green after it was dry. I used a scrap of black card stock
and die cut a rectangle matte that has a pierced border around it. I just
snipped both the long sides and adhered to the back side of the main
panel, then trimmed before adhering to my card base. If you enlarge the photo, 
you may be able to see the detail. (crossing fingers) 
A simple stamped sentiment and this card was finished.

Well, that's it for today. The laundry isn't going to wash itself and
the maid hasn't showed up. Wait, I'm the maid. Sigh...

Have a great day and thanks for visiting!


I'd like to enter this at:


Supplies:
Stamps: Winnie & Walter - In Bloom: Addie's Garden; Taylored Expressions - Care & Comfort
Ink: Memento - Gray Flannel
CS: Strathmore water color paper; TE; scraps
Accessories: Marvy Uchida LePlume II markers; MISTI; Plaid paint brush; Gemini; Avery Elle - Pierced rectangle die; Inkadinkado masking paper
Adhesives: SA by 3L - tape runner

Sunday, August 4, 2019

Birthday Fishes

Hello and good Sunday to you, crafty friends!
I have a card to share that I made, which I'm
pleased to have been able to link up to a few challenges with:


 The main panel is mixed media paper that I used the paper towel transfer technique on.

 I'm pretty sure this towel has Dylusions spray inks and Tattered Angels Glimmer Mists
sprayed on it. Here's a close up picture that shows how the design in the paper towel
transferred to the panel:


I tried to get a close up of how the 'water' shimmers from the glimmer mist:
Pretty cool!

I die cut and colored my fish, then once the panel was completely dry, stamped
the sentiment wonky. The fish were adhered with foam squares.

This was a fun technique, and I'll be making more panels using it. 
(I just have to remember to wear latex gloves otherwise my fingertips
will pick up the inks from the towel. Ask me how I know.)

Thanks for visiting. I hope you have a great rest of the day!


I'd like to enter this at:
CAS Mix Up August challenge - Paper towel + stamping + die cutting + alcohol markers


Supplies:
Stamps: Paper Smooches - Briny Blue, Birthday Buddies
Ink: Memento - Tuxedo Black
CS: Strathmore mixed media; TE; Darice; Crafter's Companion
Accessories: Spectrum Noir markers; GC; Paper Smooches - Briny Blue dies; MISTI; inked up paper towel; water mister
Adhesives: SA by 3L - tape runner, Thin 3D foam squares

Tuesday, March 5, 2019

29 again?

Hi there crafty friends, and happy Mardi Gras to you!
Someday I hope to experience that in New Orleans.
Yep, it's a bucket list item! LOL!

Speaking of fun and festive, I've got a birthday card to share:


Here's the inside:

I love that sentiment paired with this sassy lady! LOL!
She's colored with Prismacolor pencils, fussy cut and popped up on
foam squares over the inky background. That panel was made
by spritzing a couple colors of Dylusions ink sprays. I then covered it with
a stencil and wiped away some of the ink with a baby wipe to get
that ghost image. It's a fun technique!

That's all for now. Time to walk the fur baby.
Have a great day and thanks for visiting!


I'd like to enter this at:


Supplies:
Stamps: Art Impressions - Golden Oldies Jean; Paper Smooches - Birthday Sampler
Ink: Memento - Tuxedo Black; Dylusions spray inks - Vibrant Turquoise, Fresh Lime
CS: Crafter's Companion; Strathmore mixed media paper; Neenah; Darice
Accessories: GC; Lawn Fawn - scalloped rectangle die; Prismacolor pencils; Dylusions - bowl of cherries stencil; baby wipe; MISTI
Adhesives: SA by 3L - tape runner, Thin 3D foam squares

Tuesday, October 9, 2018

SHOPPING OUR STASH # 375 - Giving Thanks


Hello and welcome back crafty friends!
This week at SHOPPING OUR STASH
we are giving thanks, either to celebrate Thanksgiving, or 
as a simple Thank You, your choice!

Here's what I came up with:


I used a few powder dyes spritzed with water on some mixed media
paper for a water color look. Once dry, I spritzed it again, this time with gold Glimmer Mist.
This was die cut using a leaf cover plate.
I tried to get a close up picture of all the gorgeous shimmer, but you
know it's super hard to achieve.


The single leaf on my sentiment panel is actually a 3D foam leaf from Scrapbook Adhesives.
I won a package of them many years ago, and recently came across them, the package
never opened until now. I dipped one of the sides in embossing powder and heat embossed it.
Looks really cool so now I may have to try this technique again.

We'd love to see what you create in the Shopping Our Stash gallery, and hope
you'll join us this week! For more amazing ideas, simply visit my teammies blogs to
see what they came up with!
Thanks for visiting, and I hope you have a fabulous day!


I'd like to enter this at:


Supplies:
Stamps: Avery Elle - Merriest
Ink: Memento - Rich Cocoa; VersaMark
CS: Taylored Expressions; Darice
Accessories: Magenta- Nuance powder dyes - red, orange, grass green; water mister; GC; SB - Leaves a Fallin' die; MFT - zig zag stitched square die; Stampendous - champagne and carnelian pearl EP; heat gun; MISTI; Tattered Angels - gold Glimmer Mist; Michael's - burlap ribbon
Adhesives: SA by 3L - tape runner; Thin 3D foam squares, 3D foam leaves; Recollections - tacky tape

Sunday, August 19, 2018

Another fast watercolor card

Hi there and happy Sunday to you!
Just popping in with a another card I
made using the fast watercolor technique
I am really loving how this technique looks, and will
probably be making more cards. Be warned. LOL!
Anyway, here's my card:


couldn't resist a bit of snark on the inside:

just about dry:
 

The sentiment was stamped, then I doodled around the edge. Once I fussy
cut everything, the sunflowers were adhered with foam squares, and the leaves
directly to the card base.

Such an easy method, the only thing hard about it is waiting for
the ink to dry! LOL!
Thanks for visiting, and I hope you have a wonderful day!


I'd like to enter this at:


Supplies:
Stamps: Dare2BArtzy/Totally Tracy - find your purpose; Spellbinders/Richard Garay - just because; Inkadinkado - humorous birthday
Ink: Versamark; Memento - rich cocoa; Ranger DI - mustard seed, wild honey, gathered twigs, evergreen bough, twisted citron, vintage photo
CS: Strathmore watercolor paper; Thunderbolt
Accessories: Inkadinkado - black EP; heat gun; water mister; MISTI; Faber Castell - medium black Artist PITT pen
Adhesives: SA by 3L - tape runner, 3D & thin 3D foam squares

Tuesday, January 16, 2018

SHOPPING OUR STASH #337 - Getting Sentimental


Hello and happy Tuesday crafty peeps!
This week at
we challenge you to make your sentiment the focal point
of your project.
Here's the card I made:


 and the finished inside:

I used another panel I created a while back using Magenta Nuance powder dyes.
I die cut the word birthday 4 times, stacked and glued. 'Happiest' and
'wishes' were stamped in VersaMark and embossed in white EP.
I matted the panel with black card stock, then added some sequins,
because, shiny!

Now it's your turn to create something using your sentiment as the main focus.
We'd love to see it, so please link up at Shopping Our Stash so we 
can admire your work! Need more ideas? Simply check out the
blogs of my teammies and while there, leave some love!
Thanks for visiting!


I'd like to enter this at:


Supplies:
Stamps: Winnie & Walter - The big the bold and Party
Ink: Memento - Elderberry; VersaMark
CS: TE; Recollections
Accessories: Magenta - Nuance powder dyes: Purple, Violet; water mister; GC; Winnie & Walter -
Birthday word die; Stampendous - detail white EP; heat gun; MISTI; Darice - sequins
Adhesives: SA by 3L - tape runner; Ranger - Multi Medium Matte

Tuesday, January 2, 2018

SHOPPING OUR STASH #335 - Watercolor


HAPPY NEW YEAR!!
Can you believe it's 2018?
Where did 2017 go?!

Today starts our first challenge of the year at
We thought we'd start the year out with a 
still very big trend:
Watercoloring! 

I love the look, but am not very good at it. I also don't own
any real water colors. I've used Distress Inks and a paintbrush:


Here's the inside:

I embossed the STAMPlorations In Bloom: Blissful Blossoms image in gold EP 
onto water color paper. Then simply smooshed the four colors of ink on my 
craft mat, spritzed with water, and started coloring.
I've added watered down black ink and once that was dry, I stamped the
sentiment from the Best Mom Ever set. I color filled it using gold ink spritzed with water,
 just like the other colors. A handful of rhinestones finishes it off.

I hope you join us for our watercolor challenge at Shopping Our Stash!
We'd love to see what you come up with. For more inspiration,
do check out what my teammies created. They will WOW you!

Thanks for visiting!


I'd like to enter this at:


Supplies:
Stamps: STAMPlorations - In Bloom: Blissful Blossoms; Best Mom Ever; Hero Arts - Happy
Mom's Day
Ink: Ranger DI - Abandoned Coral, Mermaid Lagoon, Mowed Lawn, Scattered Straw; Memento - Tuxedo Black; Colorbox/Susan K. Weckesser - Shimmer 
CS: Strathmore watercolor paper; TE
Accessories: paint brush; water mister; Stampendous - Detail Gold EP; heat gun; MISTI; Nicole - rhinestones
Adhesives: SA by 3L - tape runner, 3D foam squares


adding pinterest script 3. Changing the Position of the Pin it! button The cool thing about this code is that you have some freedom over where the Pinterest button for Blogger will go over the image. Take a look at the code that you just copied and pasted into the HTML for the word 'center'.