Saturday, January 30, 2016

JUST US GIRLS #328 - Wild Card Week


Hello and welcome crafty peeps! I'm hosting this week at JUST US GIRLS, and I thought a Tic Tac Toe challenge was in order for Wild Card Week! Just let us know which column or row you picked!

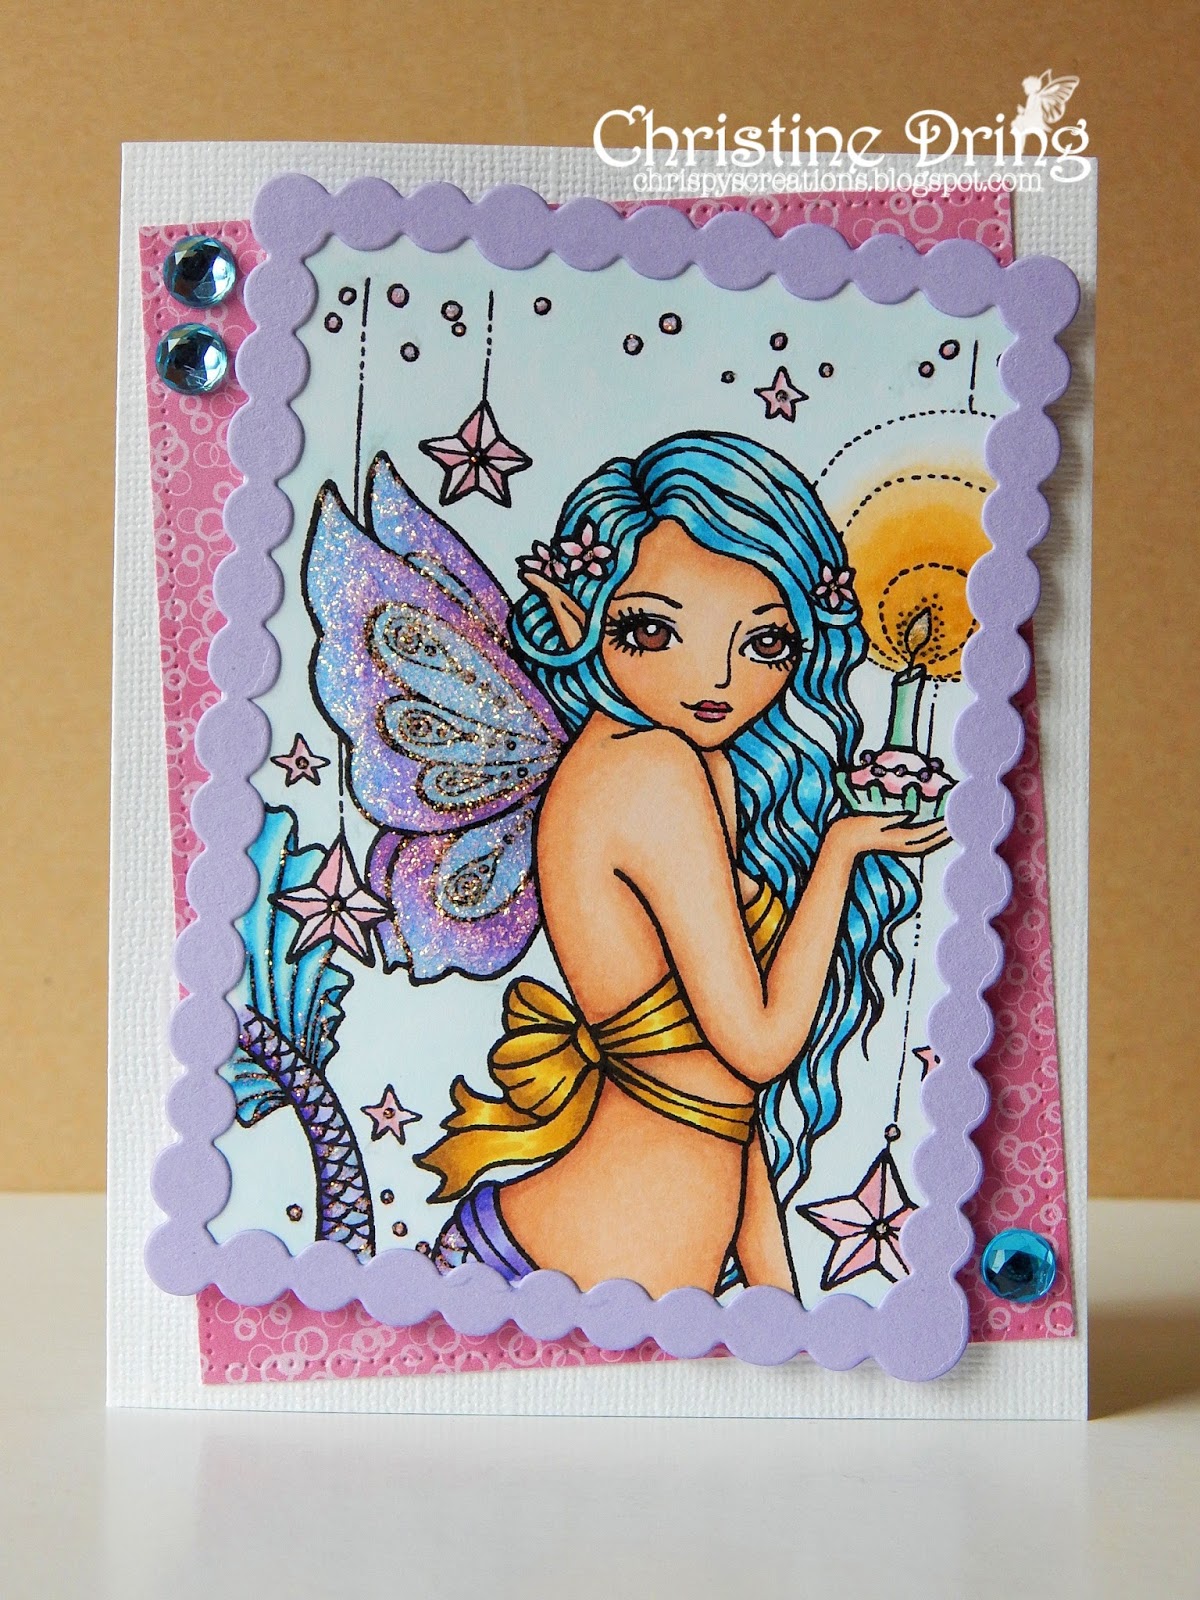
For my card, I chose the middle column: Die cuts/stamps/flowers:


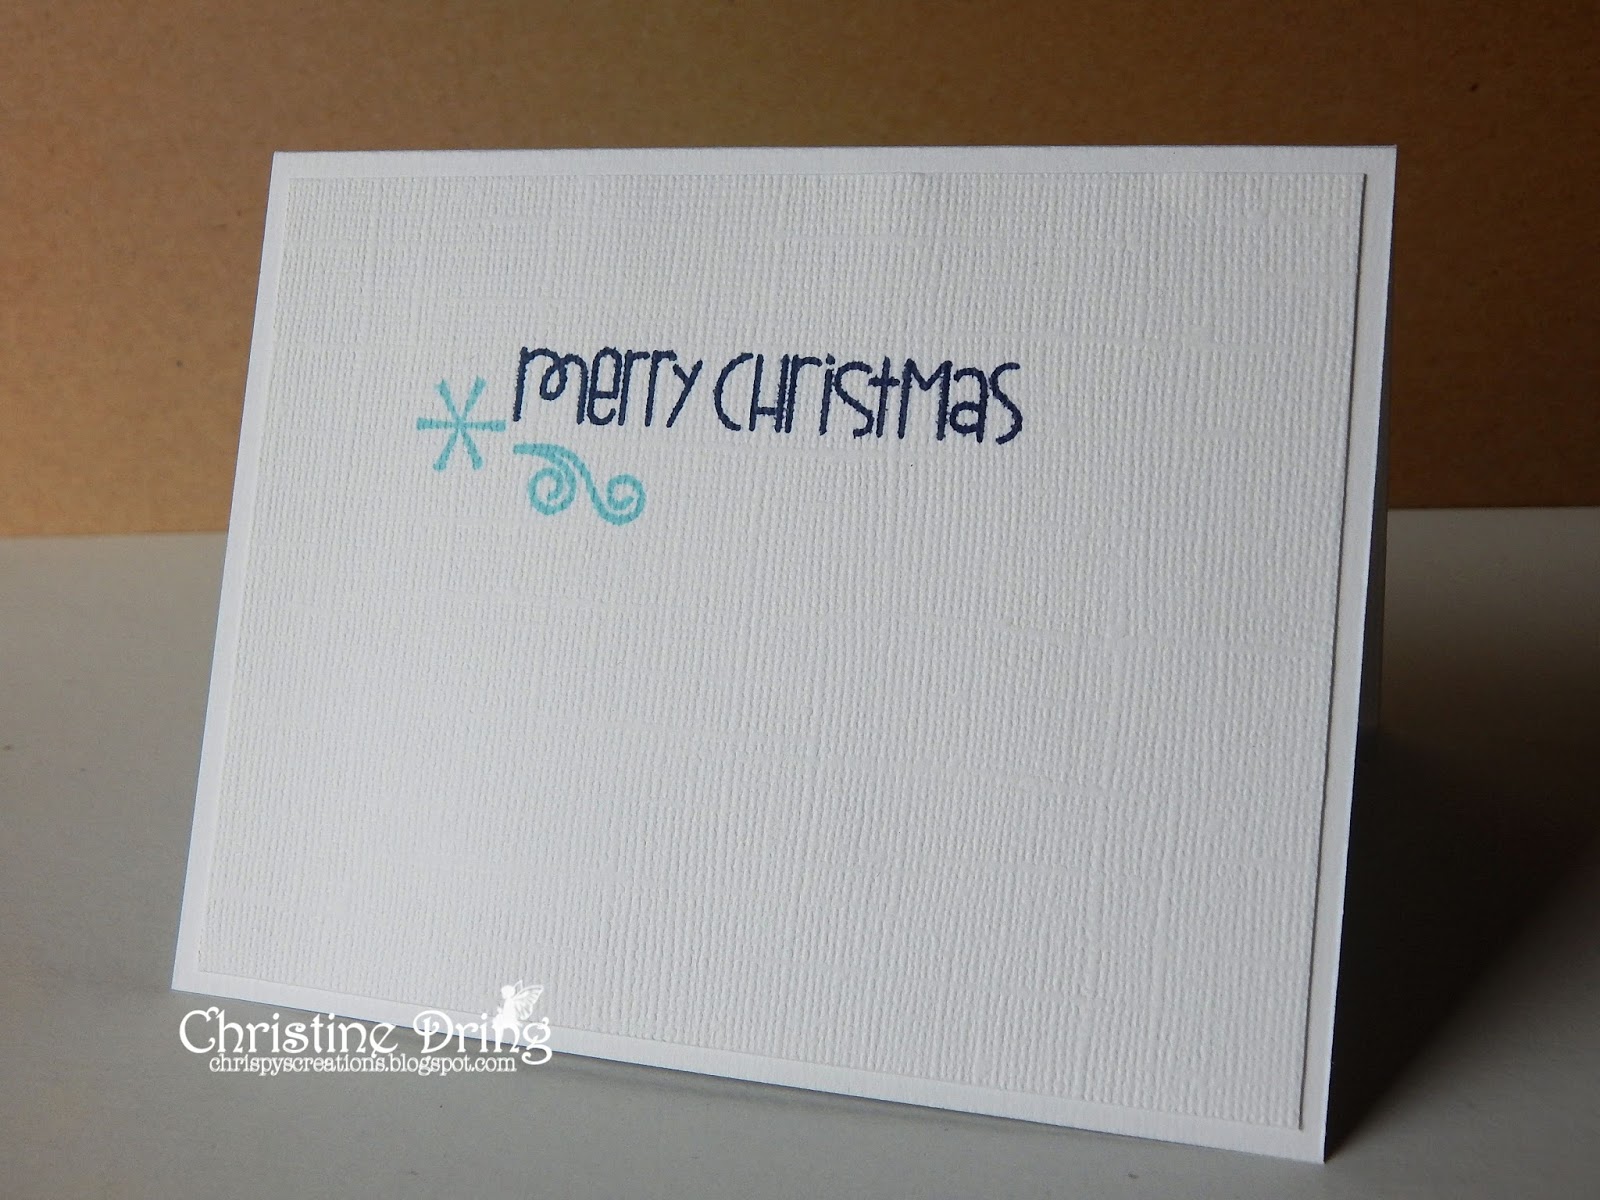
 Here is the inside. I made this a birthday card:


I'm so sick of seeing piles of snow, I needed to make something beachy! I die cut the frame, and then a slightly smaller piece of glossy card stock to fit behind it. I stamped the palm trees, and again onto a scrap of typing paper, fussy cut, and adhered with repositional tape to mask the original trees. I cut a hill from some more scrap paper, and using both sides, one at a time, sponged the sky, the hill, and the ocean using Distress Inks.


After coloring the palm trees, I die cut the sun and a strip from the same patterned paper, adhered them, then glued the frame over it. I stamped the bird, and added white caps to the ocean by first using a white gel pen, then going over the lines with Diamond Stickles. Then it was just a matter of adhering the frame to my card and sticking the flowers on. You can't tell in the photo above, but the flowers also came with sparkle already on them. Bonus!

I hope you find time to play along this week for our Tic Tac Toe challenge at Just Us Girls! Since this is the last Saturday of the month, it's our Guest Designer's, Vicki and Deepti's last challenge. I'd like to thank them so much for designing with us! You are both so amazingly talented and I hope to see you playing along in our future challenges! 

Remember, that if you are picked as Chic of the Week for any of our January challenges, you'll be in the running to be our Guest Designer for the month of March! Good luck and happy crafting! Thanks for visiting!


I'd like to enter this at:
Simon Says Stamp Wednesday Challenge:  Anything Goes


Supplies:
Stamps: Paper Smooches - Get Outta Town; Stampendous - Birthday Wish
Ink: Memento - Tuxedo Black; Ranger DI - Tumbled Glass, Broken China, Salty Ocean, Mermaid Lagoon, Scattered Straw, Antique Linen
DP: American Crafts - #Summer; HOTP
CS: Darice; Crafter's Companion
Accessories: GC; Simon Says Stamp - Hello Sunshine frame dies; Spectrum Noir markers; Sandylion - dimensional flower stickers; Sakura - white Gelly Roll pen; Ranger - Diamond Stickles
Adhesives: SA by 3L - tape runner, Thin 3D foam squares; Scotch - Scrapbooker's glue

Tuesday, January 26, 2016

SHOPPING OUR STASH #236 - Inspired by a Book


Hello crafty peeps. I hope all who were effected by Blizzard Jonas have survived and are, at least, partially dug out. As I type this, it's 3:15 pm on January 25th, and our street has yet to be plowed. UGH. So, that means hubby will be working from home again. I don't mind. He's been a great help to us and our neighbors as a shoveling machine! LOL! Me, not so much. I'm out there, but not nearly as much as he was. Carpel tunnel in both wrists + shoveling = short sessions outside.

Ok, enough with the griping, and on with the show. This week at SHOPPING OUR STASH, we challenge you to create a card or project that is inspired by a book. A challenge like this leaves it wide open for interpretation. I was inspired by the book "Pride and Prejudice" by Jane Austen. Here's the card I made:


Here's the inside:

 Here's a close up of the quote:


I searched for a silhouette on the Google and found this, which I adore. (I followed it to the original site, but I couldn't find it anywhere there, sorry, but thank you!) Then I Googled quotes from the movie and printed it out with the silhouette onto a die cut oval. I framed it with a scalloped oval and added pearls and some flowers.

I hope that you find some time to play along at Shopping Our Stash in our "Inspired by a Book" challenge. We'd love to see what you came up with! Just remember to let us know what book you were inspired by. Before I sign off, let me leave you with a few pictures of our weekend:


Did I mention that I live in the Baltimore, MD area? Yeah, it really sucked living here this past weekend. LOL! Thanks for visiting and I hope you have a great day!


Supplies:
Stamps: Hero Arts - Celebrate Everyday
Ink: Memento - Tuxedo Black
DP: MME - Lucky in Love
CS: Darice; WRMK
Accessories: Computer and printer; Clip art and sentiment computer generated; GC; Std. Ovals & Scalloped Oval Nesties: Avery Elle - Pierced Rectangle die; Offray - flowers; Recollections - pearls
Adhesives: SA by 3L - tape runner, 3D & Thin 3D foam squares


Saturday, January 23, 2016

SISTERHOOD OF SNARKY STAMPERS #51 - T is for Technique


Good (?) morning snarky peeps! I say that with a question mark, because I live in the Baltimore, MD area, which is being slammed by Jonas the Blizzard right now. He sucks. Just sayin. (Or should that say he blows...)

This fortnight at the SISTERHOOD OF SNARKY STAMPERS, we want you to add some sort of technique to your card or project. Whether it's a new to you technique, or one that is your favorite, we want to see it! Here's my card, then I'll essplain:

Oh, and one thing before you look. I added a very nasty (and my favorite one, BTW) swear word on the inside, so you may want to shoo the kiddies away before you start scrolling:


 I did warn you:


For my card, I tried the Acetate Effects technique, in which you take two pieces of acetate, squeeze Crystal Effects onto one, and add drops of Stampin Up reinker ink, then smoosh the two pieces together. I do not own any Stampin Up products. (I believe I'm the only stamper on the planet that doesn't) But that's OK. I used Ranger Glossy Accents and a couple of my Spectrum Noir reinkers. Worked like a charm! And bonus, you get two pieces to work with when you pull them apart and it's all dried. I used paper, stamps, and ephemera from the same collection. I did stamp the 'have a' and 'birthday' onto that 'great' ephemera before adhering it. I even rooted through my much neglected collection of brads and found a gear. One more of a gazillion used! Yay me! Of course, I had to add some snark on the inside. Had to.

Ready to play along? Of course you are! Just link up your card or project at the Sisterhood of Snarky Stampers so we can be all impressed and shit. While there, please check out what my Sistahs, and our Guest Designer - Maarit - have created to awe and inspire you, and leave them some bloggy love! Thanks for visiting, and if you are on the east coast, stay safe and warm!


I'd like to enter this at:
Mojo Monday #431


Supplies:
Stamps: Paper Issues - Freaking Sentiments, Ahh Real Birthday Sentiments, Oh Hell No Sentiments; Carta Bella - Work Hard Play Hard
Ink: Memento - Paris Dusk, Tuxedo Black; Ranger DI - Ground Espresso
DP: Carta Bella - Work Hard Play Hard
CS: Darice
Accessories: Carta Bella - ephemera; Crafter's Companion - acetate; Ranger - glossy accents; Spectrum Noir reinkers in CG4 & IB2; Oriental Trading Company - gear brad
Adhesives: SA by 3L - tape runner, 3D & Thin 3D foam squares; Glue Dots

JUST US GIRLS #327 - Photo Week


Hello and welcome! I'd say good morning, but I live in the Baltimore, MD area, and we are being slammed with a blizzard. So, not so good a morning. LOL!

It's Photo week at JUST US GIRLS, and Sharyn has this fun picture for you to be inspired by. (Because, right about now, I am sooooo ready for some warmer weather!) Here is how I interpreted the photo:


 Here is the inside:

I like using unconventional colors for a holiday, and you can't get much farther away from red and pink than this! After I die cut the heart, I stamped the anchor in white ink, sprinkled white embossing powder over it, and heat embossed it. It didn't give a really good cover, so I drew over the anchor with a VersaMark marker, and repeated the process. MUCH better! Both the anchor and sentiment below saw ink for the first time. Yay me for using my stash!

Now it's your turn. Simply make a card or project based off of the photo and link it up at Just Us Girls! While there, please check out what my other teammies, and our Guest Designers - Deepti and Vicki - have made, and leave them some bloggy love! Remember, if you are picked as Chic of the Week for any of our January challenges, you'll be in the running to be our Guest Designer for the month of March. Good luck and happy crafting!

For those of you on the east coast being effected by Jonas the Blizzard, stay safe and warm!


I'd like to enter this card at:


Supplies:
Stamps: Paper Smooches - Wicked Nauticool; Unity Stamps - FWF winnings from 2013!; Hero Arts - Celebrate Everyday
Ink: Memento Luxe - Wedding Dress; Memento - Paris Dusk
DP: Glitz Design - Love You Madly
CS: Darice
Accessories: GC; SB - hearts Nesties; Stampendous - detail white EP; heat gun; VersaMark pen; Simon Says Stamp - Frames die
Adhesives: SA by 3L - 3D foam squares; Scotch - Scrapbooker's glue


Wednesday, January 20, 2016

Work Hard, Play Hard...

Good morning crafty peeps. I'm popping in with a quickly made card. (Because when you use papers, stickers, and ephemera from the same collection, and a great sketch, it just works!)


 Here's the inside:

I really need to make more masculine birthday cards. I have a bunch coming up and need to get crackalackin making them. The front of my card came together quickly using some paper, that sticker, and the basketball ephemera. The inside actually took the longest, as I combined individual word stamps from three different sets. I had to MacGyver the word "on" into the word "an" by taking a pen and adding the 'kickstand'. LOL! I also had to mask a larger sentiment just to get the word "have". Luckily, I own a MISTI. Seriously, a labor of love going on with this card. ☺

I'm entering my card at CAS Colours & Sketches #156


They are honoring Leslie Hanna of The Crooked Stamper with their sketch, and I really wanted to play along. Thank you very much for doing that, Patricia! ♥

Thanks for visiting my blog. I'm getting ready for this huge blizzard that's supposed to hit on Friday. UGH. Have a great day!


Supplies:
Stamps: Paper Issues - Ahh Real Birthday sentiments, Oh Hell No sentiments, Freaking sentiments
Ink: Memento - Nautical Blue
DP: Carta Bella - Work Hard Play Hard
CS: Recollections
Accessories: Carta Bella - sticker and basketball ephemera
Adhesives: SA by 3L - tape runner, 3D foam squares

Tuesday, January 19, 2016

SHOPPING OUR STASH #235 - 3,2,1


Hello friends and welcome! Today starts a new challenge at SHOPPING OUR STASH - 3.2.1!! What does that mean? Well, we want you to use 3 of something, 2 of something, and 1 of something on your card or project. (Pretty simple, eh?) For my card, I've used 3 rhinestones, 2 die cuts, and 1 image:


 And the inside:

I haven't colored in a few weeks, and it felt really good to color with my Spectrum Noir markers again. (You may or may not have noticed that blinkie in the top right hand column. I'm now an official Spectrum Noir Accredited Colorist!) ** Woo Hoo! Cheers! Cartwheels! ** One of the things on my crafty bucket list was to take the accreditation test. Well, I finally did it and sent it off last month....and I passed! So now I want to set more time aside to color all these amazing digi images I've hoarded over the years. (wink) This one combines two of my favorite magical creatures: fairies and mermaids! It's by Ching-Chou Kuik, an amazing digi artist. I actually purchased this image at the now closed Sweet Pea Stamps company, but I just linked you to her Etsy store. Go there. You will be amazed by her talent. ☺ After I colored the image, I added Diamond Stickles to her wings, fins and tail, and all the flower/star centers and bubbles. And the candle flame. And decorations on the cupcake. I may have gone overboard with the Stickles.

Nah.

(grin)

I hope you find some time to join us this week at Shopping Our Stash! We'd love to see how you interpret our challenge! Please be sure to check out what my teammates came up with, and leave some love on their blogs! Thanks for visiting! Have a great day!


Spectrum Noir markers used:
Skin/Lips/Eyes: FS3, TN2, TN3, CR3;CR3, CR6; EB4, EB8
Hair/Fins: BT3, IB3, BT7
Wings & Tail: LV2, HB2, TB1, LV3
Coverup: CT3, GB6-9-10
Candle/Cupcake: GB2-3-6-7;GT1-2, PP1-4, LV2
Flowers/Stars/Bubbles: PP1, PP4
Background: IB1

I'd like to enter this card at:


Supplies:
Stamps: Ching-Chou Kuik - It's My Birthday digi; MFT - Written in Watercolor
Ink: Simon Says Stamp - Lavender
DP: DCWV - Spring Mix Stack; AC - #Summer
CS: Crafter's Companion; Bazzill; Simon Says Stamp
Accessories: Spectrum Noir markers; Ranger - Diamond Stickles; GC; Paper Smooches - Chains die; Avery Elle - Pierced Rectangle die; rhinestones from my stash; computer & printer
Adhesives: SA by 3L - tape runner, 3D foam squares; Scotch - Scrapbooker's glue


Saturday, January 16, 2016

JUST US GIRLS #326 Color Week


Hello and good morning! This week at JUST US GIRLS is Color Week. Maria is hosting and she's picked these lovely colors for you to play with. (Please use only these colors only) I've been on a Distress Inks kick lately, and this card was no exception:


 Here is the inside:

Yes, I'm playing with more new goodies. (That I gifted myself with. *cough*) My new goodies are the frame dies I used. The largest cuts the scalloped border and the inside - perfect if you want to keep the bulk down on your cards. Also, perfect if you make an ombre' panel, die cut it, and flip the pieces for a cool effect. (IMHO) ☺ The smaller frame is also part of the set, and I stamped that using the same dark blue I made the background with, using my MISTI. I then stamped it again in VersaMark and heat embossed it in clear. I die cut the snowflake from white card stock and heat embossed it, using this super cool holographic embossing powder. My Snarky Sistah, Lindsey, was nice enough to gift me a little sample in the Christmas card she sent me. Thank you again! I am loving this EP!

Just look at the rainbow of colors on that snowflake!

I used a couple more stamps on the inside, again using the same Distress Inks I used for the ombre panel.

So that's what I made. I hope that you find some time this week to play along with our color challenge at Just Us Girls! Please be sure to check out the amazing creations that my teammates and our two Guest Designers, Deepti and Vicki, made and leave them some bloggy love! Remember that if you are chosen as Chic of the Week for any of our January challenges, you'll be in the running to be our Guest Designer for the month of March! Good luck and happy crafting!


I'd like to enter my card at:
Freshly Made Sketches #219
Simon Says Stamp Wednesday challenge: Ombre


Supplies:
Stamps: Paper Smooches - Fresh snow, Christmas Sampler
Ink: Ranger DI - Chipped Sapphire, Tumbled Glass; VersaMark
CS: Strathmore water color paper; Bazzill; Darice
Accessories: GC; Simon Says Stamp - Frames dies; Paper Smooches - snowflake die; WOW! - clear EP; Holographic EP from my Snarky Sistah Lindsey, paint brush
Adhesives: SA by 3L - tape runner, thin 3D foam squares; AC - round foam dot; Scotch - Scrapbooker's glue 

Thursday, January 14, 2016

And now for more smooshing...

Hello crafty peeps, I'm back to share a card I made using one of the 6 smooshed backgrounds I made a couple weeks back. This one is by far my favorite, as the colors I used are so bright and vibrant. (My complete supplies list is always at the bottom of my posts.)


 Here's the inside:

The Happy Birthday die is new to me. I just got it in the mail the other day, and instead of just storing it, I actually used it. I die cut it 3 times, stacked and glued them together before adhering onto the panel. I wanted the smooshed background to be the main element, so I added clear sequins so as not to detract from it. On the inside, after stamping the sentiment, I added some stamped splats using the same colors on the front.

That's it for me. Thanks for visiting and I hope you have a great day!


I'd like to enter this at:
Happy Little Stampers - CAS challenge: Smooshing
Seize the Birhday - Clean and Simple


Supplies: 
Stamps: Stampendous - Birthday Wish; Paper Smooches - I Heart Art
Ink: Ranger DI - Mustard Seed, Spiced Marmalade, Peacock Feathers, Picked Raspberry; Memento - Tuxedo Black
CS: Darice
Accessories: GC; Avery Elle - Pierced Rectangle die; Simon Says Stamp - Painted Happy Birthday die; Darice - sequins; water spritzer; scrap of acetate
Adhesives: SA by 3L - tape runner; Scotch - Scrapbooker's glue and foam tape

Wednesday, January 13, 2016

CASEing Laura Bassen

So, STAMPlorations has a monthly CASE challenge, and Laura Bassen of Doublestick Heaven is their muse this month. Here is the inspiration:


Isn't that a gorgeous card?! I do have that stencil, (which I've yet to use *cough*), but I opted to use the holly stencil instead:


 Here is the inside:


I mixed four different Distress Inks into white embossing paste piles and spread them around the stencil. Once I had it covered, I took my pallet knife and dragged it over the stencil so the colors blended together somewhat. LOVE how this turned out! Once the panel was dry, I adhered it to the card base with foam tape. I wound some gold floss around my fingers and tacked it down with Glossy Accents, then die cut the word Christmas 3 times, stacked and glued them together, and glued that over the floss. the Merry was stamped 3 times to get a nice coating (using my MISTI), then I adhered that also. I added a few clear sequins since I don't have the droplets Laura used. I wanted to continue the holly theme on the inside as well, so I stamped the leaves and berries under the sentiment.

I really love how this came out, and now I want to go and make more embossing paste messes in my craft room! LOL! Thanks for visiting, and I hope you have a great day!


I am entering this at STAMPlorations' January CASEplorations challenge
STAMPlorations Anything Goes challenge,
and the Simon Says Stamp Monday Challenge - Stencil it


Supplies:
Stamps: STAMPlorations - Christmas Bell Medley; Paper Smooches - Christmas Sampler; Hero Arts - Merry Christmas Message
Ink: Ranger DI - Evergreen Bough, Festive Berries, Iced Spruce, Gathered Twigs; Memento Luxe - Wedding Dress; Memento - Tuxedo Black
CS: Darice
Accessories: ARTplorations - Holly Background stencil; Dreamweaver - white embossing paste; GC; Avery Elle - Pierced Rectangle die; DMC floss; Darice sequins; Slice die cutter & Noel cartridge
Adhesives: SA by 3L - tape runner, thin 3D foam squares; Scotch - Scrapbooker's glue and foam tape
adding pinterest script 3. Changing the Position of the Pin it! button The cool thing about this code is that you have some freedom over where the Pinterest button for Blogger will go over the image. Take a look at the code that you just copied and pasted into the HTML for the word 'center'.