Tuesday, February 26, 2019

SHOPPING OUR STASH #390 - Fabulous February


 Good morning and Happy Tuesday crafty peeps!
We have a fun challenge starting today at
Mimi is your hostess this fortnight, and she's challenged us to create something
inspired by February's stone (amethyst), or February's flowers (iris and violet)!

 A few days ago, I posted about this card using this tutorial to create a background.
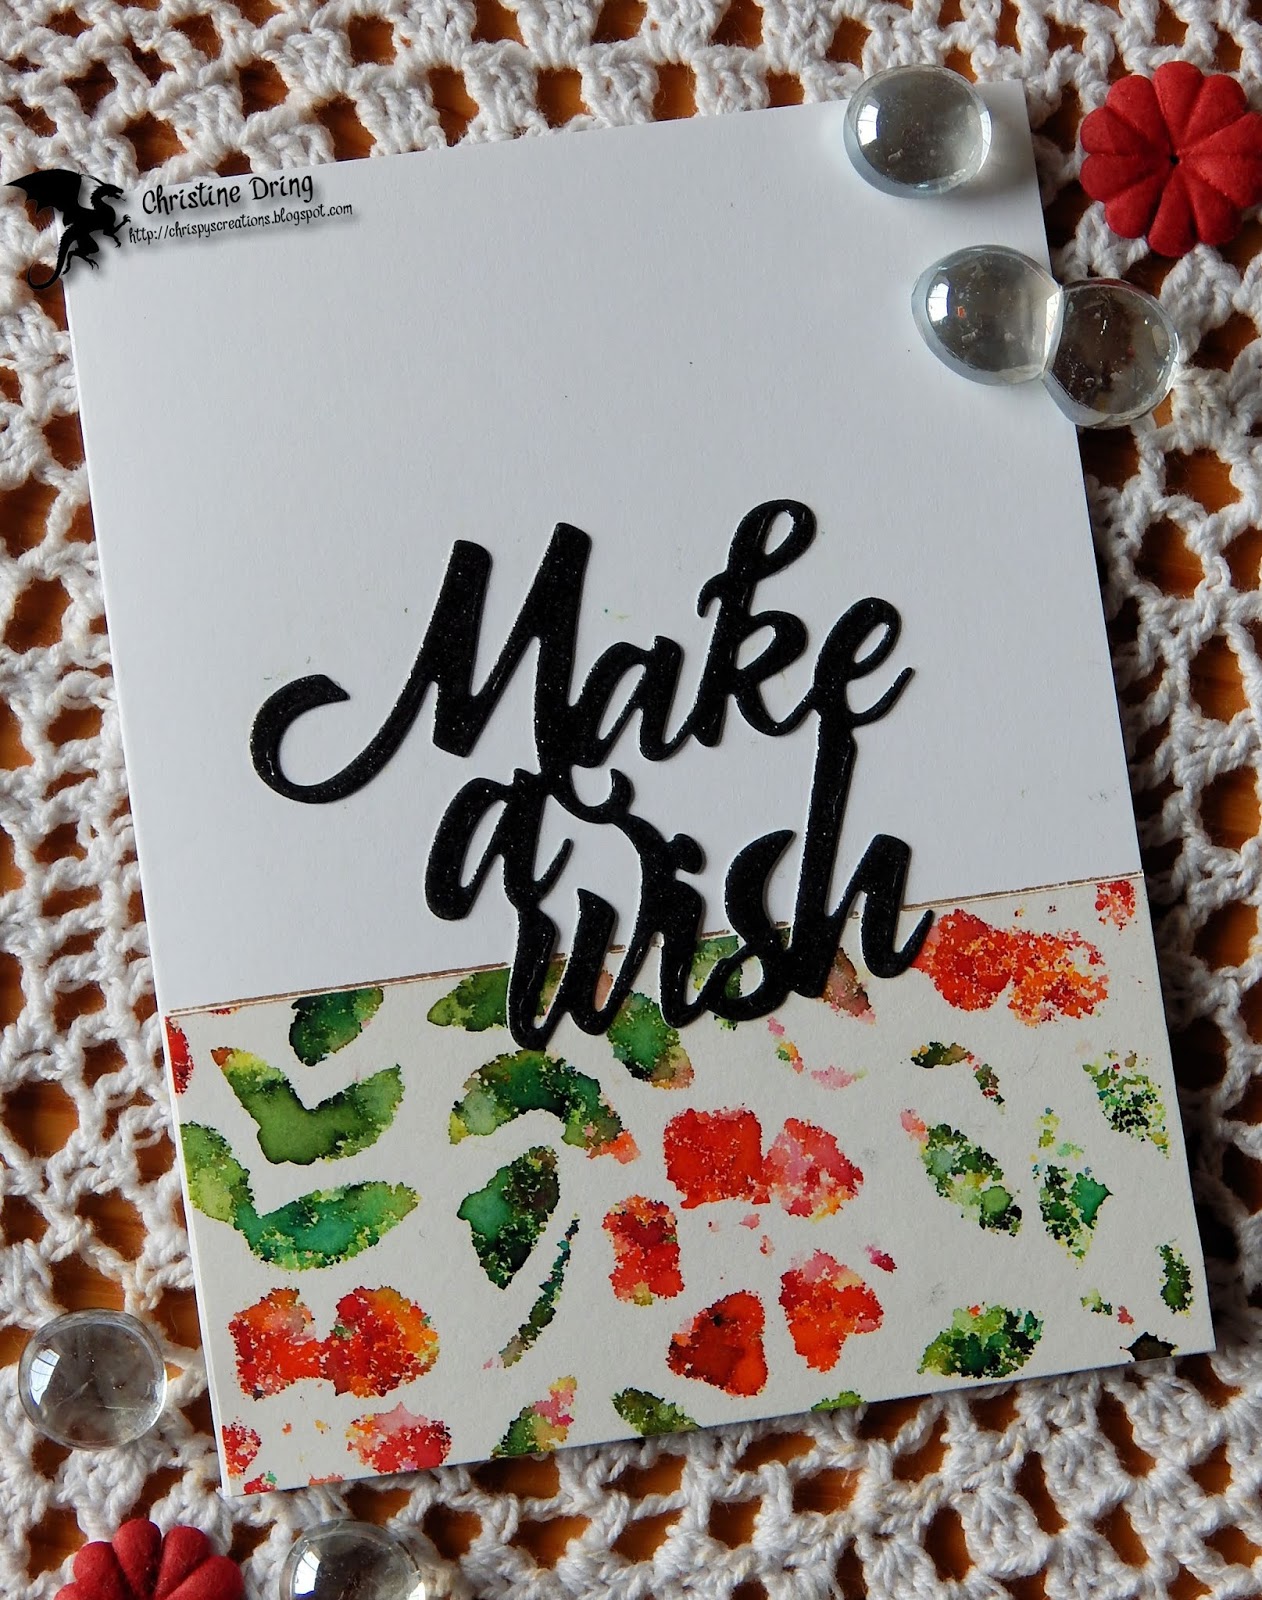
Well, I just happened to make a couple more panels using another
stencil and different colors of powder dyes. Since one of the dyes happened
to be violet, I figured I could use these for my cards.


Here's my first card:
 

and the inside:

I broke out some ancient ribbon that matched pretty well with my card base color.
The butterfly receive a heavy coating of my Wink of Stella pen.
I tried to get a picture of all the sparkly goodness:
 

 Since I had two panels, I made another card:


and the inside:

I experimented with spritzing the back sides of the vellum wings with some 
turquoise shimmer spray, and I really like the effect! As with the butterfly, this cute faerie
 was equally coated with my WOS pen.

I hope you get some time to join in our Fabulous February challenge
at Shopping Our Stash! We'd love to see how you interpret it on your projects.
Thanks for visiting, and I hope you have a great day!


I'd like to enter these at Just Us Girls #476


Supplies
For both cards:
Ink: Versamark; Memento - Elderberry
CS: Strathmore Mixed Media paper; Recollections; TE; Darice
Accessories: STAMPlorations - Fairy Tale Forest stencil; Magenta Nuance powder dyes - Violet, Purple, Jade, Grass Green, Turquoise; water mister; GC; MISTI; Recollections - vellum; WOS  pen; Stampendous - detail white EP; heat gun
Adhesives: SA by 3L - tape runner; Glue Dots

Butterfly card:
Stamps: STAMPlorations - A snarky birthday to you; Technique Tuesday - Umpteenth birthday
Accessories: STAMPlorations - Flutter Zen 1 layering dies; Recollections - ribbon
Adhesives: Recollections - tacky tape

Faerie card:
Stamps: Stampendous - Birthday Wish
Accessories: Poppystamps - Princess Faerie die; Deco Art Media - turquoise shimmer mister

Saturday, February 23, 2019

SISTERHOOD OF SNARKY STAMPERS #129 - D is for Diet


Hello snarky peeps!
their newest challenge: D is for Diet!

This was kind of hard for me at first, since I don't really own any
diet themed stamps. But there is this thing call a meme, so I Googled 
memes about diets and came up with these two cards: 


I love to pair snarky sentiments with these retro gals from
Riley & Co. I simply printed the sentiments out
with the help of my computer and printer. 
I thought they needed a bit more something, so I used a couple
grungy border stamps around the edges, and done!


Now it's your turn to dazzle the Sisters with your projects about diets! We'd 
love to see your take on it. Just link up at the Sisterhood of Snarky Stampers so
we can admire it! Need more ideas? Simply check out what my Sisters, and our
newest Queen & GD Tenia, have created for your viewing pleasure.
Have fun and thanks for popping by!


Supplies:
Stamps: Riley & Co. - Wondering Midge, Coffee Lady; STAMPlorations - Mixed Media Elements
Ink: Memento - Tuxedo Black, Grape Jelly, Lilac Posies
CS: TE; Darice
Accessories: GC; Lawn Fawn - scalloped rectangle die; MISTI; computer & printer
Adhesives: SA by 3L - tape runner

Friday, February 22, 2019

A bevy of birthday cards

Hello and welcome crafty peeps!

I was playing in the craft room again, to try a new-to-me technique:
using powder inks with stencils. Using this tutorial as a guide,
I made two panels:


From these, I created 4 cards:


I used a couple word dies cut from black and gold glitter paper. A couple I left
super CAS, and the other two I felt compelled to add gold sequins to. LOL!

There you have it. Four more cards to add to my severely depleted birthday card stash!
Thanks for visiting, and I hope that you have a great day!


I'd like to enter these challenges:


Supplies:
CS: Strathmore Mixed Media paper; TE; Neenah
DP: DCWV - gold and black glitter paper
Accessories: Magenta- Nuance Powder Dyes: scarlet, orange, golden yellow, grass green, jade; GC; STAMPlorations - Make a Wish and Birthday Wishes word dies; ARTplorations - Botanical Lush stencil; water mister; Darice - sequins
Adhesives: SA by 3L - tape runner; Ranger- Glossy Accents; Deco Art Media - matte medium

Thursday, February 21, 2019

Furbaby love

Hello and happy Thursday to you!
It's great to be back home again. I've been out of town the last couple of weeks,
(one scheduled, one to help out a family member during a medical emergency)
No worries, all is well, and said family member is doing fabulous.
The scheduled week was for pure fun, as I flew back to Illinois to spend time
with my family. It was a whirlwind couple of weeks, but getting to see my
Mom, sisters and brother was so much fun!

To keep me occupied when I had some down time, I did some coloring
with my Prismacolor pencils and stamped images that I brought with me.
The below card uses a couple of the images:


here's the inside:

I sponged some teal ink through a stencil before stamping my sentiment and gluing
the fussy cut images onto the card. Another sentiment finishes the inside.

And my furbaby? That would be this absolutely adorable
Golden Retriever/Chow mix, Colby:


Yesterday we celebrated the 9 year anniversary of him adopting us as his forever family.
We are truly blessed to have him in our lives!

Speaking of my furbaby, he's letting me know it's time for a walk now. LOL!
Thanks for visiting, and I hope you have a great day!


I'd like to enter this at:
ETA: Must have just missed the cut off for Craft Stamper. I haz a sad.


Supplies:
Stamps: Katzelkraft - Les Chiens, Les Drole d'Accessoires; For the Love of Stamps - Purrfect Sentiments; Taylored Expressions - In & Out Birthday
Ink: Memento - Tuxedo Black, Teal Zeal
CS: Crafter's Companion; TE; Darice
Accessories: Prismacolor pencils; GC: Avery Elle - double pierced rectangle die; MISTI; STAMPlorations - Grid Locked stencil; blending tool
Adhesives: SA by 3L - tape runner; Elmer's extra strength glue stick

Tuesday, February 12, 2019

SHOPPING OUR STASH #389 - Make Your Mark


Hello and welcome back crafty friends!
I'm hosting the new challenge at
and as the title suggests, we'd like you to color anything you want
using markers on your project!

Here's my card:


and the inside:

I think this is one of the first stamps I bought when I began scrapbooking
over 10 years ago. Glad I rediscovered it and colored it up with
my Spectrum Noir markers. This is pretty CAS for me. I just couldn't
leave the card base blank, so I sponged some gray ink through a stencil
to break up all that white space. ☺

Just a reminder, our challenges are running every two weeks now. Plenty
of time to color something using markers for a project and link
up at Shopping Our Stash!  I look forward to seeing what you create!
Thanks for visiting. Have a great day!


Supplies:
Stamps: Craft Smart/Michael's - chick w/bunny ears; Paper Smooches - Critter Card Puns, Spring Fling
Ink: Memento - Tuxedo Black, Gray Flannel, Rich Cocoa
CS: Crafter's Companion; Taylored Expressions; scrap
Accessories: Spectrum Noir markers; GC; MFT - zig zag square die; STAMPlorations - Flourishes stencil; MISTI; WOS pen; sponge dauber
Adhesives: SA by 3L - tape runner

Saturday, February 9, 2019

SISTERHOOD OF SNARKY STAMPERS #128 - K is for Kitties


Hello snarky peeps!
It's time for the new challenge at the
The next two weeks are brought to you by the letter K.
As in K for Kitties!

Here's my offering:


I saw a t-shirt that said this and I knew I had to make it into a card!
Love the fact that this kitty looks anything but humored by 
the humerus bone. LOL!

So now it's your turn to break out your kitty stash and make a project
that proudly displays them. Be sure to link up at the 
Sisterhood of Snarky Stampers so we can admire it!
For more ideas, do check out what my Sisters, and our reigning
Queen, Lisa, have created for your viewing pleasure.
Thanks for visiting. Have a great day!


Supplies:
Stamps: Katzelkraft - Les Chats Russe
Ink: Memento - Tuxedo Black
CS: Crafter's Companion; Taylored Expressions
Accessories: Spectrum Noir markers; MISTI; computer & printer; free clip art of humerus bone; GC; Avery Elle - double pierced rectangle die
Adhesives: SA by 3L - tape runner; Elmer's extra strength glue stick

Friday, February 1, 2019

STAMPlorations February Theme & Sketch Challenge!

Hello and happy Friday to you!
It's time for the February

Below is the sketch, and your theme this month is Stamps & Hearts,
just in time for Valentine's Day!


 I've used just the theme this time around for my card:


I started by cutting my panel from the Crazy Double Running Stitch Rectangle Nesting die.
I then placed the Zen Hearts stencil over it and sponged some pink and purple
inks through it. The panel was dry embossed using a folder frame to leave the center of the 
panel flat. Using the Say It Big-Do What You Love stamp, I stamped in black ink then
over it with versamark, and embossed it with clear embossing powder. I found some
much neglected metal heart stickers in my stash that matched perfectly with my 
color scheme. Woo Hoo! Bonus!

I hope you get a chance this month to make a project and link up at 
STAMPlorations Theme & Sketch challenge! We'd love to see what you create.

Just in case you haven't heard, there's a sale going on at the


Even if you're not a premium stamp club subscriber, you can use 
my special discount code:
STAMPGIRLCHRIS
for an extra 20% off your order!

Thanks for visiting, and I hope you have a fabulous day!


Supplies:
Stamps: STAMPlorations- Say It Big-Do What You Love
Ink: Memento - Tuxedo Black, Grape Jelly, Lilac Posies; Versamark
CS: Taylored Expressions; Darice
Accessories: STAMPlorations - Crazy Double Running Stitch Rectangle nesting die; Zen Hearts stencil; GC; Darice - multi sized dots EF & oval folder frame; Colorbok - heart stickers; MISTI; Wow! - clear EP; heat gun
Adhesives: SA by 3L - tape runner
adding pinterest script 3. Changing the Position of the Pin it! button The cool thing about this code is that you have some freedom over where the Pinterest button for Blogger will go over the image. Take a look at the code that you just copied and pasted into the HTML for the word 'center'.