Showing posts with label Marvy Uchida markers. Show all posts

Monday, January 13, 2020

Easy water coloring...

Hey there, it's a two-fer Monday posting!
Earlier last week, I watched this video by Bonnie and was inspired
to try my hand at water coloring again.
I used a hydrangea stamp from a set that I've had for at least
five years. I've never used this flower from the set before so 
I challenged myself to use it.
I had the added task of making a mask for the hydrangea as the leaves
are a separate stamp. Other than that, I pretty much followed
along with Bonnie's tutorial, and Holy Crow, it worked!!


Here's the inside:


I have Marvy LePlume II markers (it's been so long using these 
that many are dried out. I haz a sad.) In hindsight, I should have
used the medium green to stamp the leaves. I used the lightest color and
the details disappeared when I colored them, so I restamped them
with the medium green after it was dry. I used a scrap of black card stock
and die cut a rectangle matte that has a pierced border around it. I just
snipped both the long sides and adhered to the back side of the main
panel, then trimmed before adhering to my card base. If you enlarge the photo, 
you may be able to see the detail. (crossing fingers) 
A simple stamped sentiment and this card was finished.

Well, that's it for today. The laundry isn't going to wash itself and
the maid hasn't showed up. Wait, I'm the maid. Sigh...

Have a great day and thanks for visiting!


I'd like to enter this at:


Supplies:
Stamps: Winnie & Walter - In Bloom: Addie's Garden; Taylored Expressions - Care & Comfort
Ink: Memento - Gray Flannel
CS: Strathmore water color paper; TE; scraps
Accessories: Marvy Uchida LePlume II markers; MISTI; Plaid paint brush; Gemini; Avery Elle - Pierced rectangle die; Inkadinkado masking paper
Adhesives: SA by 3L - tape runner

Saturday, May 7, 2016

JUST US GIRLS #342 - Word Week


Hi all and welcome! This week, Sharyn is your hostess for Word Week at JUST US GIRLS! She's picked the word BUTTERFLY for you to play along with. (I don't know about you Sharyn, but I think we may have a lot of entries this week! LOL!) Here is the card I made for this challenge:


 and here is the inside:

OMGee! I just about made a one layer card! (a very hard thing for me to do - I LOVE my layers!!) My itty bitty butterfly was die cut, stamped, colored and given a coating of Crystal Stickles for some sparkle. The sentiment on the front is computer generated, but stamped on the inside. I used silver ink for the swirl and added rhinestones for more sparkle. (Can never have enough sparkle!) Then I doodled around the edges to complete the card. 

I hope you get a chance to play along in our Word Week challenge! We'd love to see your butterfly creations in the gallery at Just Us Girls! We have a new Guest Designer starting today - Aileen Ryan! Welcome Aileen!  Ya'll need to see the card she made for this challenge - it's jaw-in-your-lap gorgeous! For even more inspiration, why not check out what my teammates have created for your viewing pleasure. You won't be disappointed! 

Remember that if you are picked as Chic of the Week for any of our May challenges, you'll be in the running to be our Guest Designer for the month of July! Good luck and happy crafting!


Supplies:
Stamps: Paper Smooches - Flap Happy, Smarty Pants, Chart Toppers
Ink: Memento - Tuxedo Black; Brilliance - Starlite Silver
CS: Darice; Strathmore water color paper
Accessories: GC; Paper Smooches - Butterflies 3 die; Marvy Uchida markers; Kuretake - water brush; Nicole - rhinestones; Ranger - Crystal Stickles; sentiment computer generated
Adhesives: SA by 3L - 3D foam squares

Tuesday, March 25, 2014

Shopping Our Stash #144: Oldest Tree Stamp

Good morning and Happy Tuesday peeps! We have another fun challenge at SHOPPING OUR STASH! This week we want you to dig out your oldest tree stamp and create a project with it. I have used items that were gifts, either from a great friend, or from comment-to-win goodies.


Here is the finished inside:

My tree stamp was a comment-to-win prize from 2 or 3 years ago at Moxie Fab World, from none other than Cath Edvalson herself! (Does anyone else feel like MFW isn't the same without her?) This is also the first time it was inked, er, colored. I tried a faux water color technique for the tree panel. I used my Marvy Uchida markers and colored the tree, misted it with water, and stamped on water color paper. The colors blended a little. Not too much, and that was what I was hoping for. (otherwise, it probably would have looked like a big blob) It's hard to see, but I dotted glitter glue in the flower centers. (That was part of another MFW win from Cath last year) The best item on this card, I think, is that little birdie wood cut, which was a gift from none other than Jessi Fogan! (See? I AM using and not hoarding them!) It was sprayed with Yellow Daisy Glimmer Mist and, once dry, adhered to my card.

In my previous blog post, I said that I couldn't cut straight and square to save my life. So, I embraced that and purposely cut my panels all wonky. Kind of like how that turned out too!

So, ready to play along? I know you are! Be sure to link your project at SHOPPING OUR STASH, and while there, please check out what my teammies came up with for your viewing pleasure! You won't be disappointed! Thanks for stopping by and I hope you have a fantastic day!

Chris
Supplies
Stamps: My Cute Stamps - Owlways Friends; MFT - Essential Sentiments
Ink: Memento - Tuxedo Black
CS: Paper Smooches (lime); scraps
Accessories: water color paper; Marvy Uchida markers; Doodlebug twine; Grand Calibur; Darice - Flower Frenzy EF; wooden birdie die cut from Jessi; Tattered Angels - Yellow Daisy Glimmer Mist; glitter glue; water mister
Adhesive: SA by 3L - MyStik permanent, 3D foam squares, Crafty Power Tape; Glossy Accents; Glue Dots

Sunday, September 1, 2013

You say Witch.....

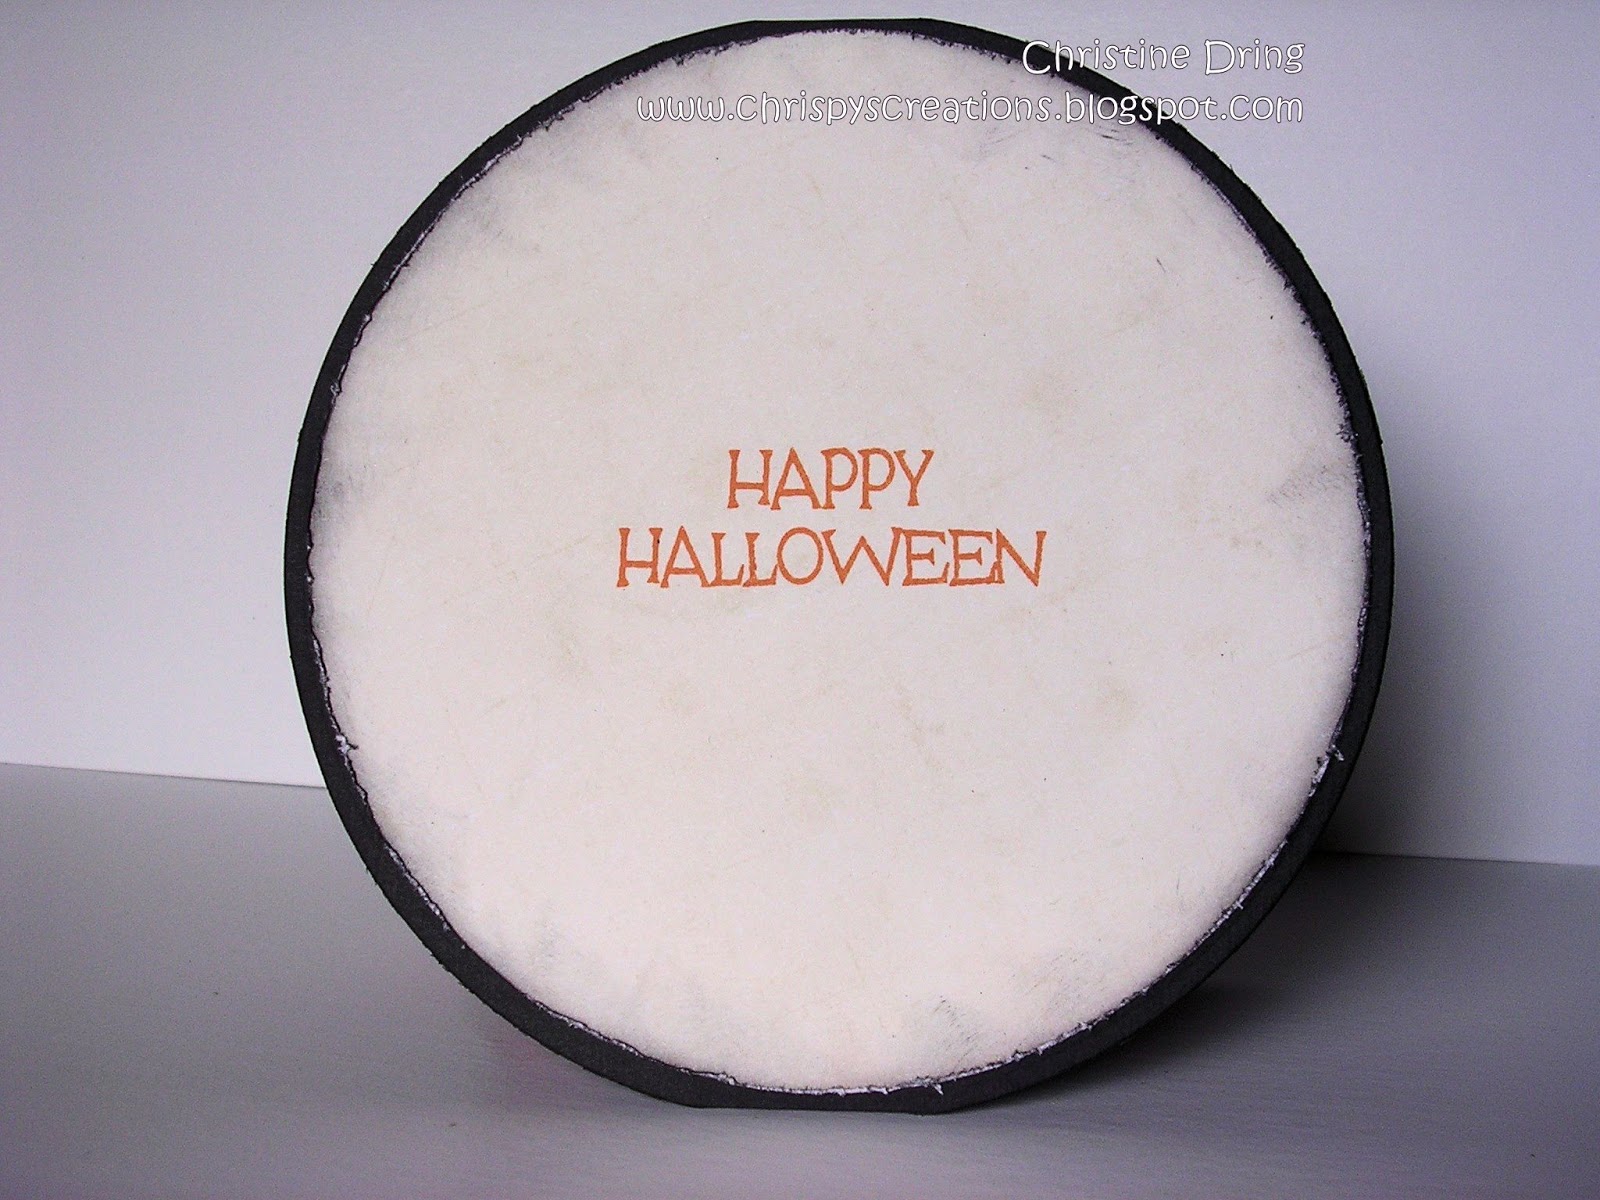
Hello friends! I hope you are all enjoying your weekend, and Happy Labor Day weekend to my American and Canadian peeps! I'd like to share a card I made for the Simply Betty Stamps Facebook Fanpage August challenge, using the sketch from Mojo Monday #308.

Meet Mercedes the Witch:


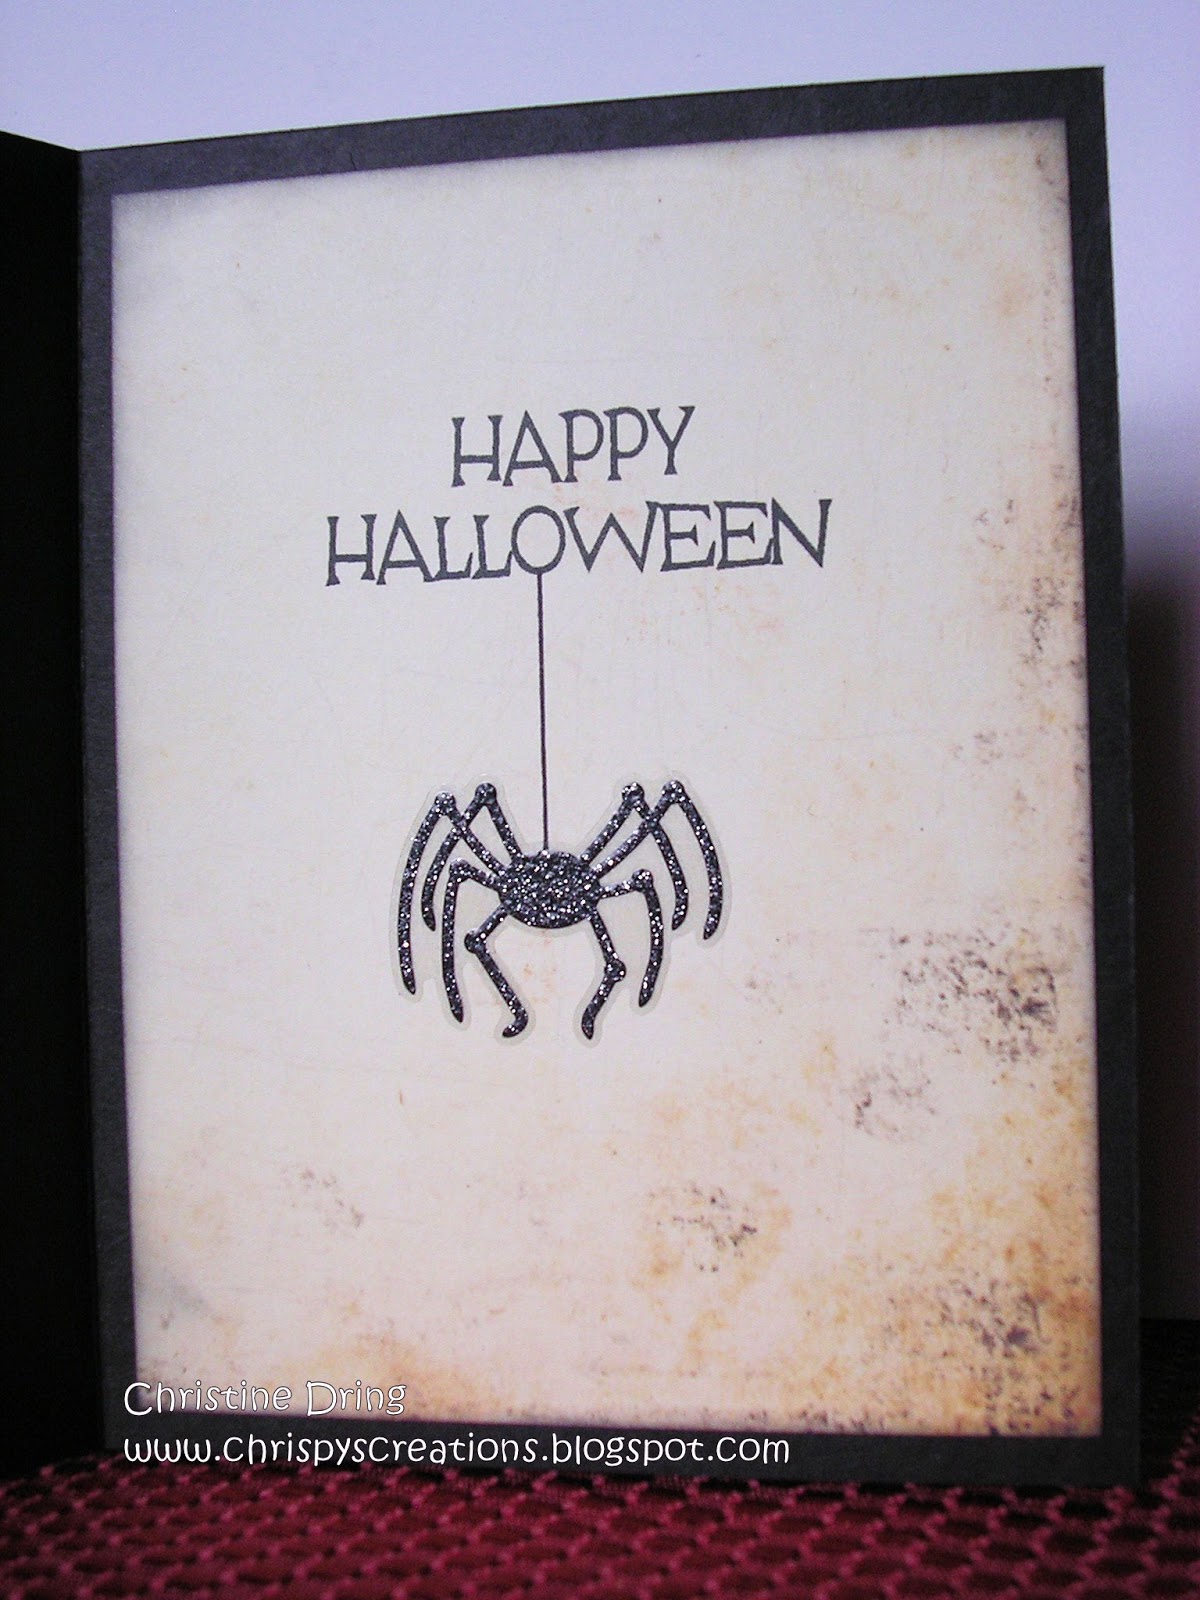
Here is the inside:

and the sketch I based my card from. I made a round card! But I gave it a quarter turn to fit my needs:


Love Betty's images! Mercedes is a free digi! The only catch to get this is to join the fan page, and you have to use it for that challenge (Halloween colors for this challenge). Easy peasy! I'm still collecting Spectrum Noir marker sets, so this is another hybrid coloring, using SN and Marvy Uchida markers. Even more, I'm still trying to figure out how to color with the SN's. They react so differently from the MU's! Ugh! Well, I'll just keep coloring until I figure it out! ☺

Thanks for stopping by and I hope that you all have a great weekend! Craft on my friends!

Chris
Supplies
Stamps: SBS - Mercedes digi; Unity - You Witch! Itty Bitty; Hero Arts - Celebrate Everyday
Ink: Memento - Tuxedo Black; Tangelo; Clear Snap - Charcoal
DP: Authentique - Thrilling
Card stock: Bazzill Basics (black); Paper Smooches (kiwi); Recollections (purple); Bristol (white)
Adhesives: SA by 3L - MyStik, 3D foam squares; Elmer's extra strength glue stick
Accessories: Spellbinders Grand Calibur, Grand Circle and Labels 14 Nesties; Spectrum Noir markers; Marvy Uchida markers; Studio 112 gems; Jolee's Boutique - spider sticker; Tonic distressing tool; Martha Stewart - web punch

Saturday, August 31, 2013

Enjoy!

Good mornings friends! There's a new challenge at Drunken Stampers: #139 Place - A campsite. You can use a campsite as your inspiration, or the prompts, in this case woodgrain or wooden elements. You can even go all cray cray and do BOTH!


DS139

 It's not my week to play, Team Yellow Canaries is up this week to inspire you, but I still wanted to have some fun with this challenge. I think I pulled it off. What do you think?:


Here's the inside:


Guess who's stamps I used?!! LOL! So, I made a scene. Lots of trees, some rolling hills, a tent in the distance, and a deer roasting marshmallows over a campfire. Hey, it can happen! Lots of fussy cutting on this one. Added some shading to the trees and deer. I just love how this came out!

I'm going to enter this for #116: For the Boys challenge at Shopping Our Stash and also for Simon Says Stamp Anything Goes challenge.

Thanks for stopping by and I hope that you not only check out the Drunken Stampers Campsite challenge, but play along as well!

Craft on my friends! Happy Labor Day weekend to those celebrating!

Chris
Supplies
Stamps: Paper Smooches - Happy Camper, Autumn Groves, Birthday Sampler, Forest Whimsy
Ink: Memento - Tuxedo Black, Rich Cocoa, Gray Flannel
DP: scraps
Card stock: The Paper Co. (blue), scraps
Adhesives: SA by 3L - MyStik, 3D foam squares; Elmer's extra strength glue stick
Accessories: Spellbinders Grand Calibur, Std. Lg Ovals, Scalloped Circles Sm Nesties; Paper Smooches - Borders 1 dies; Marvy Uchida markers

Friday, August 30, 2013

little gal. little guy.

Good morning friends! TGIF!  I have a card to share that I made based off Wanna Sketch #8, and since I used Unity stamps, I'm going to enter this also in Unity's FWF:


Here's the inside:


and the sketch:


Isn't this a great sketch? Love Lisa's sketches! I was waiting for the right one to use these cute stamps with. My twin grandniece and grandnephew will be turning 1 yrs old in September. OMGee, they are the cutest little babies!


See? Absolutely adorable! I have another photo of them I was sent when they were 9 months. They were wearing turquoise outfits that had bright green accents. That's where I got my color choices from. I stamped, colored and fussy cut the images then popped them up on foam squares. I stamped the inside sentiments then (tried) to stamp just the shoes and bow tie between them. I'm not too happy with how that turned out - they are too far apart, oh well. I don't have a stampamajig and winged it. Hard to do with rubber stamps. Oh, it's kind of hard to see, but I added some diamond Stickles to the center of the flowers on her dress. You know, for a little sparkle! ☺

Well, that's it for now. Colby is telling me he'd like his walk now, so off we go! Have a great day!

Chris
Supplies
Stamps: Unity Stamps - August & March 2012 KOM
Ink: Staz On - Jet Black; Memento - Tuxedo Black
Strathmore Water Color Paper
Card stock: Paper Smooches - Frosted Kiwi from the Lily collection
Adhesive: SA by 3L - 3D foam squares
Accessories: Marvy Uchida markers; Fiskars corner rounder

Monday, August 26, 2013

Happy Birthday.../FMS#100

I love to color. It's therapy for me. Anyone else feel like that? ☺ I won this image from Bugaboo Stamps a while back and thought it was high time I inked her up. I'm trying to get the hang of coloring with alcohol markers. They react differently than my Marvy Uchida water based markers. This is a hybrid of both Marvy Uchida (water based, hair) and Spectrum Noir (alcohol, everything else) markers. I just started accruing the SN markers, but I only have a few sets. (I don't have the browns yet!) I made this card based on Freshly Made Sketch #100:


Here is the inside:


Did you know Freshly Made Sketches is celebrating their 100th sketch? Yep, and there are prizes to be had! But as usual, I'm waiting until the last minute to get my card entered! LOL! 


You still have time to play - it ends today at noon PST. Hope I see your card there! Have a great day and thanks for stopping by!

Chris
Supplies
Stamps: Bugaboo digi; Paper Smooches - Birthday Sampler
Ink: Memento - Tuxedo Black; Ranger DI - Broken China
DP: MME - The Sweetest Thing
Card stock: Bazzill Basics
Adhesives: SA by 3L - MyStik, 3D foam squares
Accessories: Spellbinders Grand Calibur, Standard Circles Sm & Lg, Labels 14 Nesties; Spectrum Noir markers; Marvy Uchida markers; Creative Charms - pearls; 

Saturday, August 24, 2013

Drunken Stampers challenge 138 Person: Party Planner

Good morning peeps! It's time for another fun filled challenge at the Drunken Stampers! This week's challenge is based on a Person - specifically a Party Planner.


If that throws you off your game, never fear. You can create a project that has to do with any celebration, be it a birthday, anniversary, wedding, etc. It's team Tropical Hooter's turn this week to dazzle you! Here's what I came up with:


I tried using some foil paper for the card. I really like how it looks, but it's a b*tch to photograph! LOL! Here are some different angles so you can bask in the reflectiveness! HA!


Here is the finished inside:


Yep, I used my beloved Paper Smooches stamps! It's an obsession that I do not want to be cured of! LOL! So, on to my card. I thought that a little scene depicting a happy little doggie celebrating a birthday would work splendidly for this challenge! I heat embossed him, then colored and fussy cut him out. Even added Glossy Accents to give his eyes some dimension. Here's a tip for adding a custom party hat to an image: on a piece of scrap paper stamp just the top of the head, then draw two lines to make the hat. Cut out using the contour line from the head and you will have a perfect fit for your party hat! I used some glitter glue along the bottom of the hat and added a rhinestone at the tip. Easy peasy! And what's a party without a banner, cake, and presents! To keep with the doggie theme, I used a paw print border punch along the edges of the foil paper. Super cute!

So, what are you waiting for? Go and play along with our new challenge, Party Planner, and have FUN! Don't forget to check out what my Tropical Hooter teammates dreamed up! You won't be disappointed!

Thanks for stopping by and I hope that you have a great day!

Craft on my friends!

Chris 
Supplies:
Stamps: Paper Smooches - Chubby Chums, Birthday Sampler
Ink: Versa Mark; Clear Snap - Dark Peony
DP: MME - Dolled Up; Recollections foil paper
Card stock: Recollections (white); Bazzill Basics (pink)
Adhesive: SA by 3L - MyStik, 3D foam squares; Glue Dots
Accessories: Marvy Uchida markers; EK Success - Paw Print Edger; K&Co. stickers; KI Memories - alpha stickers; Doodlebug twine; Glossy Accents; Inkadinkado - black embossing powder; heat gun; rhinestone from my stash; Glitter glue - happy mail from MFW's Cath Edvalson!

Friday, August 16, 2013

Trick or Treat.../MojoMondays#306/Unity FWF

Hello and happy Friday! It's been so beautiful these last few days that I haven't really done much in the way of housework. (It's over rated anyway. Besides, it's not going anywhere!) But I have been enjoying sitting out on the deck and reading. When I'd take a break from that, I'd go to my craft cave and make awesome sh*t! For real. See?:


Anyone else get this sign from Unity? It spoke to me, so I had to get it! LOL! Some quick work with a picture frame hanger on the back and it's proudly hanging in my craft cave! Woo Hoo!

Anyhooo, my evil doublemint twin Jessi sent me some kick-ass goodies, one of them being these crocheted mats that she makes herself! Super cool, right?!! She is so talented! After a couple days of admiring them, I felt I needed to actually USE them! So here is what I came up with:


Here's the inside...


I based my card from the Mojo Mondays #306 sketch:


I'm also going to enter this for Unity Stamp's Friends With Flair. The jack-o-lantern was stamped, colored, fussy cut and adhered with foam squares. I die cut the banner then stamped trick or treat and that was adhered with foam squares as well. The spider sticker was clear, but I rubbed some powder on the back to get rid of the stickiness. It made it look like vellum, pretty cool! It's also adhered with a foam square.

Hey, if you like these crocheted mats, Jessi has them for sale on her blog: OneCraftyMama, in different sizes, shapes and colors! Go check it out! Thanks again Jessi! Love ya girl! MUAH!

Thanks for stopping by! Now go get your craft on! (or your drink on. It IS Friday, after all!) LOL!

Chris
Supplies:
Crocheted Mats made by Her Most Supreme Awesomeness, Jessi Fogan!
Stamps: Unity - October 2012 KOTM; Hero Arts - Celebrate Everyday
Ink: Staz On - Jet Black; Memento - Tuxedo Black; Clear Snap - Charcoal
DP: Authentique - Enchanted
Card stock: Recollections
Adhesive: SA by 3L - MyStik, 3D foam squares
Accessories: Spellbinders Grand Calibur & Lg Standard Circle Nesties; Paper Smooches Streamer Die; Marvy Uchida markers; Anna Griffin border sticker; Martha Stewart spider stickers

When Pigs Fly..../PS Sparks-Aug. Designer Draft

Guess what? I made a card and am entering it a couple days before it's due. Instead of the hour before on the day it's due. Please don't fall off your chair. ☺ This is for the current Paper Smooches Sparks - Designer Drafts challenge:


Here's the inspiration sketch:


Look! Pigs CAN fly!!! With the help of a kite! LOL! I stamped, colored and fussy cut that cute little piggy. She's adhered with foam squares, as well as the kite. I carefully cut around the pig's mouth with an X-Acto knife so I could fit the twine under it. It sort of worked. Like she's holding onto the kite tail with her mouth. But just in case she wants to squeal in joy, she's also holding on to the it with her front hoof!

You may have noticed that there's not a picture of the inside. That's because I didn't finish it yet. (Gasp!) I couldn't decide if this was going to be a birthday card or a congrats card, so I left it blank. I'll stamp the inside when I send the card out. Easily done!

Thanks for stopping by and have a great day!

Chris
Supplies: Paper Smooches - Green Acres, Sunny Side Up, Chubby Chums
Ink: Memento - Tuxedo Black
DP: Graphic 45 - Bohemian Bazaar
Card stock: Recollections
Adhesive: SA by 3L - MyStik, 3D foam squares; Helmar 450 glue
Accessories: Spellbinders Grand Calibur; Paper Smooches Cloud Dies; Cuttlebug EF- lines from the James' set; Doodlebug twine; Marvy Uchida markers; Fiskars corner rounder

Wednesday, August 14, 2013

Frazzled?.../CTS#40 & CFC#111

I don't know where you live in your neck of the woods, but here in my corner of the country, it is beautiful outside!! A cold front moved in overnight, and it's in the low 60's, a sunny, gorgeous morning! I have a feeling that I'll be outside on the deck most of the day today. ☺

Well, now that you have the weather report (grin), let me share with you a card I made for both CAS(E) this Sketch #40 and CAS-ual Fridays #111:


Here's the inside:


And the challenges:


Isn't she cute? This Itty Bitty is called Frazzled, so that became my sentiment. She's colored with Marvy Uchida markers, fussy cut and adhered with foam squares on the main panel. I picked that patterned paper because I thought it added to the frazzled theme! I also added Glossy Accents to her button eyes. A couple more stamps to the inside and I was done!

Thanks for stopping by! Keep on crafting and have a great day!

Chris
Supplies:
Stamps: Unity - Frazzled Itty Bitty, that stinks from Ah Crap set; Studio G - alphas; Hero Arts - Everyday Sayings
Ink: Staz On - Jet Black; Memento - Tuxedo Black
Strathmore water color paper
DP: Basic Grey - Persimmon
Card stock: DCWV
Adhesive: SA by 3L - MyStik, 3D foam squares; Glue Dots
Accessories: Marvy Uchida markers; Glossy Accents; Fiskars pinking shears; DMC floss; button from my stash 

Friday, August 9, 2013

Bad to the Gills!.../SBS July Facebook Fan Page challenge

Once again, I'm entering a challenge at the 11th hour. But I couldn't think of what to do until last night! Betty from Simply Betty Stamps has a Facebook Fan Page contest where she generously gives you a digi image for free (I know! Cool Beans!), but there are two catches: 1) you have to be a member of the Facebook Fan Page and 2) you must use the free image for the contest it was designed for. (Seriously, it's a no brainer!) For July's contest, she offered two images to choose from - Roxie the Good Mermaid and Spika the Bad Mermaid. Which one did I pick? Well duh! Spika, of course! LOL! Here's what I came up with:


I made a tag! This, I think, is going to be my new bookmark! HA! Meet Spika, the Bad Mermaid! (She's really not bad, just drawn that way! LOL!) Ok, I know this is not the best coloring job, mainly the tail fins. There are a couple new things I've tried out on this tag. First, I finally bought alcohol based markers! (I have Marvy Uchida markers, which are water based) Thought it would be easy to use my new Spectrum Noir pens - not! They react differently than the M.U's do, especially when using the blender pen. I only have the essentials and pale hues sets, which I used for the skin, tail fin, and hair. The green is M.U. (I strongly hinted to my hubby that I'd like the rest of the sets for my birthday present! We'll see how that flies! HA!) Secondly, I tried the Fran-tage technique for the first time! I sprinkled champagne EP and Gilded & Tarnished Mica flakes at the bottom of the tag, then heated it from underneath. Worked like a charm! Spika is popped up on foam squares. Oh, and before I did ANY of that, I smeared my craft mat with distress inks, spritzed with water and layed my tag into the mess. Once dry, I printed the sentiment from my computer.  OH, OH! Thirdly, I used a water pen for the first time around the tag hole, since it didn't touch the ink at first. Here's a different angle so you can see the shiny EP and Mica flakes better:


I finished with some baker's twine and some rain dots to mimic air bubbles and was done! A cute little underwater scene. Except for the crappy coloring job on the fins, I LURV how this turned out!

Well, that's it for now. Thanks for hanging on till the end of my post. For that you deserve an ice cold beverage of the alcoholic kind! LOL! Have a great day!

ETA: I'm also entering this for the CAS on Sunday #14 - Tag it challenge! Thanks Barb!

Chris
Supplies:
Stamps: SBS - Spika digi
Markers: Spectrum Noir; Marvy Uchida
Ink: Ranger DI - Broken China, Peeled Paint, Vintage Photo
Strathmore water color paper
Adhesives: SA by 3L - foam squares
Accessories: tag from my stash; Cloud 9 Designs - Rain Dots; Doodlebug twine; Stampendous - Champagne EP, Gilded & Tarnished Mica Flakes

adding pinterest script 3. Changing the Position of the Pin it! button The cool thing about this code is that you have some freedom over where the Pinterest button for Blogger will go over the image. Take a look at the code that you just copied and pasted into the HTML for the word 'center'.