Showing posts with label Clear Snap inks. Show all posts

Tuesday, February 28, 2017

SHOPPING OUR STASH #292 - Spring Color Palette


Welcome crafty friends! Can you believe it's already the last day of February?
Soon we will be seeing more and more flowers blooming, which is a lead in
to our new challenge at SHOPPING OUR STASH! This week, we give you
a color palette to inspire you:


You are welcome to use all 5 colors, but we would like to see a minimum of
three of these on your cards or projects.
Here's what I came up with:


 and the inside:

Ok, so when I was looking at this palette on my laptop, the darker shade of pink looked more lavender to me. Now that I'm on the 'big computer', it looks, well, darker pink. Ugh. Oh well.
I started by die cutting the flower from water color paper, then painting it using ink pads that I smooshed on my craft mat and a bit of water. Some colors were too dark, so I lightened them with white ink. Once it was dry, I went over it with Crystal Stickles.
After I glued the *cough* lavender quatrefoil die cut *cough* I glued the yellow strip with the sentiment, the flower, then finished the front with some sequins. On the inside, I used my MISTI to line up the three word stamps, and stamped a couple times to get good coverage. The word 'marvellous' has a teeny tiny gap between the r and v. So tiny that it looks more like 'manellous' than 'marvellous'. LOL! I've since performed some surgery on the stamp, and enlarged the gap between the letters. (Also, I hope the spelling is correct...?)

Hey, totally unrelated, but I was wondering what's the better purchase: Wink of Stella or Spectrum Noir Sparkle pens? Let me know your thoughts in the comments below. Thanks!

Ok, so now it's your turn to play along! Just link up your card or project using at least 3 of the above colors at Shopping Our Stash. For more inspiration, just visit the blogs of my teammies, and our Guest Designer, Ina! It's Ina's last week guesting with us. (Insert sad sobbing here) Thank you so much for lending your amazing talent to the SOS Crew this month Ina! We so enjoyed having you as our Guest Designer, and hope to see more of your amazeballs talent in our gallery in the future!

Just a reminder: We are looking for Guest Designers! If you would like to be considered 
for March, simply leave a "DT" after your name when you link up! 

Thanks for visiting, and I hope you have a great day!

I'm at the wire, but am entering this at Seize the Birthday - (no toppings)


Supplies:
Stamps: freebies from Card Making & Papercrafts magazine
Ink: Memento - Tuxedo Black; Colorbox - Canary, Mint, Dark Peony, White
CS: Strathmore water color paper; TE; Simon Says Stamp
Accessories: GC; Poppystamps - Susanna Blossom die; Taylored Expressions - Quatrefoil plate; paint brush; Ranger - Crystal Stickles; Darice - sequins; MISTI
Adhesives: SA by 3L - tape runner; Scotch - scrapbooker's glue; Glue Dots


Sunday, December 22, 2013

Ah Crap!

Another stellar post title! LOL! Ok, this is really going to be short and sweet. The challenge I'm using ends in less than two hours. (I'll never learn! HA!) I apologize for the, ahem, crappy, pictures. It's dark out now so I just went with the flow. (OMG! Punny bathroom humor! I just kill myself! Buahahahaha!)


Here is the inside:

I'm using the (almost not) current sketch from Tuesday Morning Sketches #229. I keep forgetting about this cool challenge blog. (Any chance you can add a "subscribe by Bloglovin" and/or by email on your sidebar? That would be awesome!)


Ok, so back to my card. Yep, totally used the chalkboard technique to stamp a toilet and plunger. LOL! I have a very twisted sense of humor. I make no apologies. (wink)  I doodled the lines and dots with a white Prismacolor pencil, then went over the dots with a blue pencil. The heart was colored in first with the white then colored over in the red pencil. (Otherwise, if you use the colored pencils directly on the black card stock, you won't see them hardly at all. A tip, from me to you!) On the inside, I masked part of a sentiment stamp from Unity's December 2012 KOM, the rest is from a tiny set by Lawn Fawn.

That's it for me. Got to get some dinner started for the hubby and myself. Thanks for stopping by and have a great evening!

Chris
Supplies:
Stamps: Unity - Ah Crap set, December 2012 KOM; Lawn Fawn - Year Two set
Ink: Clear Snap - Frost White; Memento - Tuxedo Black; Ranger DI - Walnut Stain
DP: October Afternoon - 9 to 5
CS: Recollections
Accessories: Prismacolor pencils; Fiskars border punch; heat gun
Adhesives: SA by 3L - MyStik permanent, 3D foam squares


Tuesday, December 10, 2013

Glowing Christmas Trees...

Hello and happy Tuesday! Well, the snow has finally stopped a couple of hours ago and is headed up the coast towards the new England states. Luckily, I don't think we got much more today than 2"-3" of snow. On top of what we got on Sunday. Now it's time for some 50 or 60 degree weather to make it all go away! LOL!

Anyhoooo, I want to share a card I made using the glowing lights tutorial from Splitcoaststampers.  I'll be entering this for CAS-ual Fridays #122 - Out on a limb. (use a tree or trees)


Here is the finished inside:


What a fun idea! I had a blast trying this out! I used my handy dandy Slice machine and cut three trees from green card stock, then went to work on them according to the tutorial. One thing I did differently was to use Clear Snap ink. I dotted the trees using a white Gelly Roll pen, and let dry.  I applied the colors with q-tips, and let that dry. The other thing I did differently was that I used a gold Gelly Roll pen to add the garland. The two smaller trees are adhered directly to the music sheet panel and the larger tree is popped up between them with foam squares.
 
Seriously, this was so much fun to try. I hope you give it a go also! Thanks for stopping by and stay crafty!
 
Chris
Supplies:
Stamps: Hampton Arts/G45 - Christmas Emporium
Ink: Clear Snap - Canary, Orange, Scarlet, Heliotrope, Blue Iris; Memento - Tuxedo Black
DP: G45 - Christmas Emporium
CS: Bazzill Basics
Accessories: Slice die cutting machine & Noel cartridge; Sakura Gelly Roll pens - white, gold; EK Success - Deco Scallop Edger
Adhesives: SA by 3L - MyStik Permanent, 3D foam squares


Saturday, September 7, 2013

Drunken Stampers #140 Thing: Buttons

Good Morning friends! It's Saturday morning and that means another challenge at Drunken Stampers! This week's challenge is all about buttons!


Just use a button or buttons on your card! Easy peasy! It's Team Tropical Hooters turn this week to inspire you. Here's what I came up with:


And the inside:

Ok, it's the first Christmas card I made this year. A record really. I usually start making Christmas cards in November. Queen of procrastination: that's me! I dipped into my button stash. (yes I have a lot of buttons, no I rarely use them. Silly me) Well, to be honest, I store them in a mason jar which I dumped out on my desk and fished out green and brown buttons. Much more fun that way! I tied gold floss on the green buttons. I glued them with the floss on angles to make it look like the "tree" had "garland". The star is a shank button, I just took pliers to the shank and broke it off. I stamped then embossed the sentiments with champagne embossing powder. I thought it still needed a little somethin' somethin' so I traced a gold pen around the main panel. Stamped the inside in gold ink and I was done!

So, what are you waiting for? Go break out that stash of buttons you've been hording and make something pretty! But first, go check out what my Tropical Hooter teammates dreamed up! You have until Friday to link up to the Drunken Stampers challenge blog!  Happy crafting!

Chris
Supplies
Stamps: MFT - Seasonal Sentiments
Ink: Versa Mark; Clear Snap - gold
DP: MME - Ooh La La
Card stock: Bazzill Basics
Adhesives: SA by 3L - MyStik; Helmar 450 glue
Accessories: Buttons from my stash; DMC floss; Stampendous - champagne EP; Heat gun; Sakura - gold Gelly Roll pen


Sunday, September 1, 2013

You say Witch.....

Hello friends! I hope you are all enjoying your weekend, and Happy Labor Day weekend to my American and Canadian peeps! I'd like to share a card I made for the Simply Betty Stamps Facebook Fanpage August challenge, using the sketch from Mojo Monday #308.

Meet Mercedes the Witch:


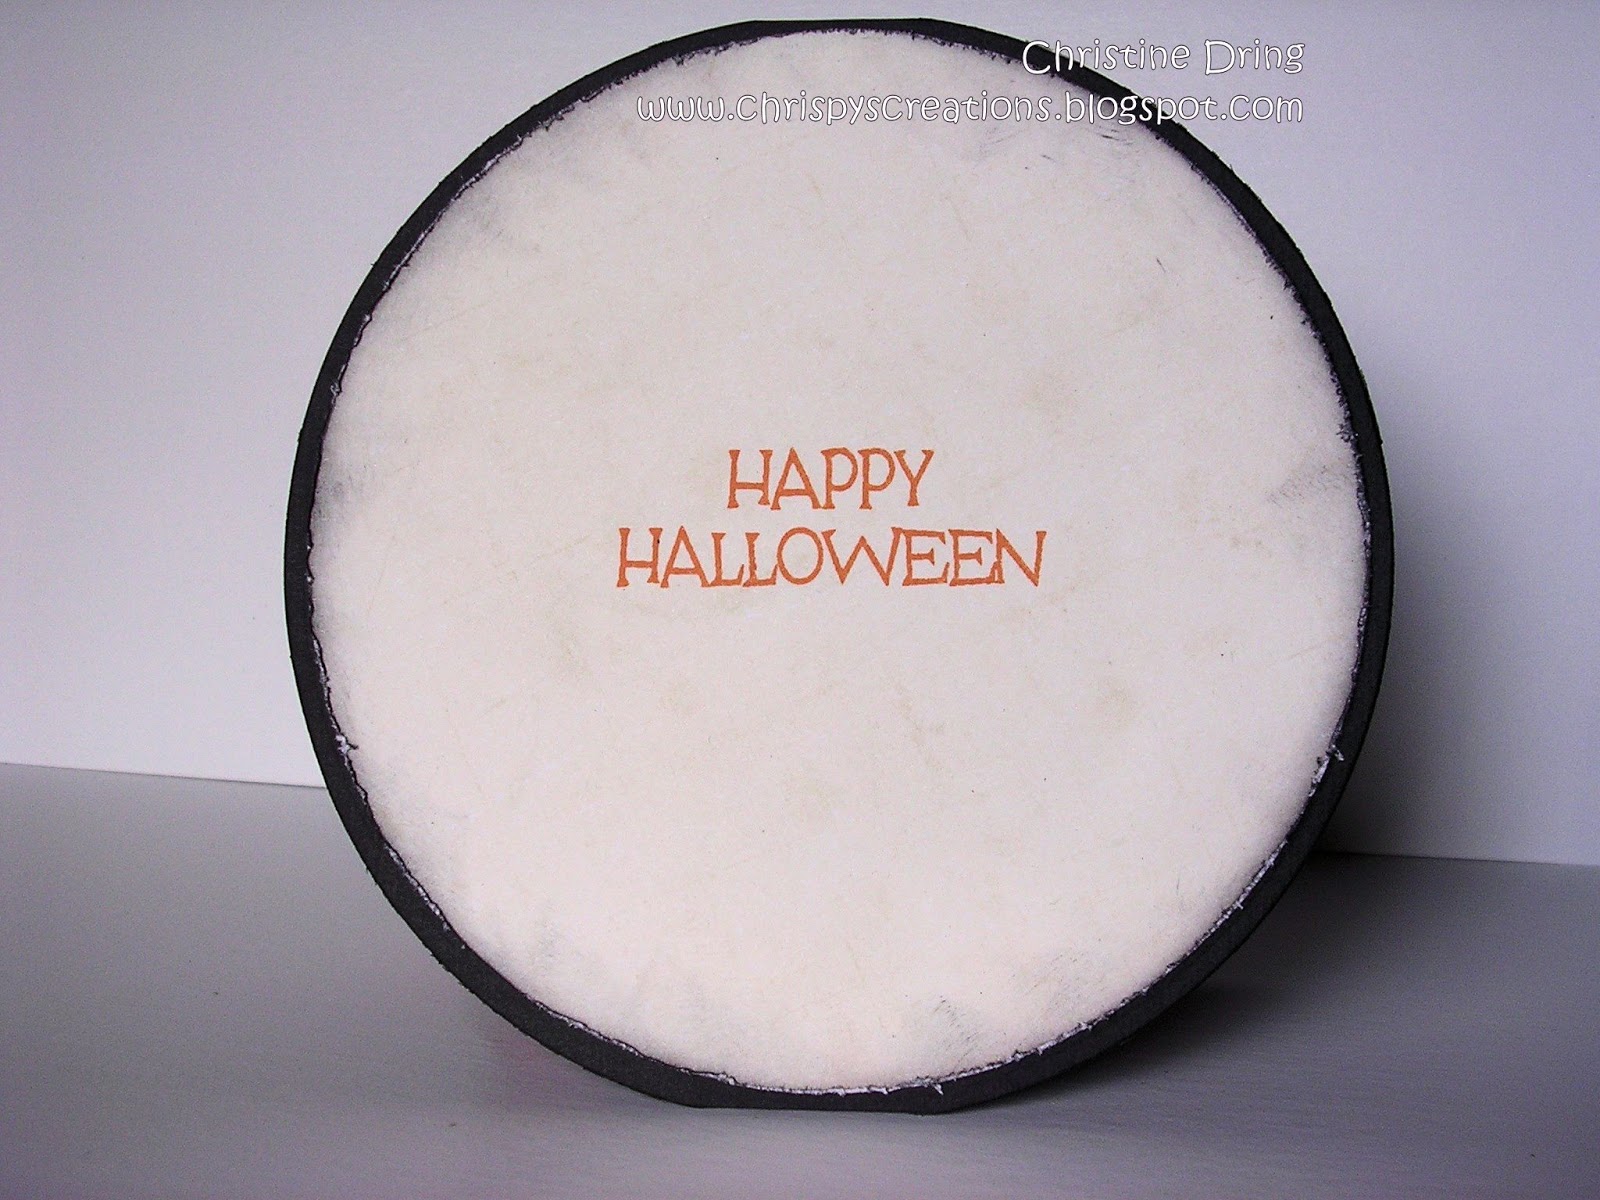
Here is the inside:

and the sketch I based my card from. I made a round card! But I gave it a quarter turn to fit my needs:


Love Betty's images! Mercedes is a free digi! The only catch to get this is to join the fan page, and you have to use it for that challenge (Halloween colors for this challenge). Easy peasy! I'm still collecting Spectrum Noir marker sets, so this is another hybrid coloring, using SN and Marvy Uchida markers. Even more, I'm still trying to figure out how to color with the SN's. They react so differently from the MU's! Ugh! Well, I'll just keep coloring until I figure it out! ☺

Thanks for stopping by and I hope that you all have a great weekend! Craft on my friends!

Chris
Supplies
Stamps: SBS - Mercedes digi; Unity - You Witch! Itty Bitty; Hero Arts - Celebrate Everyday
Ink: Memento - Tuxedo Black; Tangelo; Clear Snap - Charcoal
DP: Authentique - Thrilling
Card stock: Bazzill Basics (black); Paper Smooches (kiwi); Recollections (purple); Bristol (white)
Adhesives: SA by 3L - MyStik, 3D foam squares; Elmer's extra strength glue stick
Accessories: Spellbinders Grand Calibur, Grand Circle and Labels 14 Nesties; Spectrum Noir markers; Marvy Uchida markers; Studio 112 gems; Jolee's Boutique - spider sticker; Tonic distressing tool; Martha Stewart - web punch

Friday, August 23, 2013

Thanks.../PS Sparks Cool Shades challenge

Greetings and happy Friday!! Are you set for a relaxing weekend? I sure am. What with major appliances in the kitchen crapping out on me this week, I need a relaxing weekend! Ok, I'm done whining. (No, I don't mean "wine-ing", besides, it's too early in the day for that! LOL!)

I played along with Paper Smooches Sparks challenge: Cool Shades. These are the colors given to work with:

(Cocoa, Coral, Kraft, and Yellow)

Here is what I came up with:


The inside of my card:

I love these colors! I masked off a section of the white panel then stamped different leaves in Rich Cocoa and Dandelion. (On the stamps using Dandelion, I also edged the leaf tips with Cantaloupe, a darker shade of yellow - to mimic turning leaves in Autumn.) I then stitched with coral floss along the edge of the leaves. I used the Hickory leaf die and cut it out of a scrap of coral paper. As I made this card yesterday, I was pondering what sentiment to use. Then I heard the mailman drop off the mail. (I knew that because Colby started to bark his head off! It's all a show - he was wagging his tail all the while!) Guess what was delivered? Happy Mail from Paper Smooches! WOO HOO!! My order came in the mail! Score!! True story. For Real! I'm so glad, because I really wanted to use the Many Thanks set on this card! I trimmed a piece of kraft paper, using a scalloped scissors on the smaller edges, then inked around all edges. Stamped the sentiment, adhered with foam squares, then added the Hickory leaf with a foam square also. I felt it needed a little bling so I glued a yellow rhinestone on the leaf! Finished the inside and was done!

Well, that's all for now. I'm going to go get some stuff done before the Heavens open up. Have a fantastic day and a fabulous weekend! Stay crafty my friends!

Chris
Supplies
Stamps: Paper Smooches - Leafy Greens, Many Thanks
Ink: Memento - Rich Cocos, Dandelion, Cantaloupe; Clear Snap - Chestnut Roan
DP: scrap
Card stock: Recollections
Adhesives: SA by 3L - MyStik, 3D foam squares; Glue Dots
Accessories: Spellbinders Grand Calibur; Paper Smooches Hickory Leaf Die; WRMK - Sew Easy; DMC floss; Provo Craft - scalloped scissors; Fiskars - corner rounder; rhinestone from my stash

adding pinterest script 3. Changing the Position of the Pin it! button The cool thing about this code is that you have some freedom over where the Pinterest button for Blogger will go over the image. Take a look at the code that you just copied and pasted into the HTML for the word 'center'.