Tuesday, November 10, 2020

SHOPPING OUR STASH #433 - Tic-Tac-Toe


Hello and welcome crafty peeps!

We have a Tic-Tac-Toe challenge this fortnight at

SHOPPING OUR STASH!

Mimi is your hostess with the mostess, and she  

has this board for you to chose from:


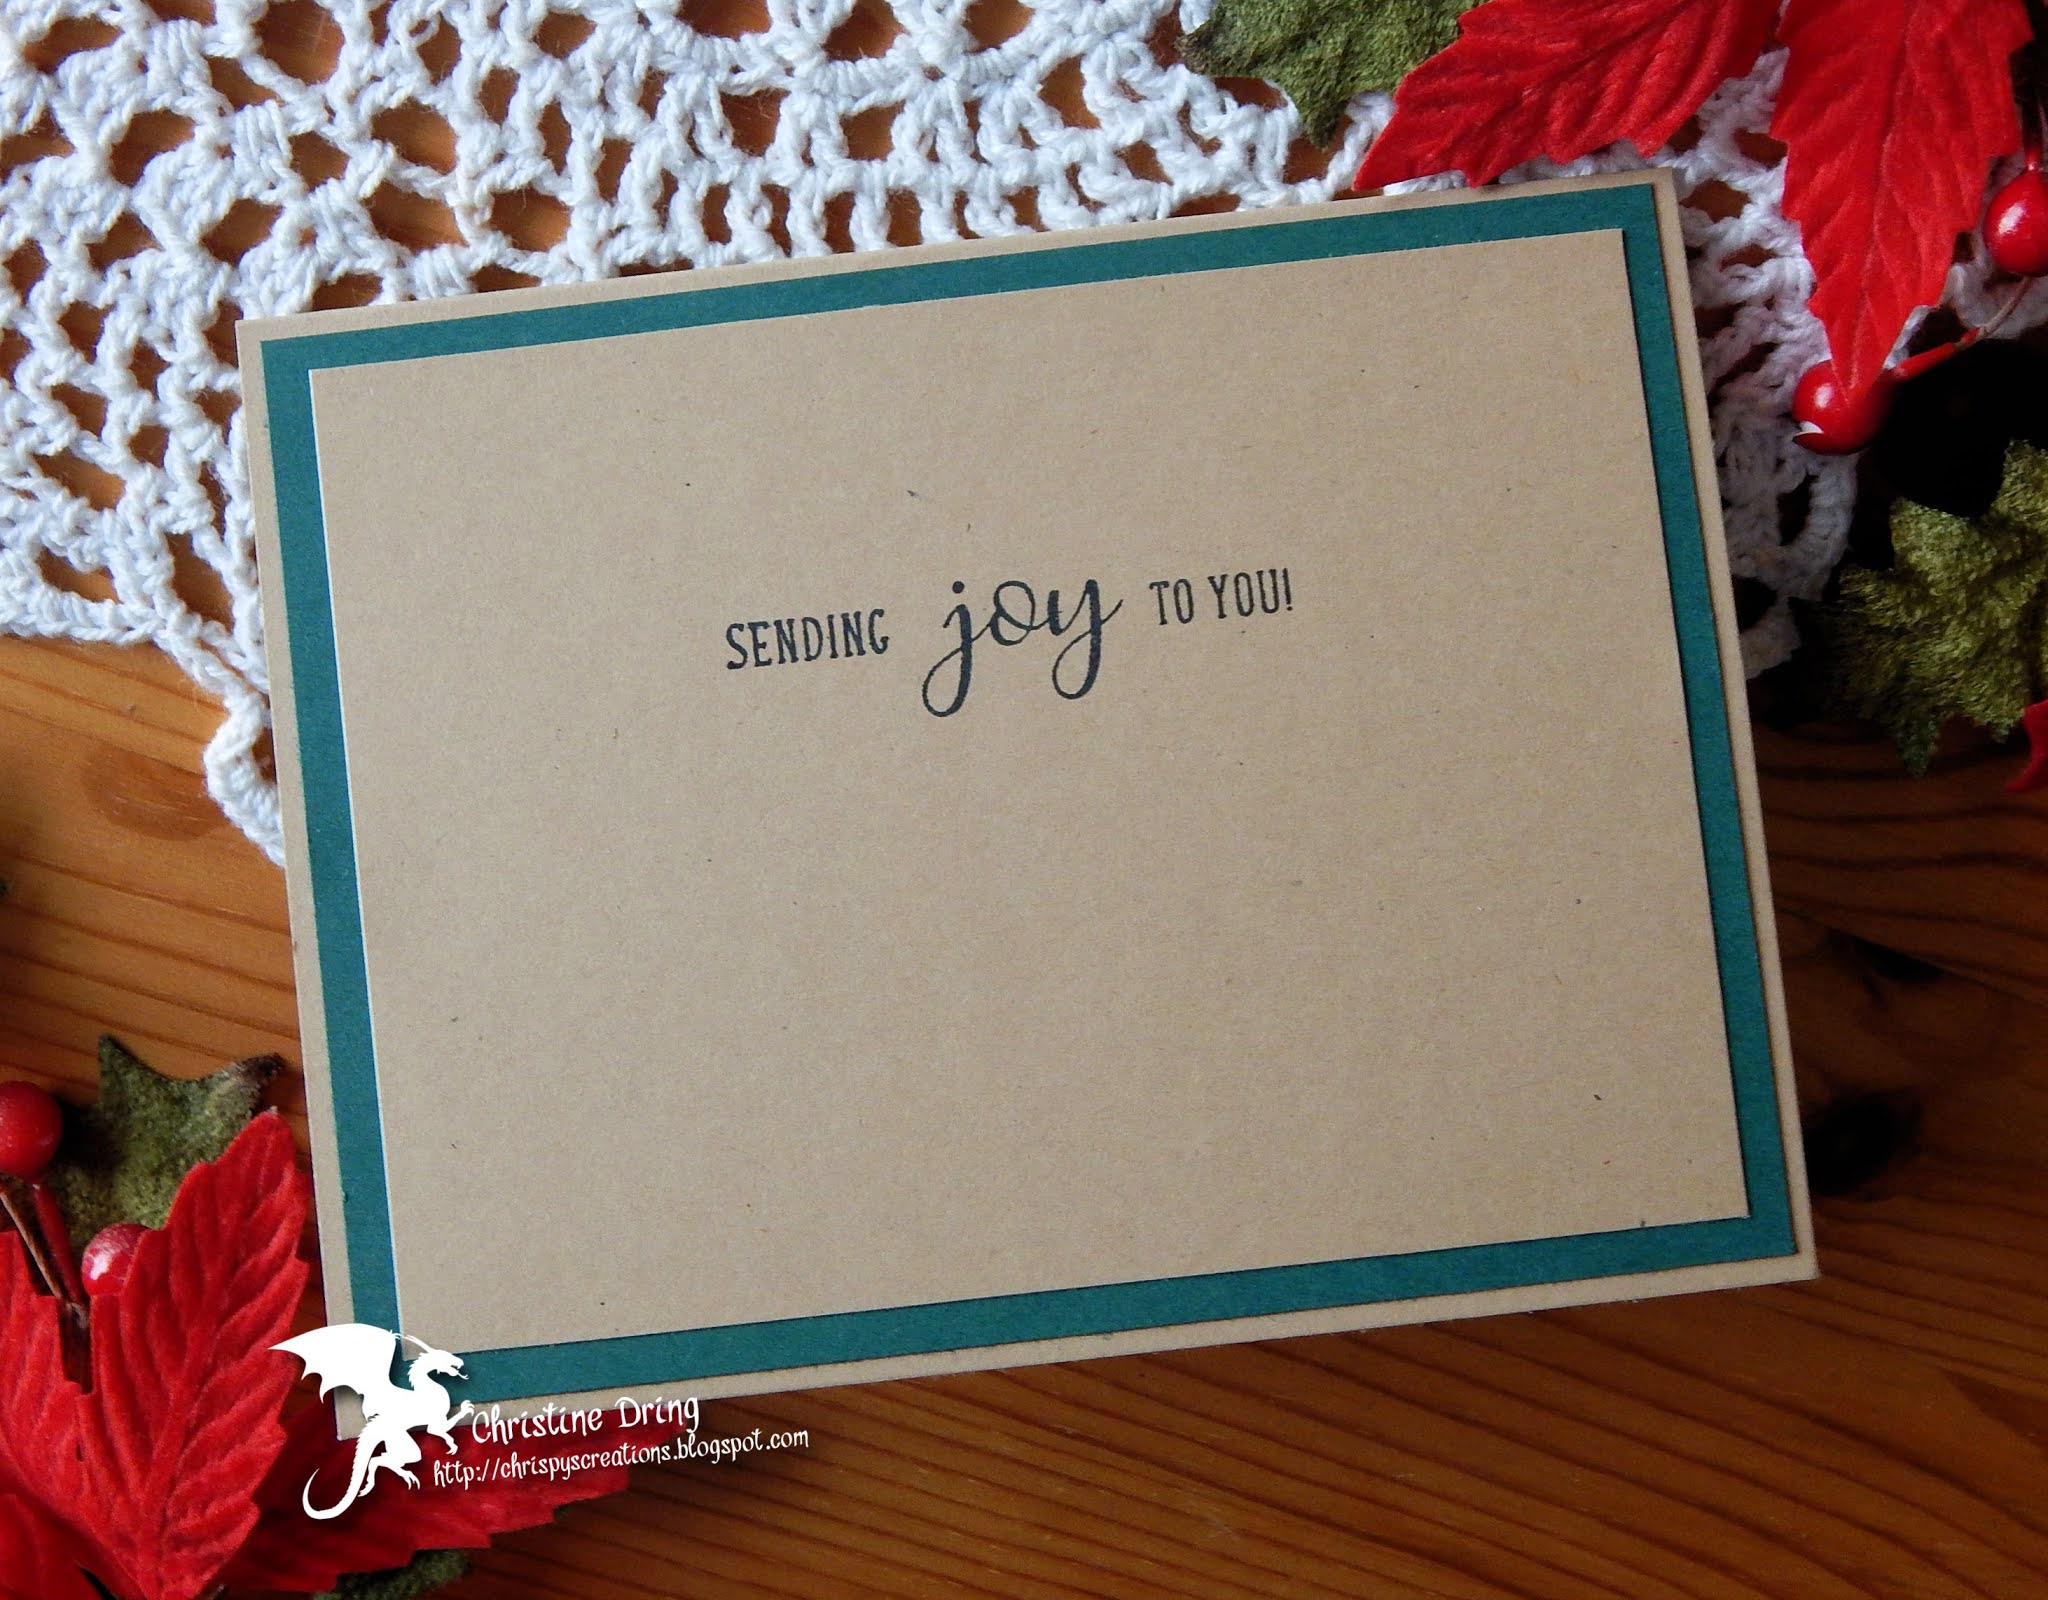
For my card, I used the top row - Plaid/Black & White/Kraft:

Here's the inside:

 
Sorry for the crappy pictures. I almost forgot to make a card, and
 
cranked this out last night. I blame it on the fabulous weather
 
we have been getting. We've been taking advantage
 
and have been outside a lot this past week, enjoying the
 
Indian Summer. 😁

I hope that you find some time to play along in our

Tic-Tac-Toe challenge at Shopping Our Stash!

Thanks for visiting, and have a great day!


Supplies:

Stamps: Taylored Expressions - In & Out Christmas

Ink: Memento - Tuxedo Black

DP: Simon Says Stamp - from December 2019 card kit

CS: Thunderbolt; Bazzill

Accessories: GC; Memory Box - Scattered Snowflakes Frame; MISTI; Recollections - rhinestones

Adhesives: SA by 3L - tape runner, thin 3D foam squares; Ranger - MMM


Sunday, November 1, 2020

STAMPlorations November Theme & Photo Prompt Challenge


Hello crafty friends and welcome!

It's time for the November Theme & Photo Prompt Challenge at STAMPlorations!

As always, you can use both theme and photo, or just one of them for your projects.

I went with just the photo prompt this time for my card:

 [This post contains affiliate links. When you click on the STAMPlorations store link below and place an order, I will receive a small commission at no extra cost to you.]
 
 
I used modeling paste with the Merry Go Round ARTplorations stencil.
 
Once it was dry I put the stencil back on and pounced Versamark ink over it,
 
then used holographic embossing powder. (A gift from my friend Lindsey.)  


It's hard to capture just how amazing the holographic EP looks!
 
 
was cut twice, stacked and glued to the panel.  On the inside,

I used one of the sentiments from the Celebrate Big
 
stamp set to finish my card.


There's another great promotion going on at the


Just click on the link above the graphic to take advantage of this awesome promo!

 I hope that you find time this month to play along in the

 
I look forward to seeing what you create in the gallery!
 
Thanks for visiting!


Supplies:
Stamps: Celebrate Big
Ink: Memento - Tuxedo Black; Versamark
CS: Neenah; Bazzill
Accessories: ARTplorations - Merry Go Round stencil; GC; CUTplorations - Birthday Wishes word die; DecoArt Media - modeling paste; pallet knife; Holographic EP from Lindsey; heat gun; MISTI
Adhesives: SA by 3L - tape runner; Ranger - MMM


Saturday, October 31, 2020

SISTERHOOD OF SNARKY STAMPERS #172 - X is for fauX


(For an alphabet challenge, X is getting harder to figure out, so we have to get creative. LOL!)

Hello and HAPPY HALLOWEEN!!!

It's my all time favorite holiday. And you would think that I'd have

made a Halloween card for the new challenge at the

SISTERHOOD OF SNARKY STAMPERS,

but alas, no. We want to see what you create using

faux...whatever! LOL! This is what I came up with:

My faux item? It's the faux tin tile I created using this tutorial.


 I may have made a couple...

This card may look elegant, but you know me,

can't resist a bit of snark:


For more fabulous faux creations, do yourself a favor and check out

what my Sistahs and our returning Queen Beverly have created for

your viewing pleasure. 

Thanks for visiting. Have a great day!


I'd like to enter this at:

Mojo Monday #548

Seize the Birthday #202 - texture


Supplies:

Stamps: Stampendous - Party Invite; Crackerbox/So Suzy Stamps - Naked and Screaming

Ink: Gina K - kraft

DP: 49 and Market - Sky; Recollections - vellum

CS: Thunderbolt; Bazzill

Accessories: recycled cardboard; tinfoil; GC; Darice - Damask Background EF; Sizzix - Christmas

Elegance EF; DecoArt Americana - bleached sand acrylic paint; foam brush; brayer; May Arts - ribbon;

 rubbing alcohol; rag; DecoArt - gold rush Metallic Lustre; Poppy Stamps - Olivia Blossoms die; Hero

 Arts - rectangle die; Tim Holtz - distress tool; MISTI

Adhesives: Liquitex gel medium; SA by 3L - tape runner, 3D & thin 3D foam squares; Recollections - 

tacky tape

Tuesday, October 27, 2020

SHOPPING OUR STASH #432 - Hot Beverages for Cold Nights


Hello crafty peeps and welcome!

It's time for another challenge at 

SHOPPING OUR STASH!

This fortnight, as the title suggests, we are looking for projects 

that feature a hot beverage.

Here's what I came up with:


These coffee mugs were fun, and very therapeutic to color. No

shading, just coloring to color. (My inner child had fun!)

I used a stencil to emboss the aqua panel. I think that's the first time

I tried that out, and I like it. I'll be using that technique more. 

We hope that you'll play along in our Hot Beverages challenge

at Shopping Our Stash. For more inspiration, do yourself a favor

and check out what my teammies created. So much crafty goodness!

Thanks for visiting. Have a great day!


I'd like to enter this at Paper Players #514


Supplies:

Stamps: STAMPlorations - Happy Zen Coffee Cups;  

Literary Caffeine-ations 

Ink: Memento - Tuxedo Black

CS: Spectrum Noir; Taylored Expressions; Bazzill

Accessories: Spectrum Noir markers; MISTI; GC; Pinkfresh - Slim diagonal stitched rectangle die; 

SB - Std Lg & Sm Circle Nesties; WOS pen; ARTplorations - Mosaic Slimline stencil; 

Adhesives: SA by 3L - tape runner, 3D & thin 3D foam squares

Sunday, October 25, 2020

Happy Haunting

 Hello and welcome!

I'm popping in with another card. Check it:


Here's the inside:

 
I colored these cute zombies while on vacation last month, and thought
 
it was high time to get them onto a card. I used papers from a
 
new (to me) paper collection and had fun piecing them together.
 
For a little extra something, I added Glossy Accents over their eyes.

 
That mottled, decaying green complexion is so popular this time of year! LOL!

Thanks for visiting. I hope you have a wonderful day!


I'd like to enter this at:


Supplies:
Stamps: Taylored Expressions - Zombies
Ink: Memento - Tuxedo Black
DP: Echo Park - Bewitched
CS: Spectrum Noir; Darice
Accessories: Spectrum Noir markers; GC; TE - zombie dies; MISTI; Ranger - Glossy Accents
Adhesives: SA by 3L - tape runner, Thin 3D foam squares 


Saturday, October 24, 2020

Christmas wreath

 Hello there, I'm back with another card:


Here's the inside:

 
It's hard to tell from my excellent photography skills, but the green paper I
 
used to cut the wreath from is pre-glittered, for some extra sparkle.
 
A simple sentiment finishes the inside.
 
Guess I should get off my butt and get some things done. LOL!
 
Thanks for visiting. Have a great day!


I'd like to enter this at:

Case This Sketch #395

The Flower Challenge #49 -circle(s) 

Merry Little Christmas Challenge #27 - ATG


Supplies:

Stamps: Sunny Studio - Petite Poinsettias

Ink: Memento - tuxedo black, lady bug, rhubarb stalk, bamboo leaves, cottage ivy; SSS - lipstick red

DP: HOTP; Darice - green glitter

CS: Thunderbolt; Darice

Accessories: MISTI; GC; Memory Box - Bubble Circles die; Darice - snowflake EF; 

Ranger - gold Stickles

Adhesives: SA by 3L - tape runner, 3D & thin 3D foam squares; Ranger - MMM

Man of the Moment

 Hello and welcome crafty friends! I've been up in the ol' craft room

creating some cards, and here is one of them:


...and the inside:

 
I used some metallic gold paper to emboss the back panel, using the
 
Brick Wall EF by Darice. I found this funny sentiment 
 
to cut out from the sheet and the fish DP from 
 
the same collection. Ooh! Shiny!


A snarky stamped sentiment on the inside and this card was done!

Thanks for visiting, and I hope that you have a great day!


I'd like to enter this at:

Let's Squash It #1 - geometric & metallic

Seize the Birthday #202 - texture 


Supplies:

Stamps: Taylored Expressions - Another Year Older

Ink: Memento - Nautical Blue

DP: Kaisercraft - Mountain Air

CS: TE; Bazzill - metallic gold

Accessories: GC; Darice - Brick Wall EF; MISTI

Adhesives: SA by 3L - tape runner, thin 3D foam squares

Friday, October 23, 2020

Final day: STAMPlorations 7th Birthday Celebration

Happy Fri-Yay and welcome!

It's Day 5 of 

STAMPlorations Belated 7th Birthday celebration! 


Yesterday, I showed you how you can take a slimline sized
 
stencil to create an A2 sized card. Today, I'll show you how to use a 
 
standard sized stencil to create a slimline sized card:

[This post contains affiliate links. When you click on the STAMPlorations store link below and place an order, I will receive a small commission at no extra cost to you.]
 
 
It's pretty easy, but you need to use a stencil that has a
 
repeating design on it. Once I had my panel cut to size, 
 
 I used modeling paste to cover as much as I could of the panel

 
I removed the stencil and washed it, and left the panel to dry.
 
When dry, I placed the stencil back over the embossed part to line up
 
and covered the remaining part of the panel with modeling paste.
 
Once that was dry, I decided to get crazy and repeated these steps, but this 
 
time I used Glitz Gel over the embossed design.
 
It's hard to see, but there is SO much glimmer and sparkle on this card!
 
 
I wrapped some ribbon around the panel and used matching glitter

paper to frame it. The sentiment is one of the stickers from the

 
I used another one of the stickers on the inside:


I hope that you will help us celebrate and join in the festivities!

For all the details on how to win some amazing prizes, please

visit the STAMPlorations post here.

If you happen to place an order at the STAMPlorations store, 

 feel free to use my personal discount code,

STAMPGIRLCHRIS

for an extra 20% off! (FYI, if you use my code when

you place an order, you'll also receive this not-yet-released stencil,

Just Plaid square 10 mil stencil!

Thanks so much for visiting. I hope that you have 
 
a fantastic day!


Supplies:
CS: Bazzill; Darice
DP: American Crafts - glitter paper
Accessories: ARTplorations - Winter Flowers stencil; Tis the Season clear stickers; May Arts - ribbon; DecoArt Media - Modeling Paste; Gina K. - Glitz Glitter Gel; pallet knife
Adhesives: SA by 3L - tape runner, 3D & thin 3D foam squares


Thursday, October 22, 2020

STAMPlorations 7th Belated Birthday Celebration

 Hey there and welcome back!

It's Day 4 of the 

STAMPlorations Belated 7th Birthday celebration!


We've been partying all week and it's not yet over! LOL!

Here's what I created for today:

  [This post contains affiliate links. When you click on the STAMPlorations store link below and place an order, I will receive a small commission at no extra cost to you.]


I've made an A2 sized card using the Burst Slimline stencil
 
along with the Squares Flexi-Template.Using just the center of the
 
slimline stencil, I blended a few Distress Inks onto my card stock.
 

 This is a great way to get more mileage from your stencils! 
 
For the sentiment, I die cut a couple times and stacked the
 
Happy Birthday from the Everyday Sentiments word dies.
 
Super easy and I was able to use up some of my card stock
 
remnants in the making too! 


I hope that you will help us celebrate and join in the festivities!

For all the details on how to win some amazing prizes, please

visit the STAMPlorations post here.

If you happen to place an order at the STAMPlorations store, 

 feel free to use my personal discount code,

STAMPGIRLCHRIS

for an extra 20% off! (FYI, if you use my code when

you place an order, you'll also receive this not-yet-released stencil,

Just Plaid square 10 mil stencil!


Thanks for visiting!


Supplies:
Stamps: Birthday Bash
Ink: Ranger DI - Twisted Citron, Peacock Feathers, Wilted Violet; Memento - Grape Jelly
CS: Neenah; Bazzill
Accessories: ARTplorations - square flexi-template and Burst slimline stencils; PFS blending brushes; GC; CUTplorations - Everyday Sentiments word dies; WOS pen; MISTI
Adhesives: SA by 3L - tape runner; Range - MMM


adding pinterest script 3. Changing the Position of the Pin it! button The cool thing about this code is that you have some freedom over where the Pinterest button for Blogger will go over the image. Take a look at the code that you just copied and pasted into the HTML for the word 'center'.