Hello crafty friends and welcome!
I'm popping in with a card
I made over the last couple of days.
(Crafting and carpel tunnel is not a good mix.)
I made a shaker card!
I've had these adorable bee shaker bits for at least a year
and finally decided to crack open the package.
(Yes, I'm a hoarder of craft supplies. No judging. LOL!)
The first thing I did was blend a darker shade of
yellow ink in the bottom corner of my
card base using a hexagon stencil.
I die cut the main panel using a
hexagon die, along with two smaller
ones from some paper scraps.
After I glued acetate behind the
large die cut, I added foam strips on
the back of the panel, sprinkled some of
the shaker bits in the space, and carefully
adhered the main panel onto the card base.
The sentiment and bee images were stamped, colored and cut,
then I adhered everything else.
I gave the bees a coating of glitter drops for some sparkle.
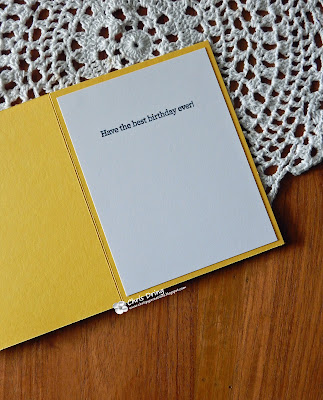
A simple sentiment finishes the inside of my card.
That's it for now. Thank you for visiting, and I
hope you have a great day!
I'd like to enter this at Freshly Made Sketches #587
Supplies:
Stamps: Honey Bee Stamps - Just Beecause, Inside Birthday
Ink: Memento - Tuxedo Black, Cantaloupe
DP: Pebbles - Garden Party
CS: Neenah; Taylored Expressions
Accessories: Crafter's Companion - Hexagon dies; Honey Bee Stamps - Just Beecause dies; Dina Wakely - Essential Silhouettes stencil; TE - blending brush; MISTI; Sprinkletz - Bumble Bee; Nuvo - white blizzard Glitter Drops
Adhesives: SA by 3L - tape runner, thin 3D foam squares; Bearly Art glue


This is fabulous! Those bees are just the cutest and those shaker bits work perfectly! Thanks so much for joining us at Freshly Made Sketches.
ReplyDeleteWhat a sweet shaker card, Chris. Filling it with tiny bees is so clever and so cute. Thanks so much for joining us at FMS this week.
ReplyDelete