Showing posts with label Technique Tuesday. Show all posts

Saturday, April 5, 2025

SISTERHOOD OF SNARKY STAMPERS #261 M is for Manly


Hello and welcome, snarky peeps!
It's time for the new challenge at the
This month is all about the (cough *so called* cough)
men in your life. Let's see your manly themed projects!
Here's what I came up with:


This sentiment stamp is one of my all-time favorites
to use, especially on dude cards. LOL!


Of course, there's even more snark on the inside:


I hope that you'll play along this month in our Manly challenge
Need more inspiration? Simply visit the blogs of my sisters and
our reigning Queen, Jenn, to see what fabulous projects they came up with!

Thanks for stopping by. I hope that you have a great rest of your day!


I'd like to enter this at Addicted to Stamps and More #489


Supplies:
Stamps: Technique Tuesday - All Aboard; Unity Stamps - Feb. 2012 KOTM; Taylored Expressions - The Inside Scoop - Snarky Birthday
Ink: Memento - Tuxedo Black; Distress Inks - Vintage Photo
DP: Recollections - Regent Street
CS: Thunderbolt; Bazzill; TE
Accessories: sketch from Kendra's Card Challenge #17; Sunny Studio - Stitched Circle die; MISTI
Adhesives: SA - tape runner, foam squares




Saturday, January 8, 2022

SISTERHOOD OF SNARKY STAMPERS #201 - I is for Ink


Hello and welcome snarky peeps! Holy Crap, it's 2022!
It's also time for the new challenges to start up at the
For this first challenge of the new year, we want to see
your inky creations! Speaking of inky, Sister Lee has
done it yet again with this glorious colorful graphic!

For my card, I used Dylusions ink sprays on the background
panel, plus alcohol ink markers to color the cake image:


This was a labor of love. In the below picture, the original
cake image is shown, along with a bunch of stamped and fussy cut
candles that I added. Once I had everything stuck down, I gave
the flames a coating of Crystal Stickles for a bit of sparkle.


I continued the snark on the inside of my card:


Guess what? I decided to make TWO cards! Yay me!


I hope that you'll join Edna and the Sisters and play along in our
Ink challenge at the Sisterhood of Snarky Stampers!
Need more ideas? Just visit the blogs of my Sisters and our
reigning Queen, Stephanie, to see their amazing projects!
Thanks for visiting, have a great day!


I'd like to enter this at:


Supplies:
Stamps: Technique Tuesday - Umpteenth Birthday; Honey Bee Stamps - Inside Snarky Birthday Sentiments; PhotoPlay - Dog Lover (2nd card)
Ink: Memento - Tuxedo Black, Dandelion; Altenew - Crimson
CS: Neenah; Cardstock Warehouse
Accessories: Spectrum Noir markers; GC; Altenew - Angled Mosaic EF; Sunny Studio - stitched Ovals 1 die; Dylusions ink spray - lemon zest, pure sunshine, postbox red, pomegranite seed, (fresh lime, vibrant turquoise, crushed grapes on 2nd card); Taylored Expressions blending brush; Ranger - Crystal Stickles; MISTI
Adhesives: SA by 3L - tape runner, thin 3D foam squares, adhesive sheets; Scor Tape


Saturday, September 19, 2020

SISTERHOOD OF SNARKY STAMPERS #169 - S is for Slider


Hello and happy Saturday!
It's time again for a new challenge at the
This fortnight is brought to you by the letter 
S - for Slider!
That's right, we are looking for slider cards!
Here's what I came up with:


and when you pull the sliders....

Here's the inside:

Now it's your turn! We can't wait to see what you come up with for 
our Slider challenge at the Sisterhood of Snarky Stampers!
For more ideas, and out of the box ways of making sliders, do check
out what my teammies have come up with to inspire you!
Thanks for visiting!


Supplies:
Stamps: Art Impressions - Golden Oldies Jean; Riley & Co. - Damn Girl; Technique Tuesday - Umpteenth Birthday
Ink: Memento - Tuxedo Black
DP: Pink Paislee - Birthday Bash
CS: TE; Darice; Spectrum Noir
Accessories: Spectrum Noir markers; GC; Lawn Fawn - double slider surprise die; poop bag; MISTI; Ranger - Glossy Accents, Diamond Stickles
Adhesives: Score Tape; SA by 3L - tape runner, Thin 3D foam squares


Tuesday, February 26, 2019

SHOPPING OUR STASH #390 - Fabulous February


 Good morning and Happy Tuesday crafty peeps!
We have a fun challenge starting today at
Mimi is your hostess this fortnight, and she's challenged us to create something
inspired by February's stone (amethyst), or February's flowers (iris and violet)!

 A few days ago, I posted about this card using this tutorial to create a background.
Well, I just happened to make a couple more panels using another
stencil and different colors of powder dyes. Since one of the dyes happened
to be violet, I figured I could use these for my cards.


Here's my first card:
 

and the inside:

I broke out some ancient ribbon that matched pretty well with my card base color.
The butterfly receive a heavy coating of my Wink of Stella pen.
I tried to get a picture of all the sparkly goodness:
 

 Since I had two panels, I made another card:


and the inside:

I experimented with spritzing the back sides of the vellum wings with some 
turquoise shimmer spray, and I really like the effect! As with the butterfly, this cute faerie
 was equally coated with my WOS pen.

I hope you get some time to join in our Fabulous February challenge
at Shopping Our Stash! We'd love to see how you interpret it on your projects.
Thanks for visiting, and I hope you have a great day!


I'd like to enter these at Just Us Girls #476


Supplies
For both cards:
Ink: Versamark; Memento - Elderberry
CS: Strathmore Mixed Media paper; Recollections; TE; Darice
Accessories: STAMPlorations - Fairy Tale Forest stencil; Magenta Nuance powder dyes - Violet, Purple, Jade, Grass Green, Turquoise; water mister; GC; MISTI; Recollections - vellum; WOS  pen; Stampendous - detail white EP; heat gun
Adhesives: SA by 3L - tape runner; Glue Dots

Butterfly card:
Stamps: STAMPlorations - A snarky birthday to you; Technique Tuesday - Umpteenth birthday
Accessories: STAMPlorations - Flutter Zen 1 layering dies; Recollections - ribbon
Adhesives: Recollections - tacky tape

Faerie card:
Stamps: Stampendous - Birthday Wish
Accessories: Poppystamps - Princess Faerie die; Deco Art Media - turquoise shimmer mister

Saturday, June 30, 2018

SISTERHOOD OF SNARKY STAMPERS #113 - O is for Over the Hill


Hello and welcome snarky peeps!
It's time for another challenge at the
Let's see your Over The Hill projects!

Here's my card:


and the inside:


The skeleton was stenciled onto my card panel, then I stamped
the sentiment. This started out as white card stock, but I
aged and grunged it up using some Distress Inks and a texture stamp.

Ready to play along? Of course you are! Just create something
relating to Over the Hill, and link up at the Sisterhood of Snarky Stampers 
so that we can admire it! For more ideas, do check out what my Sisters 
have made to inspire you!
Thanks for visiting!


Supplies:
Stamps: LOL/Hampton Arts - officially old; IndigoBlu - tasty textures; Technique Tuesday - umpteenth birthday
Ink: Memento - Tuxedo Black; Ranger DI - antique linen, vintage photo, hickory smoke
CS: TE; Neenah
Accessories: blending tools; Hampton Art - skull stencil; GC; STAMPlorations - crazy double running stitch rectangle die; MISTI
Adhesives: SA by 3L - tape runner, thin 3D foam squares


Saturday, May 14, 2016

SISTERHOOD OF SNARKY STAMPERS #59 F is for Fugly


Hello crafty peeps, and welcome! We have a new challenge starting today at the SISTERHOOD OF SNARKY STAMPERS! F is for Fugly is the theme this time around. (Fugly, as in F%@king Ugly!) Time to break out those heinous papers, those grotesque stamps, those abominable embellishments, and make a card or project with them!

For my card, I used some fugly paper to make a big flower:


 Here is the inside:

I wanted to showcase both sides of this paper, because in my eyes, the patterns/colors are awful. I even found an ugly silk flower from my stash! (the orangey one) I layered it with a couple more flowers and attached it to my paper flower with a brad. I tried to pretty up the card with that butterfly die cut and the sentiment (from a NBUS stamp set I won a few months ago!) Even the inside sentiment saw ink for the first time on this card. (Can't believe I've never used that one before.) I used another non-loved bit of paper for the strip at the top. (Kind of reminds me of a really bad carpet pattern from the 70's) The butterfly body is die cut using the back side of it. It's good to use your stuff! My design is based on the now ended Retro Sketch #214. (Missed it by that much!)

So, now it's your turn to use your fugly craft supplies and make something with them! Just link up at the Sisterhood of Snarky Stampers so we can admire it! While there, please do check out the amazingly gross creations by my Snarky Sisters, and our newest Guest Designer, Creepy Glowbugg, and leave them some bloggy love! Thanks for visiting!


Supplies:
Stamps: STAMPlorations - Big Greetings; Technique Tuesday - Umpteenth Birthday
Ink: Memento - tuxedo black; Ranger DI - Walnut Stain
DP: Basic Grey; MME(for the record, I like the dp I used from MME, just not from BG)
CS: Darice
Accessories: GC; SB - Standard Lg Circle Nesties; Flowers and brad from my stash; Colorbok - black rhinestones; Memory Box - Vivienne butterfly die
Adhesives: SA by 3L - tape runner; Ranger - Glossy Accents

Wednesday, April 13, 2016

JUST US GIRLS #338 - Trend Week


Hello crafty friends. I'm home and in between flights back to Illinois, so I wanted to have some fun in my craft room (a.k.a. therapy!)  I'm popping in real quick with a card I made for this week's smooshing challenge at JUST US GIRLS! Here's my card:


Here's the inside:

I used four Distress Inks on my water color paper panel and had a lot of fun shooshing the colors. I took my heat gun to it to speed up the drying time. Using my MISTI, I stamped the sentiment a few times in black ink to get a dark impression, but it was still not working (because of the water color paper texture). So I stamped it again in VersaMark ink and heat embossed it with black embossing powder. Worked much better! I added that over a scalloped frame then added some silver sequins.

I'm late to the party, but you still have another day before this challenge ends! I hope you find some time to play along at Just Us Girls! While there, please check out what my teammates, and our new Guest Designer, Angie Cimbalo, have created! Thanks for visiting, and I hope you have a great day!


I'd like to enter this card at The Challenge #68


Supplies:
Stamps: MFT - Written in watercolor; Technique Tuesday - Umpteenth Birthday
Ink: Ranger DI - Squeezed Lemonade, Mowed Lawn, Mermaid Lagoon, Picked Raspberry; Memento - Tuxedo Black; VersaMark
CS: Bazzill; Strathmore Water color paper
Accessories: GC; Avery Elle - Pierced Rectangle die; SSS - Frames die; Inkadinkado - black EP; heat gun; Darice - sequins
Adhesives: SA by 3L - tape runner; Scotch scrapbooker's glue; Ranger - Glossy Accents

Wednesday, February 11, 2015

There's a new challenge in town....

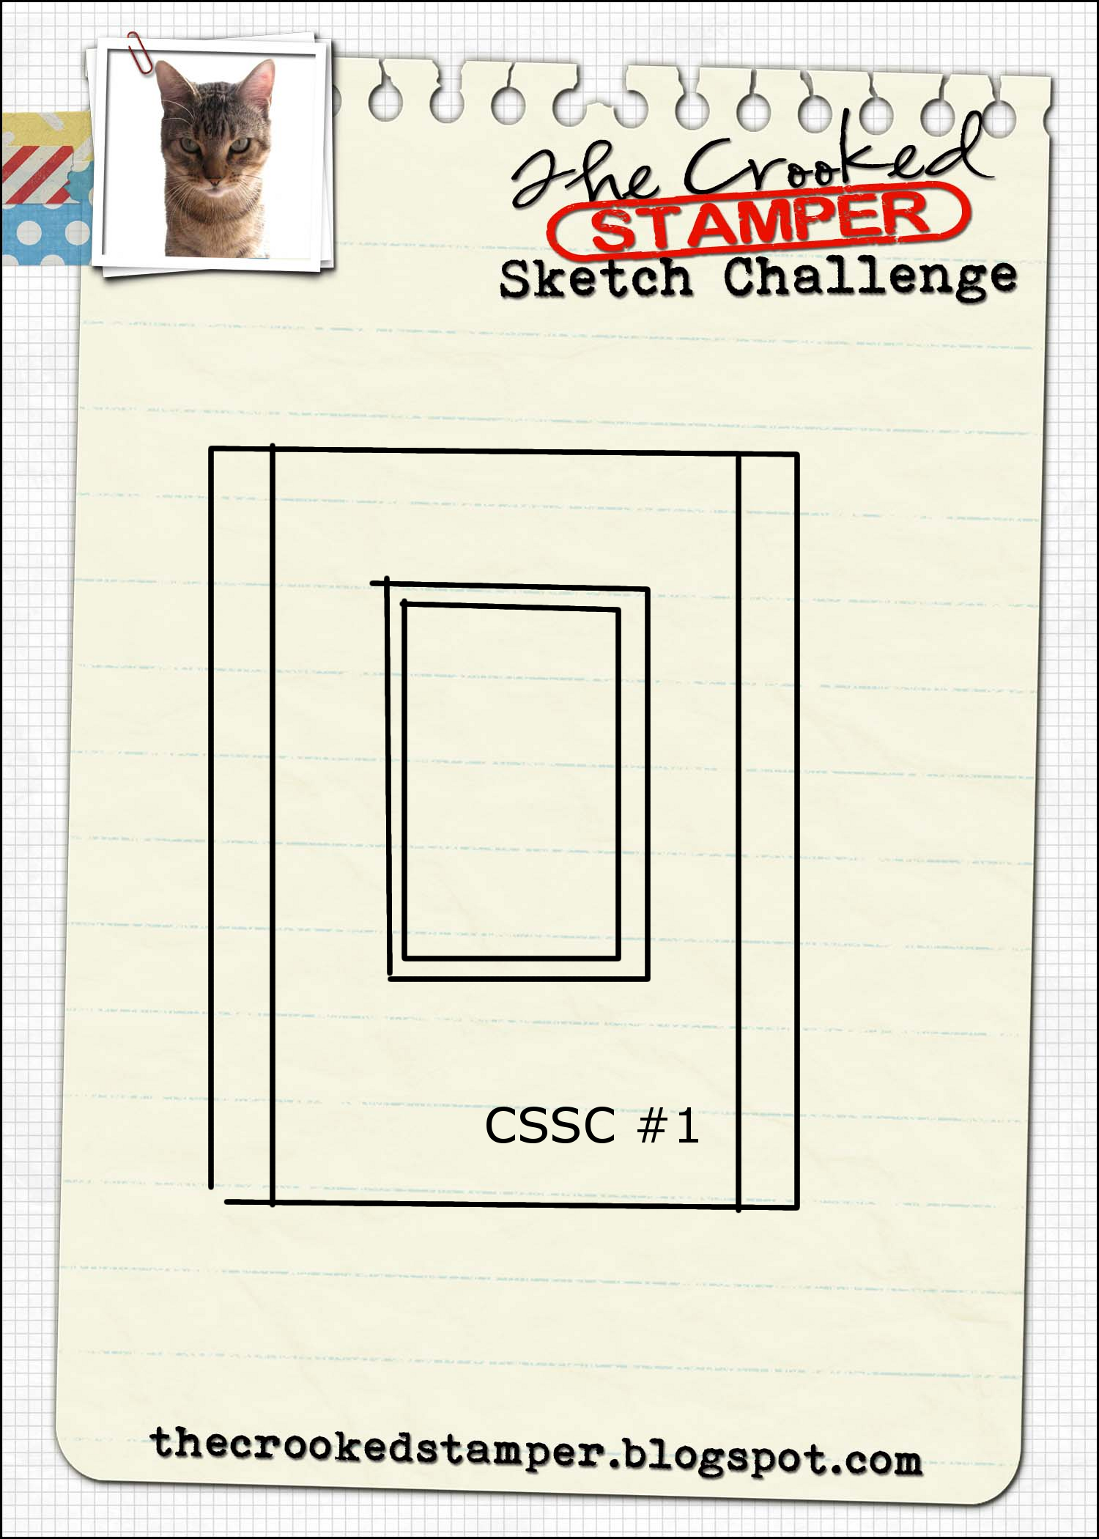
Yep. That's right. Leslie of The Crooked Stamper, has started a new sketch challenge! Hold on to your panties - shit's about to get real! LOL! First the sketch, them my take on it:


Here's the inside:

 I followed the sketch pretty closely, just added my sentiment centered (if not straight) under the frame. A die cut frame, some paper pieced balloons, another simple sentiment on the inside and I was done. Easy peasy lemon squeezy! 

I hope that you get a chance to play along with Leslie's new sketch challenge! I'm playing along because she's my friend and I want to support and cheer her on with this new endeavor. (But, just so you know, she'll be giving away prizes too! SWEET!) 

Thanks for stopping by! I hope that you have a great day!


Supplies
Stamps: Technique Tuesday - Umpteenth Birthday
Ink: Memento - Tuxedo Black
CS: Darice; scraps
Accessories: GC; Paper Smooches - Chains dies
Adhesives: SA by 3L - tape runner; Scotch Scrapbooker's glue; Elmer's Extra Strength glue stick


adding pinterest script 3. Changing the Position of the Pin it! button The cool thing about this code is that you have some freedom over where the Pinterest button for Blogger will go over the image. Take a look at the code that you just copied and pasted into the HTML for the word 'center'.