Showing posts with label Deco Arts. Show all posts

Friday, October 13, 2017

POE boy

Hello and welcome snarky peeps!
I wanted to share a canvas panel that I just created for fun.


Thank you, Queen, for my paraphrasing. LOL!

Here are some process pics:

 Only after the crackle paste dried did I think to add some
text to the panel.

 I painted over the crackle paste and text with acrylic paints.

Close up of the crackle.

 Using alpha stamps, I created my sentiment.

 The main images were stamped onto tissue paper.

I added some more interest with stencils and paint.


Poe and the the bats were stamped onto tissue paper. Note: I actually tried to
iron the tissue paper as it was really wrinkly! This is the best I was able to
achieve. Has anyone else tried ironing tissue paper for the craft?
I stamped the bat first on one side, then using my MISTI, flipped the paper
and stamped on the other side. I wasn't sure if this would work, but 
thankfully my idea worked!
I did touch up the tissue paper by adding paint around the edges to blend better. 
Next I used a couple stencils and paint to add some interest to my panel.
I added a stamped image of dots here and there for a bit more grunge.
I stamped, cut out, and adhered the sentiment with matte medium.
After everything was dried, I sealed the panel with varnish, which
really makes the colors pop!

One more look:

Thanks for holding out until the end of my post! You did it! LOL!
And thanks for visiting, I really appreciate it!

Hugs!

I'd like to enter this at:


Supplies:
US Art Supply - 5" x 7" Artist canvas panel
Golden - Gesso and Matte Medium
Dreamweaver - Crackle paste
torn book page pieces
Plaid - various paint brushes
Viva Las Vegas Stamps - plate 1476 
Studio G - alpha stamps
Staz On - Jet Black ink
Deco Art Media Fluid Acrylic paints - Titanium White, Primary Yellow, Quinacidrone Gold, 
Deco Art Americana Acrylic paint - Graphite
STAMPlorations - Mixed Media Grunge stamps
Staz On - Timber Brown
tissue paper
MISTI
Faber-Castell - sm black artist PITT pen
TCW/Kasia - grunge stencil
Staedtler - alpha stencil
General's - black pastel chalk pencil
Fantastix blender
Deco Art Americana DuraClear satin varnish
foam brush


Wednesday, October 4, 2017

One Bad Ass Art Journal Week 8

Hello friends and welcome!
Today I'm sharing my journal page using the awesome
tutorial by Susanne Rose!
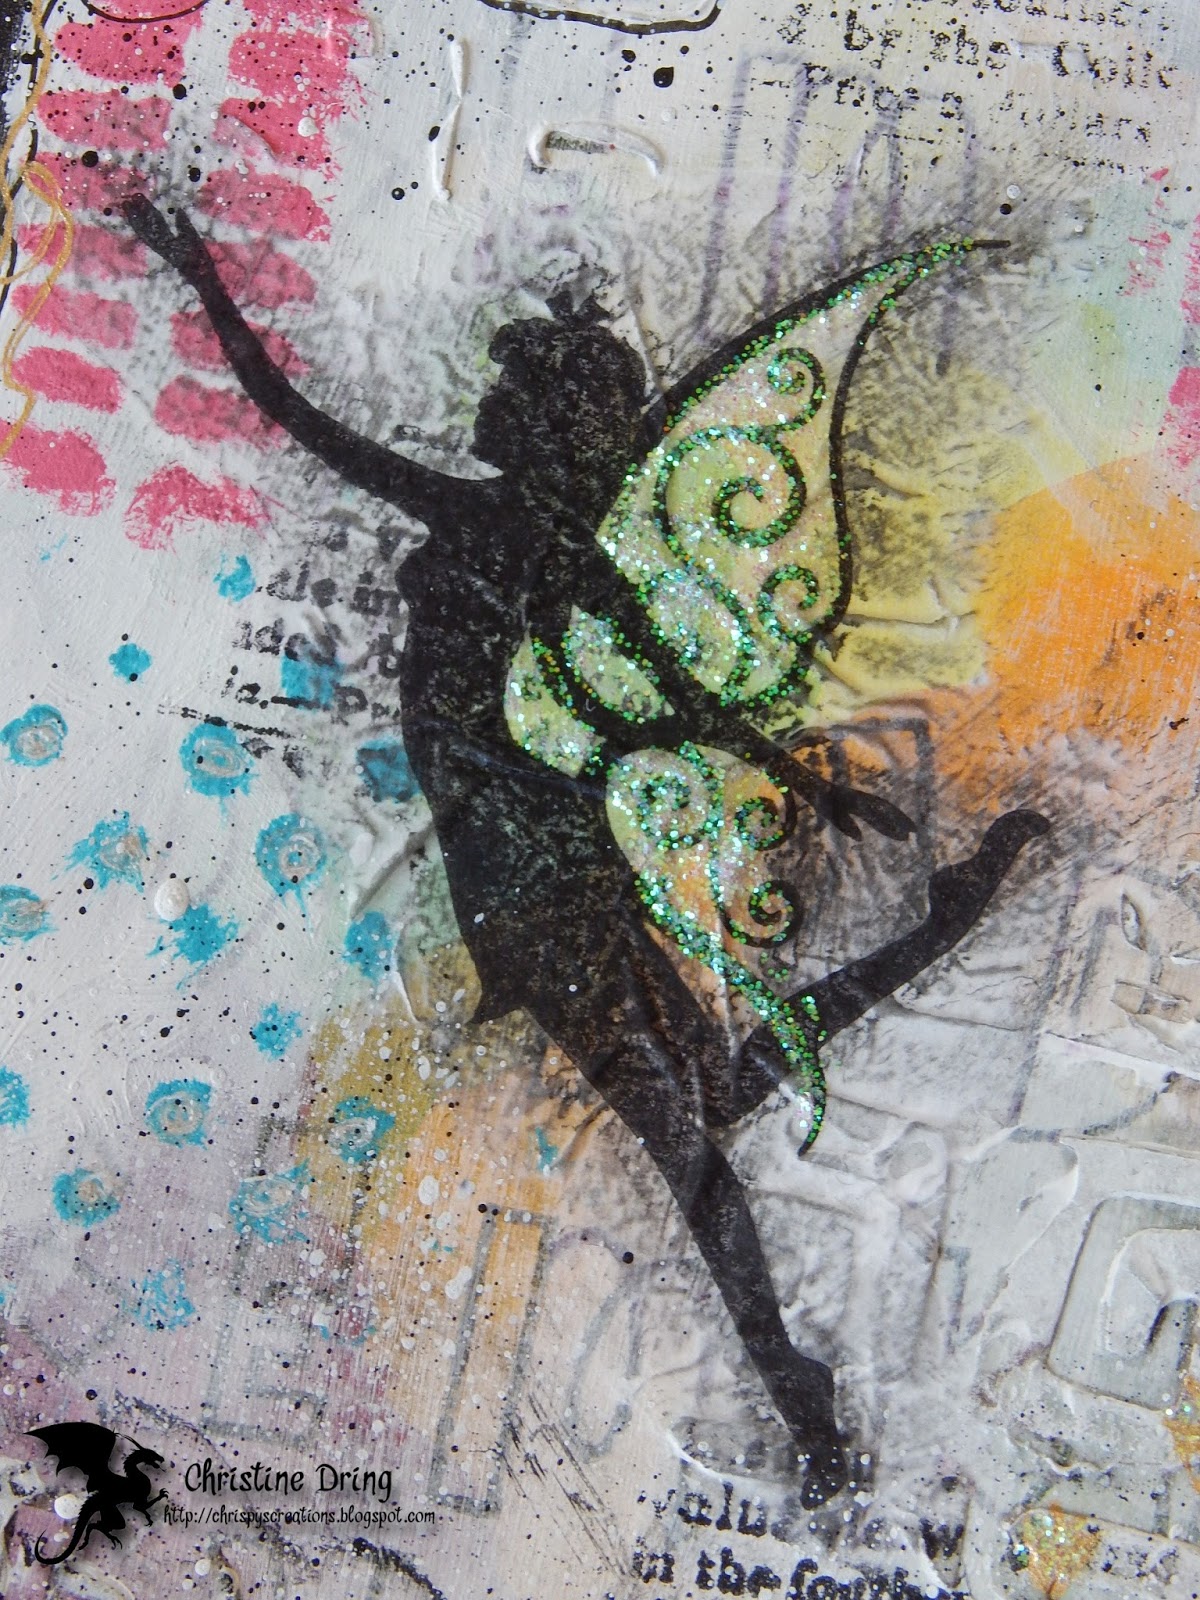
This was yet another messy painty totally fun page!


Lots of layers. And layers. And layers!


Such an amazing lesson! Thanks again Susanne! You rock!

That's it for now. I've been working in the flower beds the last couple of
days, pulling weeds, cutting down plants, and mulching along with my
next door neighbor's daughter. Between the two of us, we've gotten both front and 
back yards ready for fall. (And even more important, now we can start
decorating our yards for Halloween!!) Woo Hoo!

But first, I've been neglecting my craft room, so off I go!

Thanks for visiting. I hope you have a great day!


I'd like to enter this at:


Supplies:
Golden Gesso, Matte Medium
heat gun, various paint brushes
DecoArt Americana Acrylic paints - Tangerine, Green Tree, Brilliant Purple, Sapphire, Electric Pink, Napa Red, Desert Turquoise
DecoArt Media Fluid Acrylic paints - Primary Yellow, Titanium White, Carbon Black
Paper Smooches stamps - Graffiti
Staz On ink - Timber Brown, Jet Black
DecoArt Media - Modeling Paste
pallet knife
STAMPlorations - Tribal Swirls & Dots All Over stencils
TCW/Kasia - Mixed Media stencil
baby wipes
So Suzy Stamps - Fairy & Sentiment
tissue paper
STAMPlorations - Mixed Media Grunge stamps
General's - Pastel Chalk pencils black and pink
Sakura - white and gold Gelly Roll pens
Faber-Castell Sm black Artist PITT pen
Ranger - Crystal Stickles

Saturday, June 24, 2017

SISTERHOOD OF SNARKY STAMPERS #87- A is for Arty


Hello snarky peeps. I'm back. Somewhat.

It's been over a month since I've blogged. We took our annual vacation to
the beach towards the end of May, and while we were driving down, one of my sisters
called to say that my Dad was being moved into hospice care.
I've mentioned this a few times before, but my Dad had Dementia. We knew
this was going to be happening, as his health really started taking a nose dive in March.
The day we left the beach, my sister called again to let us know that his health was
failing, and that he had stopped eating and drinking the Thursday before. On May 30th,
my Dad passed away peacefully in his sleep. The amazing staff at the
 VA hospital/Alzheimer's Unit in Manteno, Illinois has taken such good care of my Dad 
for the past year, and I'm so grateful for all they've done to make him feel safe and comfortable.
Needless to say, we flew home later that day, and I stayed for almost two weeks
with my Mom, for the memorial service, and just to make sure she was ok. 
As weird as this sounds, she did well, perhaps because she had already been living 
on her own for the past year. 
I know he's in a better place now, with his family and friends who've gone
before him, laughing and joking and dancing. I miss him so much.

And now that I've made you cry, I want to make you smile.

One of the things that I inherited from my Dad was his arty gene. He played drums
in a jazz trio at one point in his life. (I play air drums like nobody's business) He loved to dance. 
(I love to dance too. I'm no good at it, but I still dance. (wink)) He also liked to draw and doodle.
That more than anything keeps him close to my heart, since I'm an artsy fartsy gal.

And speaking of Arty, 
it's time for the next challenge at the SISTERHOOD OF SNARKY STAMPERS.

A is for ARTY


We want to see your mixed media creations!

I just started to come back to my craft room, from lack of mojo, and really
I just wasn't ready to come back to it. In early May, I started an art journal page
for week 5 of the One Badass Art Journal class I signed up for.
(yes, it's finished now, 19 weeks of arty goodness, but I'm slowly catching up)


This week's class was taught by Cristin Stevenson, and it was fun to finish this
page finally. The main tutorial was to use a transfer technique using a printed 
picture and matte medium to transfer it.
It was an epic failure for me. The lady above was not the image I tried
transferring. Luckily, I had foresight to print out a backup image, you know,
in case it didn't work, which it didn't for me.

first layers: gesso; stencils spritzed using black and turquoise sprays; torn up library
card applied with matte medium. The library cards are a gift from Mimi!
(Check me out. I actually used one! LOL!)

This was the image I tried to transfer. 

And this is how it turned out. Epic failure.
At this point I covered it up with gesso, dried, and glued the other image to my
page using matte medium.
This was as far as I got before I came back to it last week.

added paint and moon phases, using a toilet paper tube to trace the circles!

Ta-dah!

used a chevron stamp and bubble wrap for the next layer


found a cool quote to use and wrote it on

added some doodling around the moon phases and it was done!

So now it's your turn to get inky/messy/painty and have fun! We'd love to see what you
come up with. Just add your project at the Sisterhood of Snarky Stampers so we
can admire it! Need more ideas? Then do yourself a favor and check out what my Sisters and
our Guest Designer, Toni Maddox, have created for your viewing pleasure. 
You won't be disappointed!

This page is dedicated to my Dad. 
I love you to the moon and back,
to infinity and beyond, 
for ever and ever.


Saturday, May 13, 2017

JUST US GIRLS #393 Trend Week

Hello crafty friends!
Sue is hosting Trend Week at
and she wants you to create a background using any type of ink
you have, be that Distress Inks or Oxides, or any dye inks or sprays.

Here's my card:

 and the inside:


I haven't jumped onto the Distress Oxide bandwagon yet, as I still have plenty of
the Distress Inks to play with, and that's what I used, doing the smooshing technique.
After it was completely dry, I used my MISTI to stamp the image and sentiment multiple
times to get a dark coverage.* I still felt it needed something, so I tinted some crackle embossing
paste with dark chocolate acrylic paint and applied it to opposite corners. 
Once that dried, the panel was framed with dark brown cs and adhered 
to the card base with foam tape. 

Ready to play along? Of course you are! Simply link up at Just Us Girls
so we can admire it! If you need more ideas, please check out the amazing
creations that my teammates and our Guest Designer, Kathie Durgan
have made, and leave them some bloggy lovin!
Thanks for visiting!
Hugs,
* Pay no attention to the fact that I forgot to ground the image with a shadow. Ugh!


I'd like to enter this at the Mixed Media Monthly Challenge #36 - put a stamp on it


Supplies:
Stamps: Viva Las Vegas Stamps - hippo racer; Unity Stamps - sentiments
Ink: Ranger DI - Iced Spruce, Shabby Shutters, Brushed Corduroy, Gathered Twigs; 
Memento - Tuxedo Black
CS: Darice
Accessories: GC; Avery Elle - Pierced Rect. die; MISTI; Dreamweaver - Crackle Embossing
Paste; Deco Art - Americana Dark Chocolate Acrylic paint; water mister; paintbrush
Adhesives: SA by 3L - tape runner; Scotch foam tape

Tuesday, March 7, 2017

SHOPPING OUR STASH #293 - All That It's Cracked Up To Be


Good morning friends and welcome. 
This week at SHOPPING OUR STASH, we are challenging you to
use crackle paste or a crackle technique on your card or project!
For my project, I created an art journal page.
(You might want to get your favorite beverage, because this is a
photo heavy post!)


I based my page on this art journal page by Tracy Weinzapfel. Thanks Tracy! I recently
won some of Tracy's stamps and so (instead of hoarding them, like I usually do), 
I used one of the sets, called Heart Swirls & Doodles. Now, if you watch her video, you'll 
notice that she has pretty much every color of paint bottles on her back wall. (so jealous!),
Me? Not so much. In fact, most of the colors I used on this page, I mixed, because I only have 
about 15 colors of paint. LOL!

Here are the colors I used:
(a complete supplies list is at the bottom of my post)


I started off by first going over the page with Gesso and dried it with my heat gun. Then I mixed black and white paint to get a dark grey and added that. Again, heat gun to dry.
Next I took a little bit of Blue Harbor and a couple drips of Kelly Green and mixed that with
my crackle paste, and painted that on. I left that to dry naturally overnight. 
(Of course, I forgot to take pictures of those two steps.)

Ok, so instead of boring you any more with my blabbering,
I'm just gonna bombard you with a bunch of process photos,
(that I did take pictures of):


I stamped the hearts, then painted them. Once the paint dried (by heat gun), I re-stamped
the images, not caring if I didn't line them up exactly again, because,
this is ART people! LOL! I went over the lines with F-C black Artist Pitt pen to 
darken them. I used a black Prismacolor pencil and Fantastix to
blend the shadow around the hearts. Added shading and highlights.


I stamped the sentiment onto some scrap paper, painted over it with some watered down
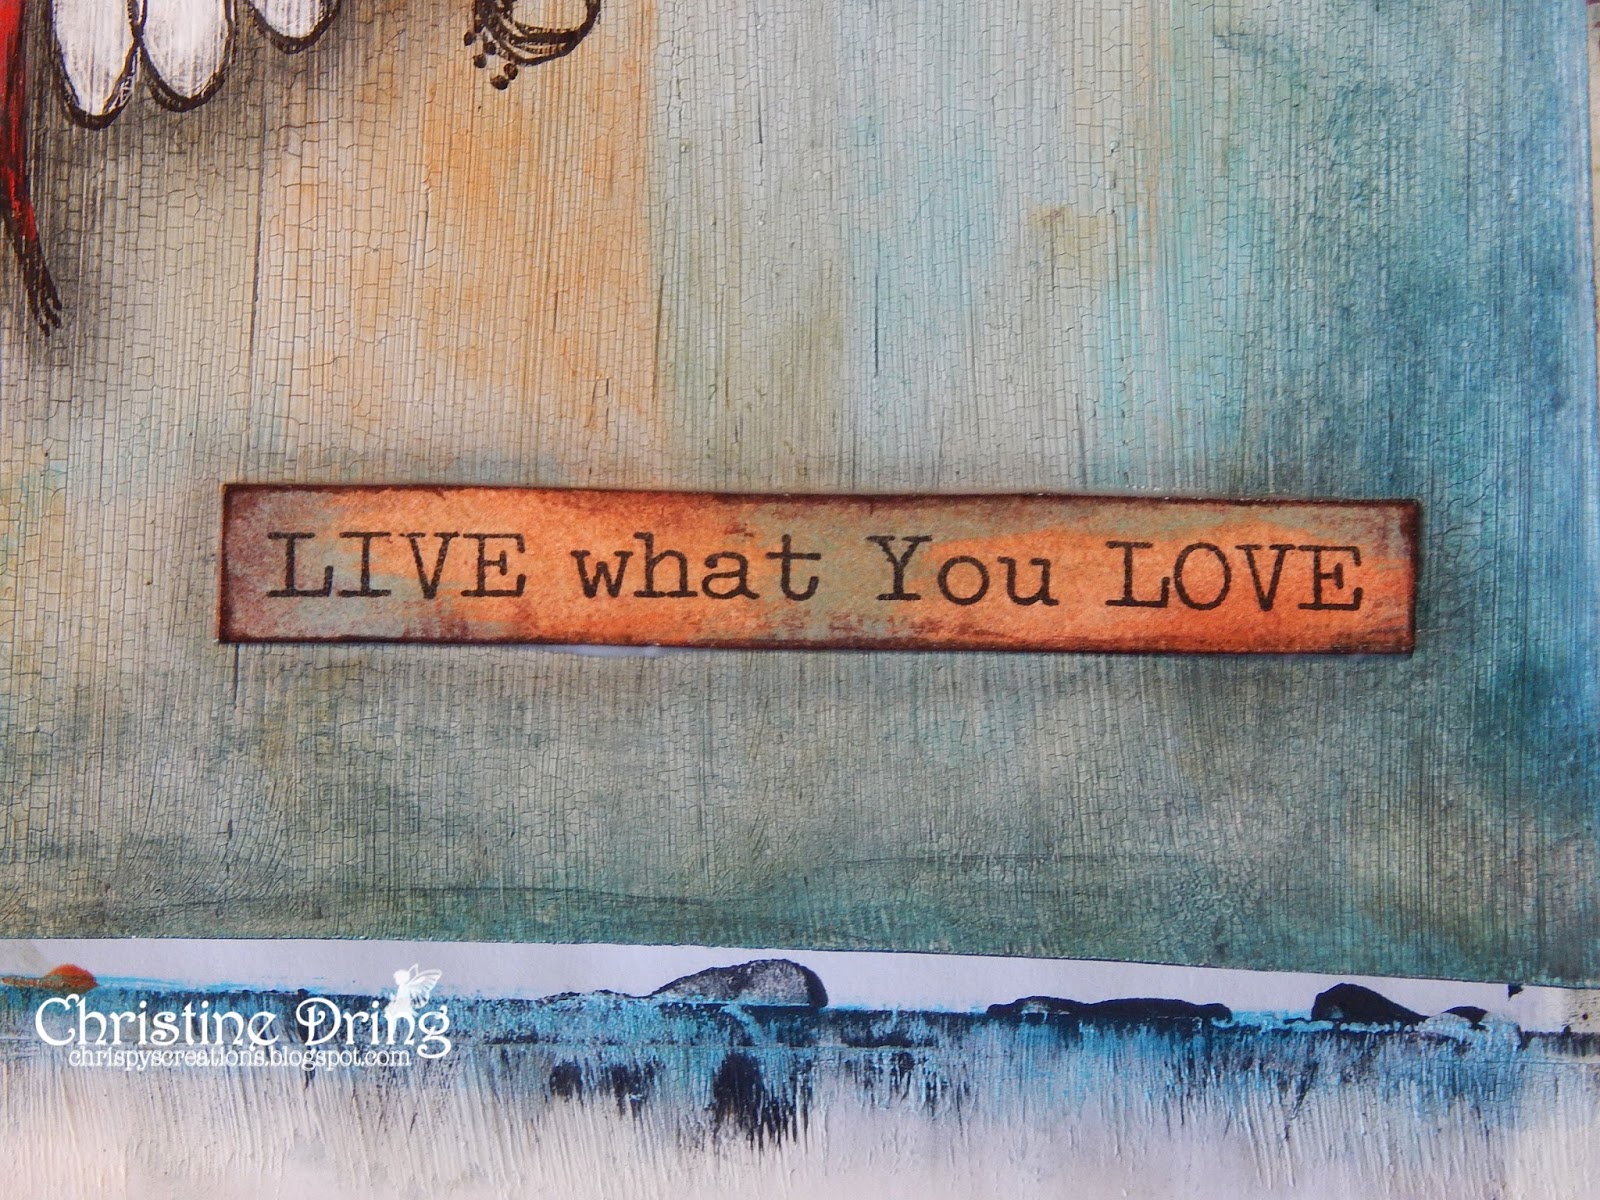
rust and turquoise paints, hit it with the heat gun, edged it with brown ink,
and adhered with Multi Medium. Hit it with the heat gun again, and went around it
with the Fantastix for some shading.


I cleaned up a bit before taking these shots, but yeah,
this is my happy place!


One last shot:


I hope that you step outside your comfort zone and try using crackle paste, or 
a crackle technique, and link up your project at Shopping Our Stash! We'd love to see it.
Looking for more ideas? Then check out what the SOS Crew, and our new Guest Designer,
Wendy Townsend, have created to inspire you. 

You made it to the end! Thanks for visiting. Have a great day!


I'd like to enter this at:


Supplies:
Stamps: Dare 2B Artzy/Totally Tracy stamps - Heart Swirls & Doodles
Ink: Staz On - Jet Black; Memento - Rich Cocoa
Accessories: Strathmore art journal; Golden - Gesso; Deco Art - Media Crackle paste & Multi Medium; Deco Art Media Acrylic paints - carbon black, titanium white, cadmium red hue, primary yellow; Deco Art Americana acrylic paints - blue harbor, kelly green, irish moss, dark chocolate; Ranger Adirondack acrylic paint daubers - stream, terra cotta; various paint brushes & sponge brush; water mister; Faber Castell - black fine Artist PITT pen; Prismacolor pencil - black; Fantastix; baby wipes; paper towels; heat gun
adding pinterest script 3. Changing the Position of the Pin it! button The cool thing about this code is that you have some freedom over where the Pinterest button for Blogger will go over the image. Take a look at the code that you just copied and pasted into the HTML for the word 'center'.