

Welcome friends!
This week at
we are getting back to basics. Time to
put those dies away and do some
FUSSY CUTTING!
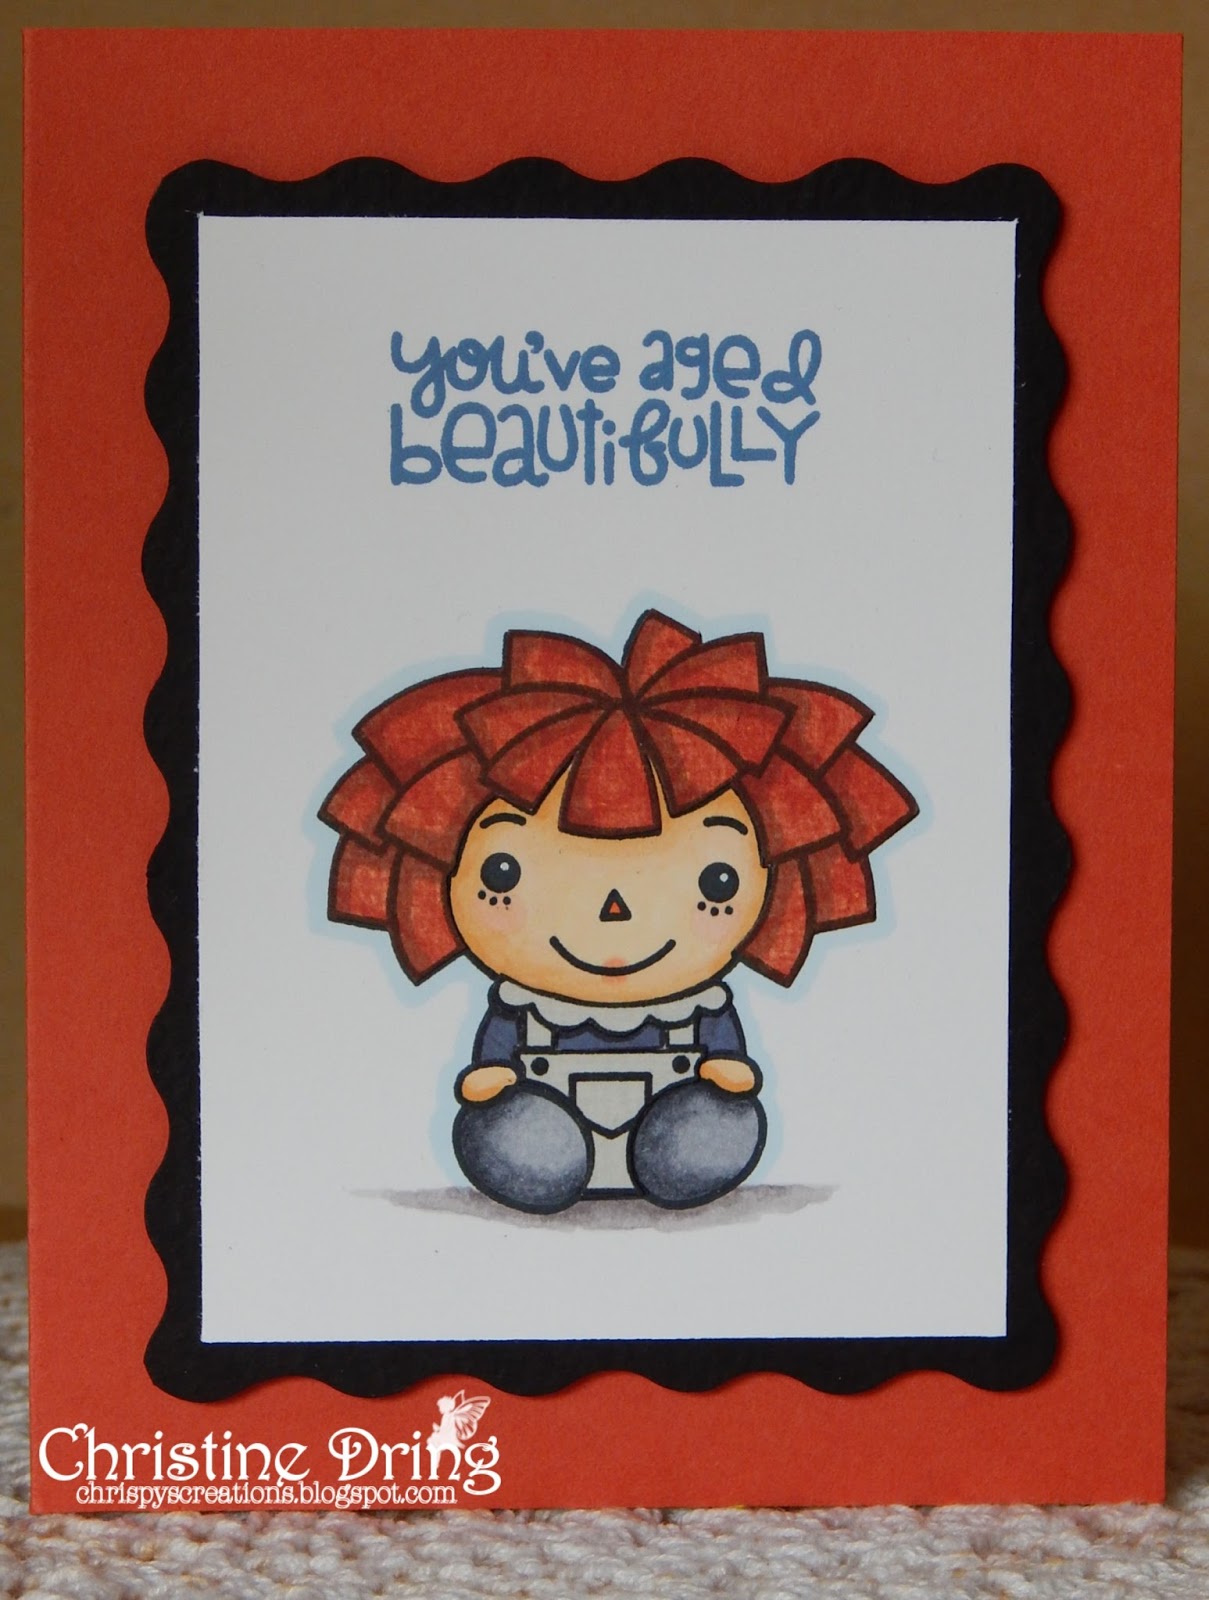
Here's the card I made:
and the inside:

I started by stamping the image onto a white panel, coloring the face, hands, feet, ground and outline around the doll. I stamped the doll again on bits of orange, blue, and gray scrap paper, fussy cut, and adhered. (I did add shading to the hair with a marker first.)

In keeping with the 'no dies' challenge. I broke out a much neglected decorative scissors to cut
the black frames. (Thus the reason they look like crap.)
Now it's your turn to show us your mad fussy cutting skillz! Just be sure to
link up at Shopping Our Stash so we can admire it!
Need more ideas? Simply visit the blogs of my teammies and while there, leave them
some love!
Thanks for visiting!
Hugs,

Supplies:
Stamps: Paper Smooches - Knick Knacks, Happy Birthday
Ink: Memento - Tuxedo Black; Ranger DI - Faded Jeans
DP: scraps from MME and DCWV
CS: TE, Crafter's Companion, scraps
Accessories: MISTI; Spectrum Noir markers; X-Acto Knife; Provo Craft decorative scissors
Adhesives: SA by 3L - tape runner, Thin 3D foam squares
Oh, you got mad-cutting skills! Cute image... and smart to use the decorative scissors!
ReplyDeleteSuper cute image, awesome fussy cutting. Fabulous card.
ReplyDeleteOh Yes! it's super duper cute Chris. Haven't used those scissor for an AGE. Love your colouring.
ReplyDeleteAwwwwwwwwwww that is super awesome!!! Fantastic job sistah!
ReplyDeleteI had a raggedy Anne doll as a kid...made me smile :)
Silly, your frames look amazing! As does this CUTE image. Way to go with the fussy-cutting!
ReplyDeleteI think the frame looks awesome. And what a darling image and sweet card. Love.
ReplyDeleteThis is adorable, Chris! I'm loving that paper piecing on that sweet little raggedy gal! And your frames look great, they really do!
ReplyDelete