Showing posts with label Doodlebug. Show all posts

Saturday, July 9, 2022

SISTERHOOD OF SNARKY STAMPERS #214 - C is for Christmas (in July)


Hello and welcome back!
We have a very popular challenge this fortnight at the
Christmas in July!

Here's what I made:


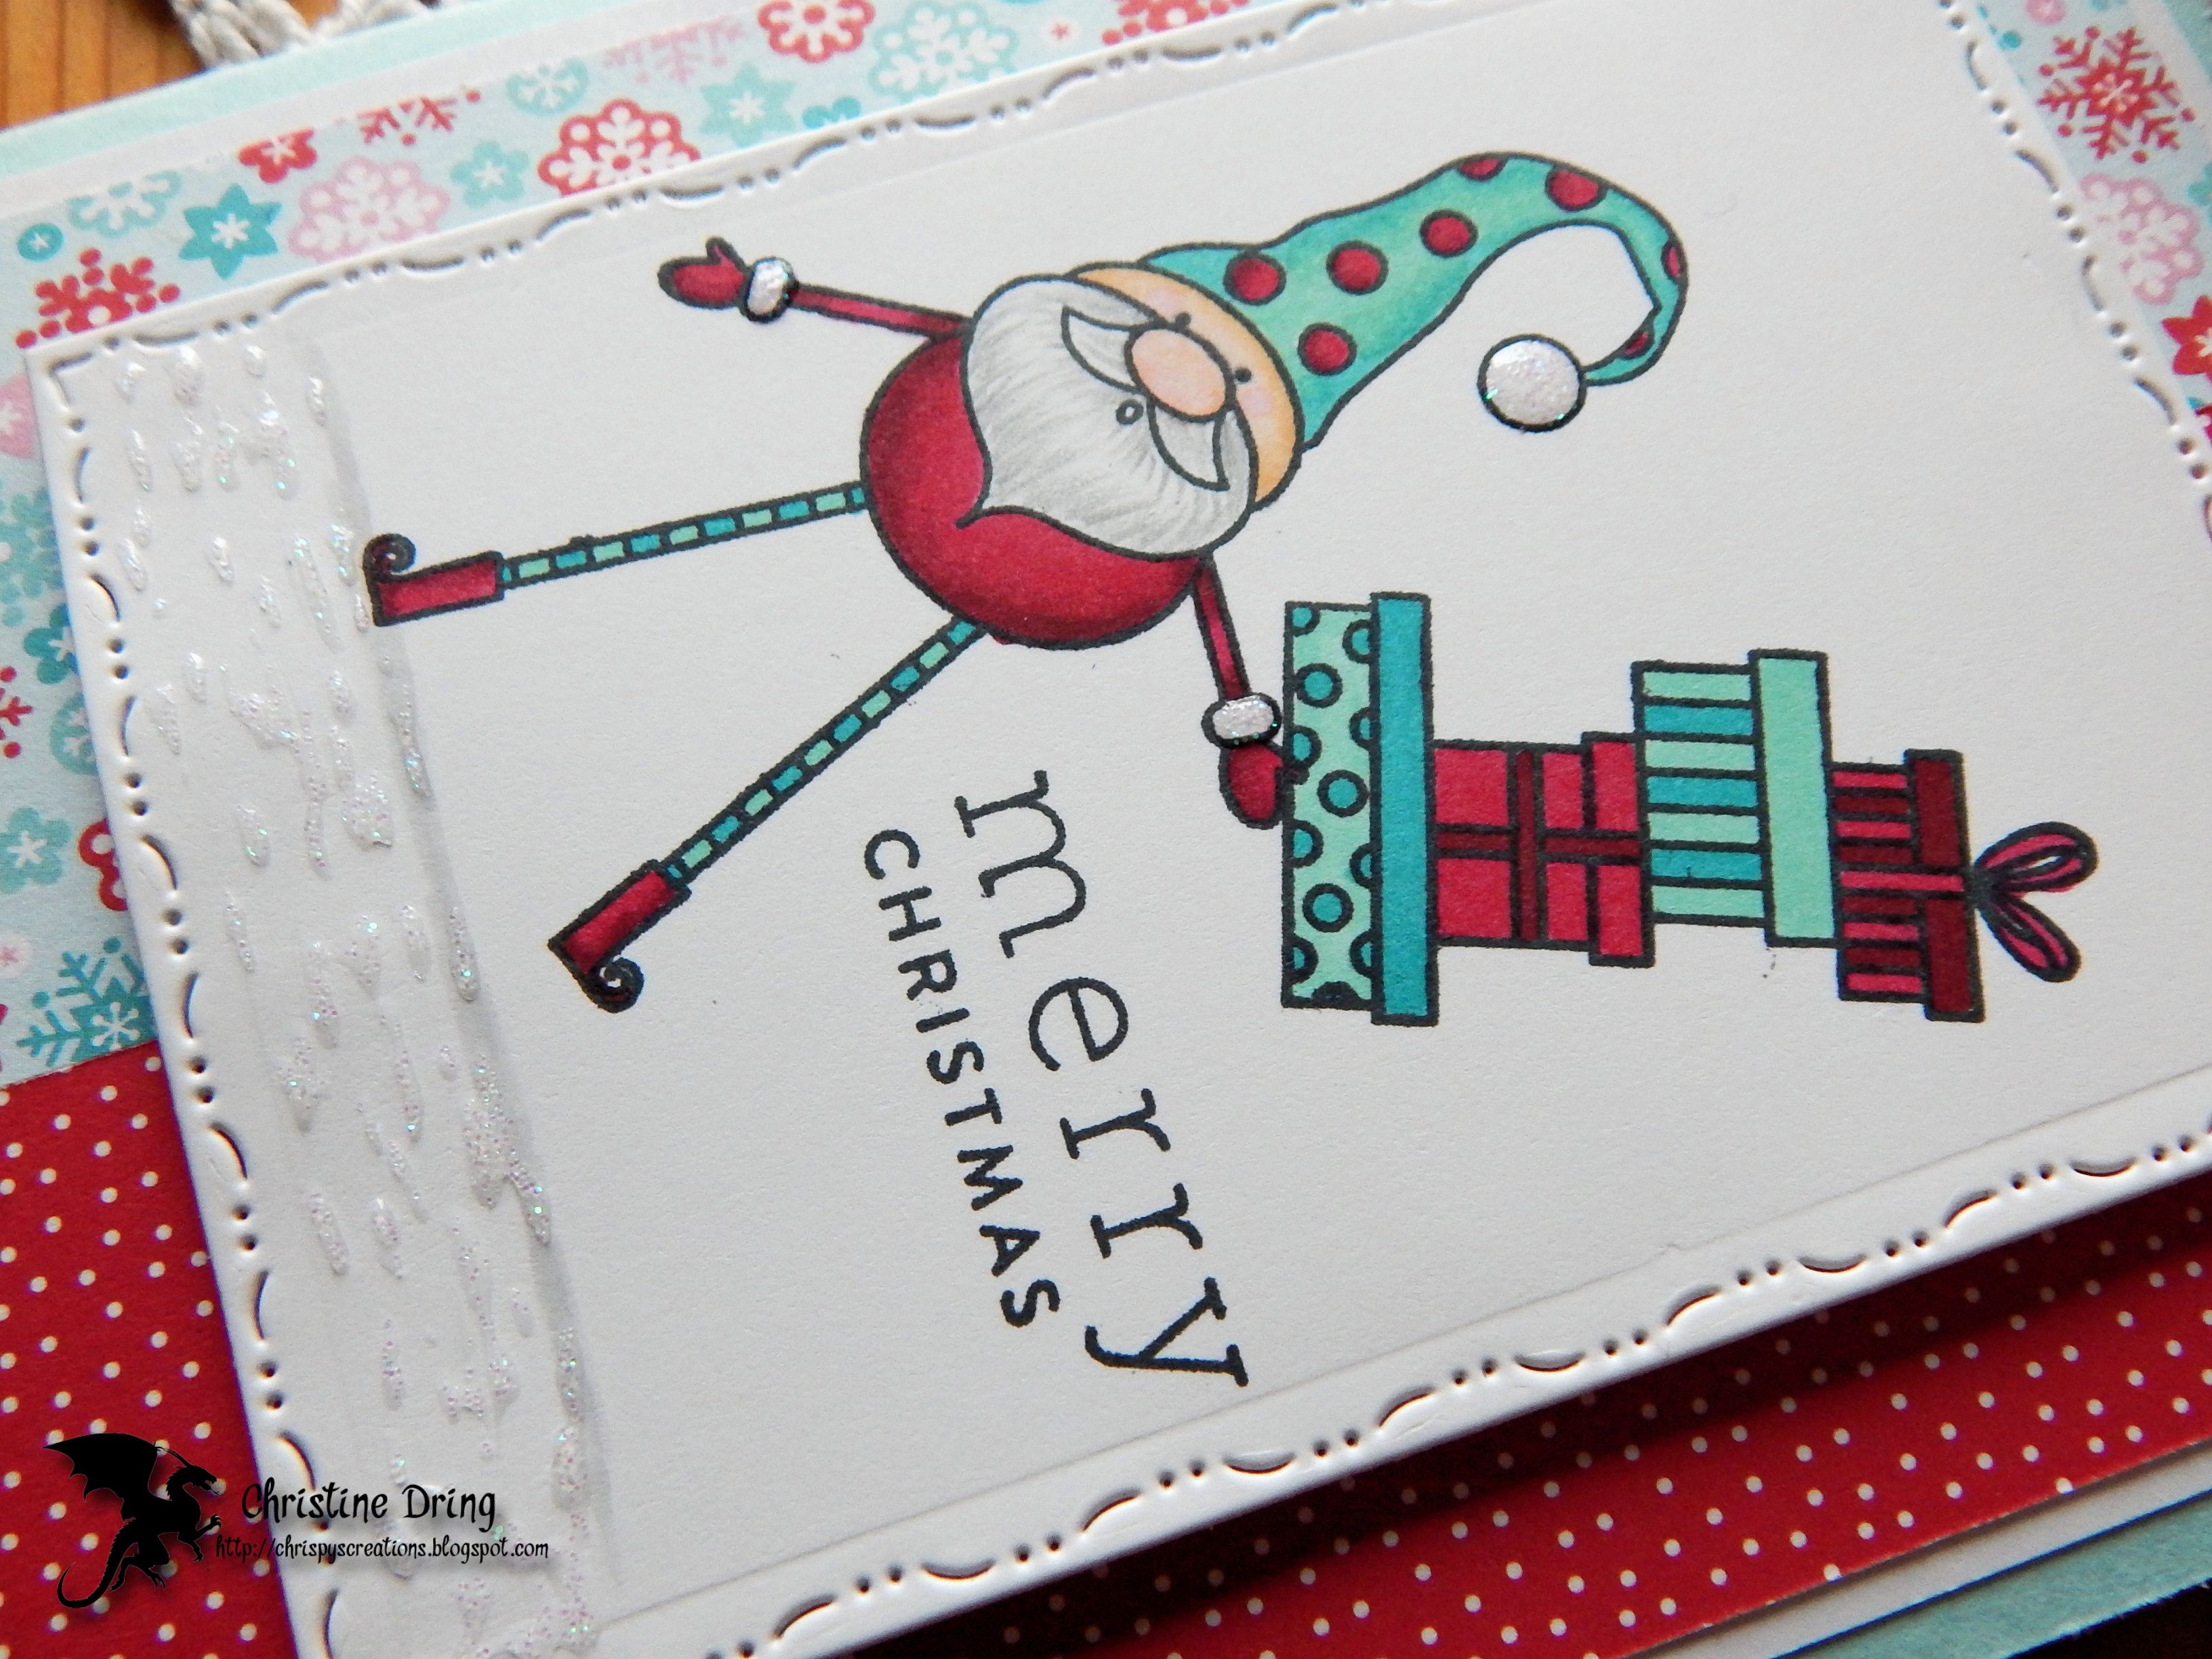
This little guy is so cute, I just couldn't snark him up. LOL!
I colored him with Spectrum Noir markers using coordinating colors
from the patterned paper. I added shading to his beard and mustache with
a gray Prismacolor pencil.

A simple sentiment finishes the inside:
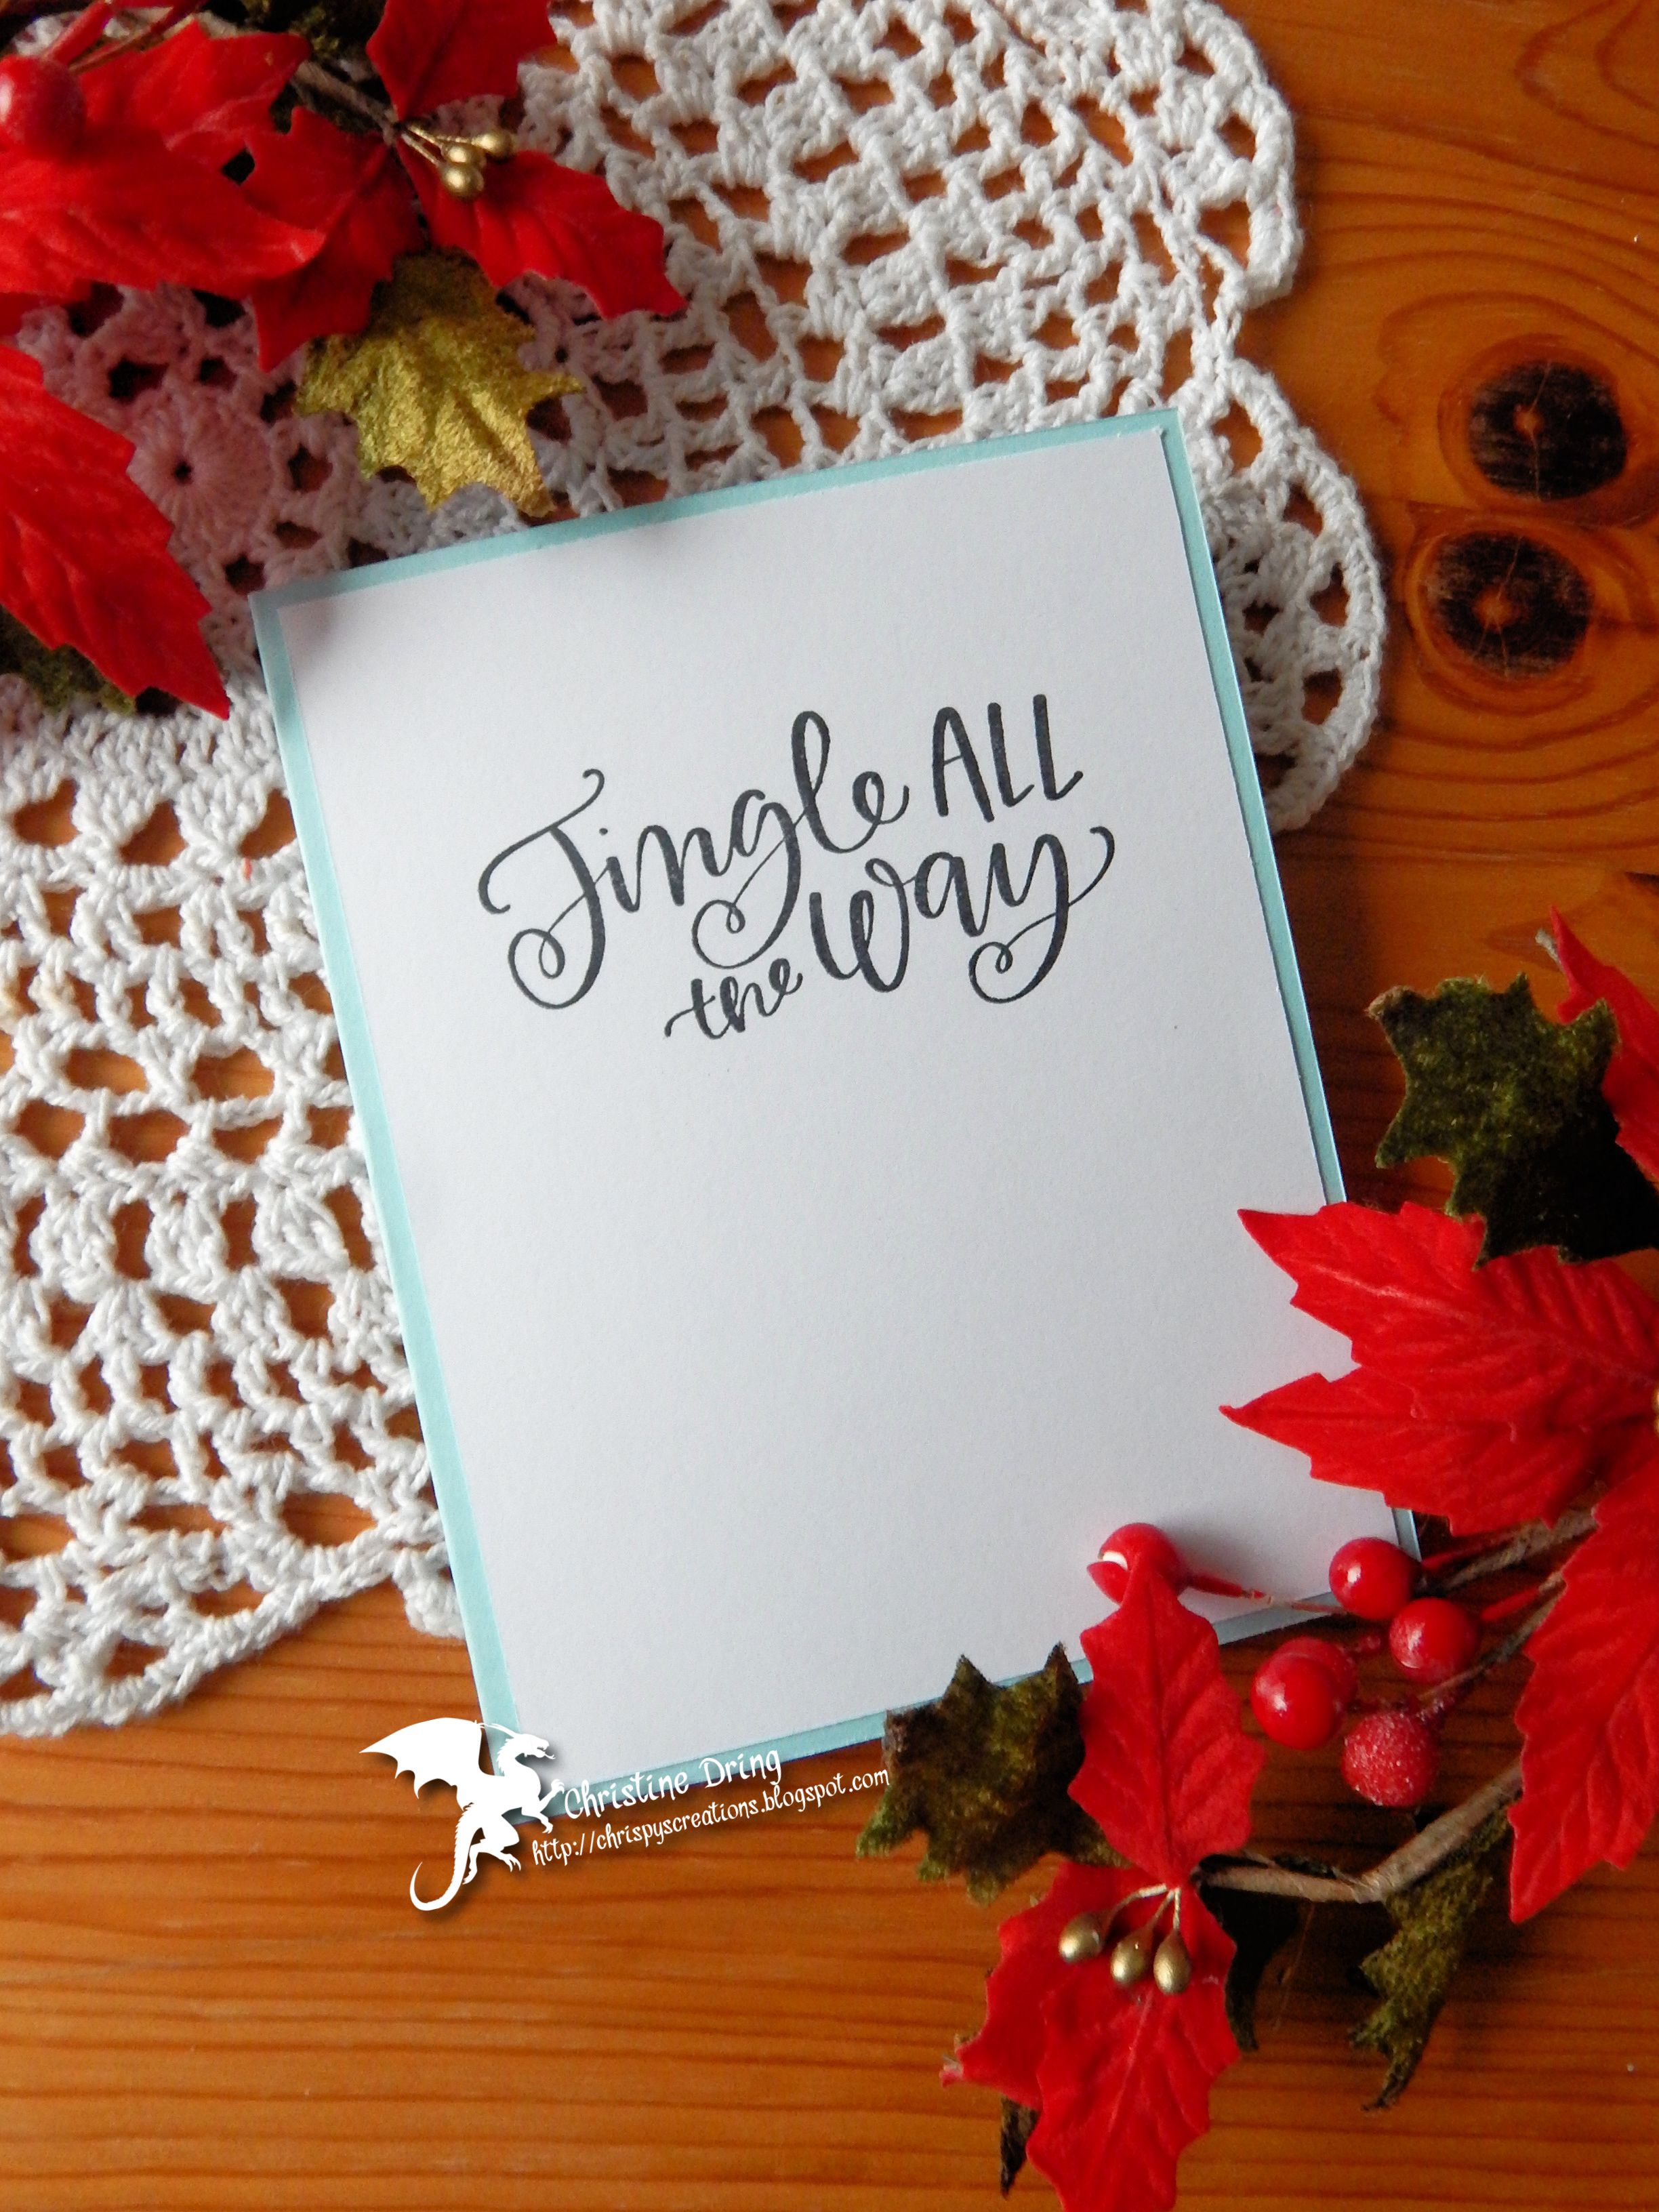

I hope that you'll join us for our Christmas in July challenge at the
For more ideas, do yourself a favor and check out what my Sisters, and our
reigning Queen, Beverly, have created for your viewing pleasure.
Thanks for stopping by!


Supplies:
Stamps: Simon Says Stamp - Gnome for the Holidays; Taylored Expressions - Handlettered Holiday 2
Ink: Memento - Tuxedo Black
DP: Doodlebug - Let It Snow
CS: Spectrum Noir; Taylored Expressions
Accessories: Spectrum Noir markers; Prismacolor Pencil; MISTI; GC; Penny Black - Elegant Rectangle die; Nuvo Glitter Drops - White Blizzard
Adhesives: SA  by 3L - tape runner, 3D foam squares


Saturday, June 11, 2022

SISTERHOOD OF SNARKY STAMPERS #212 - T is for Tags


 Welcome snarky peeps and happy Saturday to you!
It's time for the new challenge at the 
to start, and this fortnight it's T for TAGS!
Here's my take on it:


Looking for a person image to use, I rediscovered this stamp set from
Totally Stampalicious, back when Bugaboo stamps were made in
rubber and not digital form. I used a STAMPlorations luggage tag, and the
sentiment is from my Hot Mess stamp set.


I hope that you'll join us at the Sisterhood of Snarky Stampers in our
tag challenge! We'd love to see what you come up with. Need more ideas?
Simply visit the blogs of my Sistahs and leave some love while there!
Thanks for stopping by!


Supplies:
Stamps: STAMPlorations - Hot Mess; Totally Stampalicious/Bugaboo - Scarlette I'm So Excited
Ink: Memento - Tuxedo Black; Versamark
DP: Doodlebug Design - Hey Cupcake
CS: Spectrum Noir; Neenah
Accessories: Spectrum Noir markers; GC; CUTplorations - luggage tag nesting dies; Avery Elle - Double Pierced Rectangle dies; Inkadinkadoo - black EP; heat gun; MISTI; mystery ribbon from my stash; Fray Check
Adhesives: SA by 3L - tape runner, thin 3D foam squares; Glue Dots


Wednesday, January 5, 2022

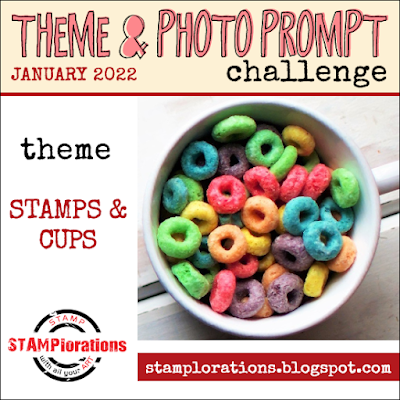
STAMPlorations January Theme and Photo Prompt Challenge


(This post contains affiliate links. When you click on any of the STAMPlorations
store links below and place an order, I will receive a small commission at no additional
cost to you.)


Happy New Year to you all!
I hope that your holidays were filled with love and laughter.

It's time again for the newest Theme & Photo Prompt Challenge
Use the theme, or the photo, or combine both.
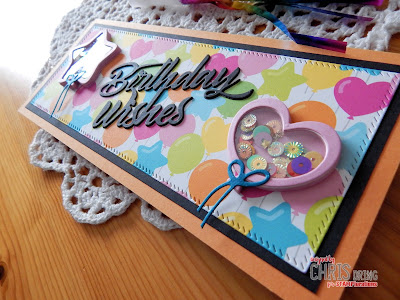
My card was created using the photo for inspiration:


I loved all the fun colors of the cereal, so I drew from that.
I found this great balloon paper in my stash for the background.
(Which has both the star and heart shaped balloons in the design!)
Once I had it adhered to the card base, I started to tackle all the
die cutting. The Birthday Wishes die was cut three times, stacked and
glued together. For both the Shaker Balloons #1 Heart and 
Shaker Balloons #2 Star dies, the solid die was cut once from the pink card and
once from acetate. Now for the outline dies, I cut those at least 9 times for each,
stacked and glued them. I added sequins from the 
Color Confetti ShakerBlends before adhering the solid shape to it, then
adhering everything to the card base. 


I hope that you find some time this month to play along in the
I'm looking forward to seeing how you interpret the theme and/or photo.
If you need more ideas, please do check out what my teammates
created to inspire you!
In need of some crafty supplies at the STAMPlorations store?
Feel free to use my discount code,

STAMPGIRLCHRIS

for an extra 20% off!


Thanks for visiting! I hope you have a wonderful day!


Supplies:
DP: Doodlebug - Hey Cupcake
CS: TE; Cardstock Warehouse
Accessories: GC; STAMPlorations - Birthday Wishes word die, Shaker Balloons Heart & Star dies, Shaker Blends - Color Confetti; Pinkfresh Studio - Slim Diagonal stitched rectangle die; Grafix - acetate
Adhesives: SA by 3L - tape runner; Ranger - MMM

Tuesday, March 30, 2021

SHOPPING OUR STASH #442 - Here Comes Peter Cottontail


Hello and welcome crafty friends!

It's time for the new challenge at SHOPPING OUR STASH!

This fortnight, we want to see projects with a bunny(s), or

a Passover or Easter theme.

Here's what I made:

I love this image of a bunny eating a chocolate bunny! LOL!

Something simple finishes the inside:

You know how bunnies are, they keep multiplying...

...and multiplying!


I hope that you find some time to play along in our Peter Cottontail challenge

at Shopping Our Stash! For more inspiration, do check out what my

teammies created to wow you!

Thanks for visiting, have a wonderful day!


Supplies:

Stamps: Sunny Studio - Chubby Bunny, A Good Egg; Simon Says Stamp - Oh Bunny

Ink: Memento - Tuxedo Black, Teal Zeal, Bamboo Leaves, Summer Sky, Grape Jelly, Lilac Posies; Ranger DI - Peacock Feathers

CS: Spectrum Noir; Cardstock Warehouse; scraps

DP: Lawn Fawn; Doodlebug Designs; Sandylion; freebie from Cardmaking & Papercraft magazine

Accessories: Spectrum Noir markers; MISTI; GC; SB - std oval die; MFT - stitched oval frame die;  PFS - blending brush; Sakura - white Gelly Roll marker

Adhesives: SA by 3L - tape runner, 3D foam squares; Ranger - MMM

Saturday, June 20, 2020

June Demo Day to Go at Photo Scraps!

Hi there crafty peeps!
Just wanted to pop in to say that I made a couple cards
for Demo Day to Go at Photo Scraps!


Spectrum Noir markers used:
TN2, TN3, TN4, PP3, PP6


Spectrum Noir markers used:
Dog: MB1, MB3, MB4, IG1
Nose: IG3, IG5
Shadow: EG3
Bone: EB1, EB2
Collar:  CT2, CT4, GB7

Lisa Halstead had the Copics so she was going to match the colors for me. Or, of course, you
can color the images however you want!

Hope you can stop by to help support a great small business! Have a great weekend!


adding pinterest script 3. Changing the Position of the Pin it! button The cool thing about this code is that you have some freedom over where the Pinterest button for Blogger will go over the image. Take a look at the code that you just copied and pasted into the HTML for the word 'center'.