It's time once again for the new challenge at the
This fortnight is brought to you by the letter T:
as in TEXTURE!
I dug out the only 3D embossing folder I own to make
this very pretty, non snarky card:
(Yes, Jennifer McGuire had a major influence on this! Thank you!)
I used some teal mirror paper with the EF for the background. The
solid die cut of the butterfly received a thin coating of crackle paste, the
intricate die cut was cut from black card stock then coated with White
Blizzard Nuvo Glitter Drops, which picked up the teal card
brilliantly IRL! I used a Tim Holtz Small Talk sticker for the sentiment.
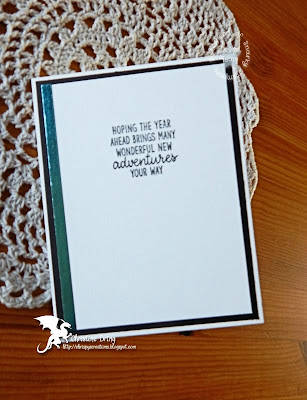
I did manage to stamp a sentiment on the inside and added a
snippet of the teal paper to finish it off.
See? Snark isn't mandatory at the Sisterhood,
(but you know we LOVE it!)
I hope that you find some time to play along in our Texture challenge at the
Sisterhood of Snarky Stampers! For more inspiration, do check out what
my Sistahs and our reigning Queen, Tristan, have created to wow you!
Thanks for visiting!
I'd like to enter this at Simon Says Stamp Monday Challenge: Mixed Media
Stamps: Sunny Studio - Inside Greetings Birthday
Ink: Memento - Tuxedo Black
DP: Bazzill - teal foil paper; Best Creations - brushed silver
CS: Neenah; Nicole
Accessories: Gemini; Crafter's Companion - Ornate Lace EF; Memory Box - Vivienne & Darla butterfly dies; DecoArt Media - Crackle Paste; pallet knife; Tim Holtz - Small Talk Occasions sticker; Nuvo - white blizzard Glitter Drops
Adhesives: SA by 3L - tape runner, thin 3D foam squares


Wow, wow, wow! That background - jaw-dropping! And a beautiful card, I totally understand how it didn't work with snark. Even for you! ;)
ReplyDeleteWhat a stunner! Fabulous card, Chris, Jo x
ReplyDeleteLooks like we watched the same video, That EF is drop down gorgeous and really worked fabulously for texture. Gorgeous butterfly and fabulous design.
ReplyDelete