Saturday, May 31, 2014

Sisterhood of Snarky Stampers - Challenge #9: R is for Ribbon

Hello and good morning peeps! Today starts a new alphabet soup challenge at the SISTERHOOD OF SNARKY STAMPERS! The next two weeks is brought to you by the letter R - for Ribbon! We want you to use ribbon on your card or project!


 Easy, right?! Here's my card:


Here's the inside:

Yep. Went with snark! LOL! Love these Wild Cards from October Afternoon! They are a great jumping off point for when, like myself, you want a cheeky punch line on the inside of your card! Everything on this card is at least 2-3 years old, except for the yellow card stock. The gingham ribbon was part of some blog candy winnings a couple years ago from Barbara Anders. I glued a double row of ribbon on the bottom of the red panel - it kind of reminds me of an apron for some reason. :) For the inside, I used tiny alpha stamps and free-styled my sentiment. I like how the letters are all wonky and not lined up.

So what are you waiting for? Go make something that has some ribbon on it, be it a card or project, and link it up at the Sisterhood of Snarky Stampers! We can't wait to see what you create! If you get the chance, please stop by the blogs of my teammates and also our Guest Designer, Shoni Matney, to see what they made for this fun challenge! Thanks for hanging out and I hope you have a great day!

Challenges: Seize the Sketch #21

Chris
Supplies: 
Stamps: Studio G alphas
Ink: Memento - Tuxedo Black
DP: WRMK - Family Keepsakes
CS: Simon Says Stamp
Accessories: Ribbon won from Barb Anders; October Afternoon - Wild Cards
Adhesives: SA by 3L - MyStik permanent, 3D foam squares: Helmar 450 adhesive

Tuesday, May 27, 2014

Shopping Our Stash #153: Background Check!

Yep, the gals at SHOPPING OUR STASH want you to use your favorite background stamp, or use a stamp/stamps to make your own background! Sounds pretty simple. Here's what I did:


here is the inside:

After a failed attempt at my first card, I tried something else, and this time, success! I decided to get inky and make my own background. I cut my main panel from white card stock and got busy inking it up randomly with Distress Inks. Then, using an argyle stamp, I spritzed water on the stamp and set it on one side of the panel. Lifting it up carefully, I again spritzed it with water and set it down on the other side. Love the water color effect the DI's give when reacting with water! I inked up the 'You're the Best!' sentiment for the first time (Yay me, using a hoarded stamp!), and also dug deep in my stash for those photo corners and Thickers. The inside panel was done the same, but for no water, no argyle and a much lighter touch with the inks. Another stamped sentiment finishes the card.

So, I bet you have at least one background stamp that needs a little inky lovin'! Go get that bad boy out and have fun making a card or project! Don't forget to link your creation up at Shopping Our Stash! If you have some time, please go and visit the blogs of my teammies to see what deliciousness they came up with! Thanks for hanging out and I hope you have a fantastic day!

Chris
Supplies:
Stamps: Unity Stamps - argyle stamp from the August 2012 KOTM; MFT - More Essential Sentiments
Ink: Ranger DI - Salty Ocean, Mowed Lawn, Vintage Photo; Memento - Tuxedo Black
CS: Recollections
Accessories: American Crafts - Thickers;  Canson - photo corners
Adhesives: SA by 3L - MyStik permanent
 

Saturday, May 24, 2014

Flowers and Dots! Yay!

I cranked out another Christmas card. Yay! I'm playing along with Merry Monday #109 (use a flower(s)), and DD Wanna Sketch #16. Here's what I came up with:


Here's the inside:

I've had these Prima poinsettia flowers for a while, and I've used one or two before. It was great to use three more of them. Oh! See the centers? Get this: those are gold glitter brads inside a flocked flower shaped brad! I know, right?! The flower brads have a small hole in the centers, so I thought, why not put another brad in there? It worked! Then I added some enamel dots around the flowers. I was going to put the sentiment on the front, but I just decided to leave. it. be. I like how the flowers take center stage on the front and didn't want to take away from them. I just added the sentiment on the inside. Easy peasy!

Challenges:


Well, that's all for now. Got to go get ready for the day. The hubby and I are going to a Caribbean themed wine festival today! Can't wait!  Have a great day!

Chris
Supplies:
Stamps: Hero Arts - Celebrate Everyday
Ink: Memento - Tuxedo Black; Ranger DI - Walnut Stain
DP: MME - Signature Christmas
CS: DCWV
Accessories: Grand Calibur; Sizzix/TH EF; Prima flowers; brads; MME- enamel dots
Adhesives: SA by 3L - MyStik permanent; Ranger - Glossy Accents


Wednesday, May 21, 2014

Here's a card I made...

...that I don't really like. I was basing my design from Mojo Monday #345. (Yes, I'm well aware that there's a new challenge, but I wanted to use this one! LOL!) I wanted to try it not using circles, or butterflies, or flowers. You know, something different. In my head, it sounded like a good idea. Here, tell me what you think:


Here's the inside:

Me? I like the inside much better than the front of the card. Perhaps I should have used bright card stock for the glasses instead of trying to use up those itty bits of DP that I can't ever seem to part with, because, I could use them in the future! (You know what I'm talking about, right?!) 

Anyhoooo, that's my story and I'm sticking with it. Let me know what you think. Or not. ☺ Thanks for stopping by. Have a great day!

Chris

P.S. Here's the sketch:


Supplies:
Stamps: Paper Smooches - Free Spirits, Hullabaloo
Ink: Memento - Paris Dusk
DP: DCWV - Summer Magic Stack
CS: Recollections; scrap
Accessories: Grand Calibur; Paper Smooches - Drink Glasses & Flag Tag dies; Cuttlebug EF; Provo Craft - scalloped scissors; Hampton Arts - rhinestones; Darice  - cord
Adhesives: SA by 3L - MyStik permanent, 3D foam squares; Recollections - red tape

O Holy Night

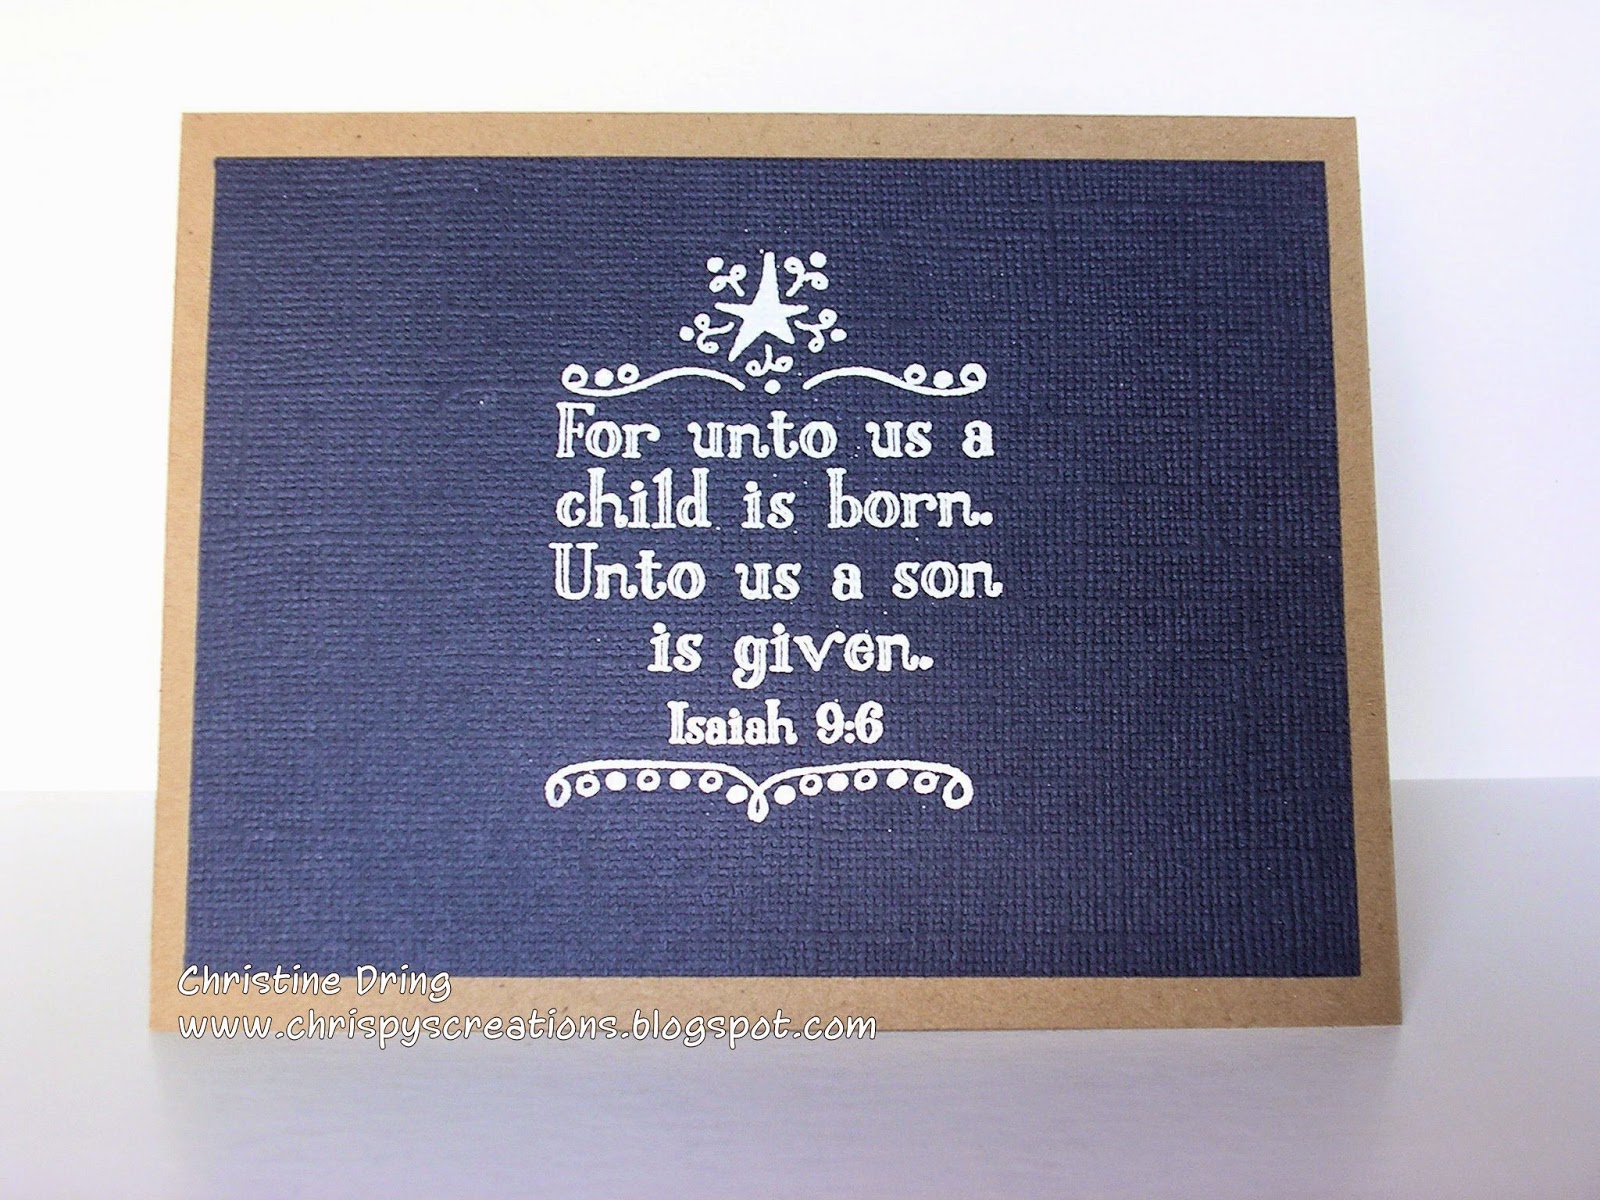
Hi there and good morning to you all! I made this card using the current Seize the Sketch #20 sketch, and also for Merry Monday #108 (to use a star(s)), but missed the cut off time for MM. But I still wanted to play along. So I did! ☺ Here it is:


and the inside:


I think the card pretty much speaks for itself - the real reason for the season. ☺

Challenges:
 
Thanks for stopping by and I hope you get some crafty time in!

Chris
Supplies:
Stamps: Inkadinkado - Warm Holiday Wishes
Ink: Versa Mark; Memento - Tuxedo Black
DP: HOTP; American Crafts - gold glitter
CS: Recollections (kraft); scraps
Accessories: Grand Calibur; Sm. & Lg. standard Ovals, Lacey Ovals Nesties; Paper Smooches - Cardbooking dies (star); Stampendous EP; Spectrum Noir CT2 yellow marker; heat gun
Adhesives: SA by 3L - MyStik permanent, 3D foam squares

Tuesday, May 20, 2014

Shopping Our Stash #152: Make an Anniversary or Birthday card

How simple, right?! At SHOPPING OUR STASH, we have a super easy challenge this week: make either an Anniversary or a Birthday card. (Because on May 24th, SOS celebrates our 3 year Anniversary! Woot! Woot! Here's what I came up with. Be warned, it's pretty sappy:


and the inside:

I will be giving this to my hubby for our 23rd Anniversary, which is on the 25th this month. 23 years! And we still like each other! LOL!

I tried a new-to-me technique, which is the cloud background. I made my own cloud template too:


I dug through my pile of discarded die cuts (that I couldn't throw away, since I knew I'd use them some day), found a few with scalloped/curvy edges and glued together to make my template. It works, people! I stamped the castle first, then stamped it again on scrap and fussy cut it to use as a mask before inking my clouds. I used the curvy die from the PS Borders 1 set to cut my hill out, and also the royal icons dies and stamps. Some coloring with my SN markers, some Stickles on the dress and crown, a computer generated inside sentiment, and wa-la! Done!

This challenge is soooo easy, there are no excuses for not playing along! Just use something in your stash, and link up you card or project at Shopping Our Stash! If you get the chance, please stop by my teammies blogs to see what they created! You won't want to miss out! Thanks for stopping by and I hope you have a fabulous day!

Challenges: Paper Smooches Sparks - Anything Goes


Chris
Supplies:
Stamps: Paper Smooches - Royal Cuteness, Hubby & Wifey
Ink: Ranger DI - Tumbled Glass; Memento - Tuxedo Black
DP: DCWV - Spring Mix Stack
CS: Darice; Copic X-Press It
Accessories: Grand Calibur; Paper Smooches - Royal Icons & Borders 1 dies; Spectrum Noir markers; Ranger - Diamond Stickles; inside sentiment computer generated
Adhesives: SA by 3L - MyStik permanent, 3D foam squares

Saturday, May 17, 2014

The Sisterhood of Snarky Stampers: Challenge #8 - C is for Crap!


Yep, you read that correctly! Crap! As in, "WHY did I buy that crap!" LOL! The Sisterhood of Snarky Stampers want you to dig through your stash and find at least one thing that you just HAD to have, but never used. Here is my card, then I'll explain:


Here is the inside:

It seems like it's been forever since I've made a snarky card! I am home! LOL! And yes, this is being sent out to someone in my family. No fears, she shares the same sarcastic sense of humor with me and will love this!

So, my crap? It's that animal print ribbon, which I've had for at least 7 or 8 years, but never used. (There was a nice film of dust around the cellophane wrap. *Koff, koff*) I thought the paw print border was a nice touch, so I used that too. I found inspiration with this meme:


I may have posted this on my sister's Facebook page for her birthday greeting! Buahahahaha!

The sentiment is computer generated. I doodled around the words, cut them out and inked the edges before adhering with foam squares. Some more ribbon with the birthday sentiment finished the inside.

So, ready to play along? If you are like my teammates and I, you have loads of crap that you haven't used yet! LOL! Now's the time to get that stuff out and make something, and link it up at the Sisterhood of Snarky Stampers! Don't forget to check out what my teammates, and our Guest Designer, Carol, have created for your viewing pleasure! Now go forth and get your craft on!

Have a great day!

Chris
Supplies:
Stamps: Paper Smooches - Hullabaloo
Ink: Ranger DI - Antique Linen; Memento - Tuxedo Black
CS: Recollections (black, kraft); DCWV - gold glitter; white scraps
Accessories: EK Success - Paw Print punch; Offray ribbon; Faber-Castell - Pitt artist pen; sentiment computer generated
Adhesives: SA by 3L - MyStik permanent, 3D foam squares; Recollections - red tape


Tuesday, May 13, 2014

Shopping Our Stash #151 - Sing it to Me (Inspired by a song)

Hello peeps! Happy Tuesday to you all! This week at SHOPPING OUR STASH, we want you to make a card or project that is inspired by a song. Oh, and Happy Birthday is NOT an option! (That's what a challenge is all about - to challenge you!) LOL! Anyhoooo, here's my card:


Here is the inside of my card:

So, here's the back story: A couple Saturdays ago, the hubby and I went to meet some friends at a bar, to listen to a band that another friend of ours is the lead singer in. Since I had my designated driver (hubby) with me, I made the fatal error of drinking wine instead of beer. Well, I apparently was "over served", since the next day I was suffering from "flu-like" symptoms. (We had a great time though!) Thus, the inspiration for my card. The design is based off of CAS(E) this Sketch #75


So, now that I've made your day with the story of my epic failure at the bar, why not make the song that is always playing in your head into a card or project? Just link it up at Shopping Our Stash so we can check it out! Please be sure to check out what my teamies created for this challenge also! Thanks for stopping by, now go forth and get your craft on!

Chris 
Supplies:
Stamps: Paper Smooches - Free Spirits
Ink: Memento - Tuxedo Black; Ranger DI - Fired Brick
DP: American Crafts - Color Crush
CS: WRMK
Accessories: Grand Calibur; Paper Smooches - Drink Glasses dies; Fiskars - corner rounder; washi tape; Hampton Art - rhinestones; Sentiments are computer generated
Adhesives: SA by 3L - MyStik permanent, 3D foam squares


Sunday, May 11, 2014

A sort of CASE...

Ok, so it really looks nothing like Leslie's card, but it was the "birthday cod" that 'reeled' me in. **koff** (Did you spew your beverage?  I'll say it again. Don't eat or drink anything when reading my posts. You never know what I'll say. Just sayin') ☺


The inside - where the sort of CASEing is:

I fell in love with the birthday cod idea, so I fashioned my own version of it. The front of my card is based off of DD Wanna Sketch #15, but I mirrored it.


I stamped, colored and fussy cut my fishy and adhered him to the main panel with foam squares. I actually Googled pictures of cod to try and color the image (sort of) accurately. (Am I the only one that does that? Too OCD?) The inside sentiment is computer generated.

Leslie, I hope I did you proud! Muah!

Thanks for stopping by and I hope you have a great day, and Happy Mother's Day to all!

Chris
Supplies:
Stamps: Paper Smooches - Birthday Buddies
Ink: Memento  - Tuxedo Black
DP & CS: Scraps; Copic X-Press It
Accessories: Spectrum Noir markers; Grand Calibur; Cuttlebug EF; Fiskars corner rounder; Googly eyes; inside sentiment computer generated
Adhesives: SA by 3L - MyStik permanent, 3D foam squares; Ranger - Glossy Accents

Ho Ho Ho!

No, I'm not talking about my sisters. BUAHAHAHAHAHA!!! Just kidding! (and I apologize if you spit out your beverage after reading that. But seriously, you should know by now not to eat or drink anything whist reading my blogs. (wink!)) Anyhoooooooo, I've again made a card under the gun for Merry Monday #107, which is a sketch challenge. Here's my take on it:


Here's the inside:

and the sketch:

I took a bit of liberty with the sketch. Instead of using the smaller round element over the banner, I used rhinestones on both sides of it. Other than that, it's pretty close. 

Well, better get this entered before it's too late! LOL! If you are celebrating, I wish all Mothers a Happy Mother's Day today! Thank you for being so incredibly awesome!! Hugs!

Chris
Supplies:
Stamps: MME - Lost & Found Christmas
Ink: Memento - Tuxedo Black; Ranger DI - Forest Moss
DP/stickers: Webster's Pages - Waiting for Santa
CS: Bazzill (green); scraps
Accessories: K&Co. - dimensional sticker; JoAnn Craft Essentials - ribbon; Recollections - small rhinestones; large rhinestone from stash
Adhesives: SA by 3L - MyStik permanent, 3D foam squares; Glue Dots

adding pinterest script 3. Changing the Position of the Pin it! button The cool thing about this code is that you have some freedom over where the Pinterest button for Blogger will go over the image. Take a look at the code that you just copied and pasted into the HTML for the word 'center'.