Tuesday, April 29, 2014

Shopping Our Stash #149 - May Day!

Hello and good morning peeps! We have a new challenge starting today at SHOPPING OUR STASH! Since May 1st is May Day, we'd like you to create a card or project inspired by the May Pole - it can be ribbon, something twisted, rainbow colors, or just something very tall and skinny! LOL! There are boat loads of options! Here are a couple of inspirations pics I found on the Google:


I remember partaking in weaving the May Pole as a youngster, many millennia ago. Here's my take on the challenge:


And the inside of my card:

I really shopped my stash on this card - white and blue card stock from the scrap pile. Ribbons, which I have collected gagillions and rarely use. Flower stickers (an unopened package, and I used them ALL on this card!) I picked three coordinating ribbons (one had the blue on one side and the green/pink stripes on the other) and just weaved them onto the white panel. Stamped the sentiment, added the flower stickers, stamped the inside sentiment and used the last sticker and that was that!

If you're like me, a ribbon hoarder, then this is the challenge for you! Just link up your card or project at Shopping Our Stash so we can Oooh and Aaah over your brilliance! And please be sure to check out what my teammates created for your viewing pleasure! Thanks for stopping by! Stay crafty my friends!

Chris
Supplies
Stamps: Hero Arts - Celebrate Everyday; Paper Smooches - Royal Cuteness
Ink: Memento - Gray Flannel
CS: the Paper Co. (blue); Darice (white)
Accessories: Ribbon - May Arts, Jo-Ann Craft Essentials, KI Memories; Sandylion - flower stickers
Adhesives: SA by 3L - MyStik permanent; Recollections - red tape; Glue Dots

Thursday, April 24, 2014

I laughed so hard.....

Hello and happy Thursday to you! I have a card I want to share using sketch #5 from Lesley Croghan at Always Playing with Paper:


Here's the inside:

the sketch:

Ok, so it's a loose interpretation of the sketch. But I liked it, even though the image I used is too big for it. It's been a while since I colored anything, and I needed to color this image specifically, since I had one of my sisters in mind when buying the set. (and it is soooo her! LOL! and her birthday is coming up, so... ☺)

That's all for now. Short and sweet. Thanks for stopping by and I hope that you have a great rest of the day! Stay crafty my friends!

Chris
Supplies
Stamps: Art Impressions - Laughing set; MFT - More Essential Sentiments; Hero Arts - Everyday Sayings
Ink: Memento - Tuxedo Black
DP: DCWV - Summer Magic stack
CS: Copic X-Press It; Recollections (kraft); WRMK (green); white scrap
Accessories: Spectrum Noir markers; Doodlebug twine; Ranger - Diamond Stickles
Adhesives: SA by 3L - MyStik permanent, 3D foam squares; Recollections red tape

Tuesday, April 22, 2014

Shopping Our Stash #148 - Happy Earth Day!


Good morning peeps! I hope all that celebrated Easter had a very joyous day with their family and friends! 

Today though, we celebrate Earth Day! So this week at SHOPPING OUR STASH we challenge you to make a card or project that uses something that is upcycled or recycled! I'm not gonna lie, I had a hard time trying to figure out what to do with this challenge. But I squeaked my project in just at the 11th hour. For real. ☺ Here, check it:


Here's the inside:

Did you figure out what I used? Yeah, it's tough so I'll tell ya. The flowers are made from coffee filters (clean ones!) and I recycled an old cork coaster to die cut the oval frame. Here's a couple pictures as proof. LOL!


I almost didn't have anything made for this challenge, because my first attempt at the roses was an epic failure. But Leslie cheered me on and said "You can do it!" So, after dinner (and a couple glasses of wine), I tried it again, and Wa-lah! I stumbled upon an excellent way to roll the petals: Use a quilling tool! Not only did it come in handy to wind up the flowers nice and tight, but I also used it to roll back all. the. petals. Oh, and see that satin ribbon I used? It's older than my marriage. (23 years next month!) It was left over from the table arrangements I made for the reception hall tables! How about THAT for shopping my stash! LOL! 

So, are you up for this challenge? I double dog dare you! Don't forget to link up your card or project at SHOPPING OUR STASH, and while you're there, check out all the amazing creations that my teammates made! You will be blown away! Thanks for hanging out with me and I hope you have a fabulous day! Stay crafty my friends!

Chris
Supplies:
Stamps: Hero Arts - Celebrate Everyday
Ink: Simon Says Stamp - Lavender
DP: MME - The Sweetest Thing
CS: Recollections
Accessories: Coffee filters; old cork coaster; Grand Calibur; Classic ovals Lg. Nesties; MFT - Rolled Rose Die-Namics; Lawn Fawn - Stitched Leaves die; Tattered Angels - Spring Violet, Cherub Pink, & Meadow Green Glimmer Mists; MME - Enamel Dots; AC - Thickers; Ribbon from my stash
Adhesives: SA by 3L - MyStik permanent; Ranger - Glossy Accents; Helmar 450 glue


Saturday, April 19, 2014

Sisterhood of Snarky Stampers Challenge #6 - E is for Embellishment

What up, peeps! To those of you celebrating, I wish you a very Happy Easter tomorrow!

Now, onto the fun stuff! The SISTERHOOD OF SNARKY STAMPERS has a brand new challenge starting today! The next two weeks is brought to you by the letter E, as in Embellishment!


Doesn't Edna look fabulous all decked out in her bits and bobbles?! LOL! 

This challenge is sooooo easy, so there is no excuse for you not to play along! HA! Just use at least 2 embellies. They can be two of the same, different, or a gazillion things! Here's the card I made:


Here's the inside:

Ok, not only did I make a Christmas card, but it's not even snarky - just cute and punny! (Our motto: Snark if necessary, but not necessarily snarky!) So, my embellishments? I've used lace, ribbon, floss, and a jingle bell. Except for the card base, all papers are scraps from the scrap pile. YAY! The stamps are new, but the ribbon, twine, lace and bell are all from my stash. (Love to be able to chip away at the stash!) 

So, if you are making a card or project with embellies on it, why not link it up at the Sisterhood of Snarky Stampers embellishment challenge?! You just might be crowned our Queen or Princesses of Snark! Don't forget to check out what my teammies and our guest designer, Princess Queen Judy, came up with to WOW and inspire you! Thanks for stopping by and stay crafty my friends!

Chris

Challenge hook ups:
Merry Monday #104: use slate, kraft, white or cream.
Simon Says Stamp - Wednesday challenge - Animal Antics

Supplies:
Stamps: Some Odd Girl - Holideer
Ink: Memento - Rich Cocoa, Gray Flannel; Clear Snap - Frost White
DP: DCWV
CS: Darice (white); scraps
Accessories: Grand Calibur; Lacey Ovals, Std. Sm. Ovals, Scalloped Circles, Std. Sm. Circles Nesties; Spectrum Noir - gray marker; Simplicity - lace; May Arts ribbon; DMC floss; Cuttlebug EF; bell from stash
Adhesives: SA by 3L - MyStik permanent, 3D foam squares; Ranger - Glossy Accents; Recollections - red tape


Tuesday, April 15, 2014

Shopping Our Stash #147: Tax Man (use numbers)

Hello and welcome to another fun challenge at SHOPPING OUR STASH! This week we want to see what you can create with numbers. (You know, since your taxes are due today, if you live in the US.) Here's what I came up with:


And of course, some snark on the inside!

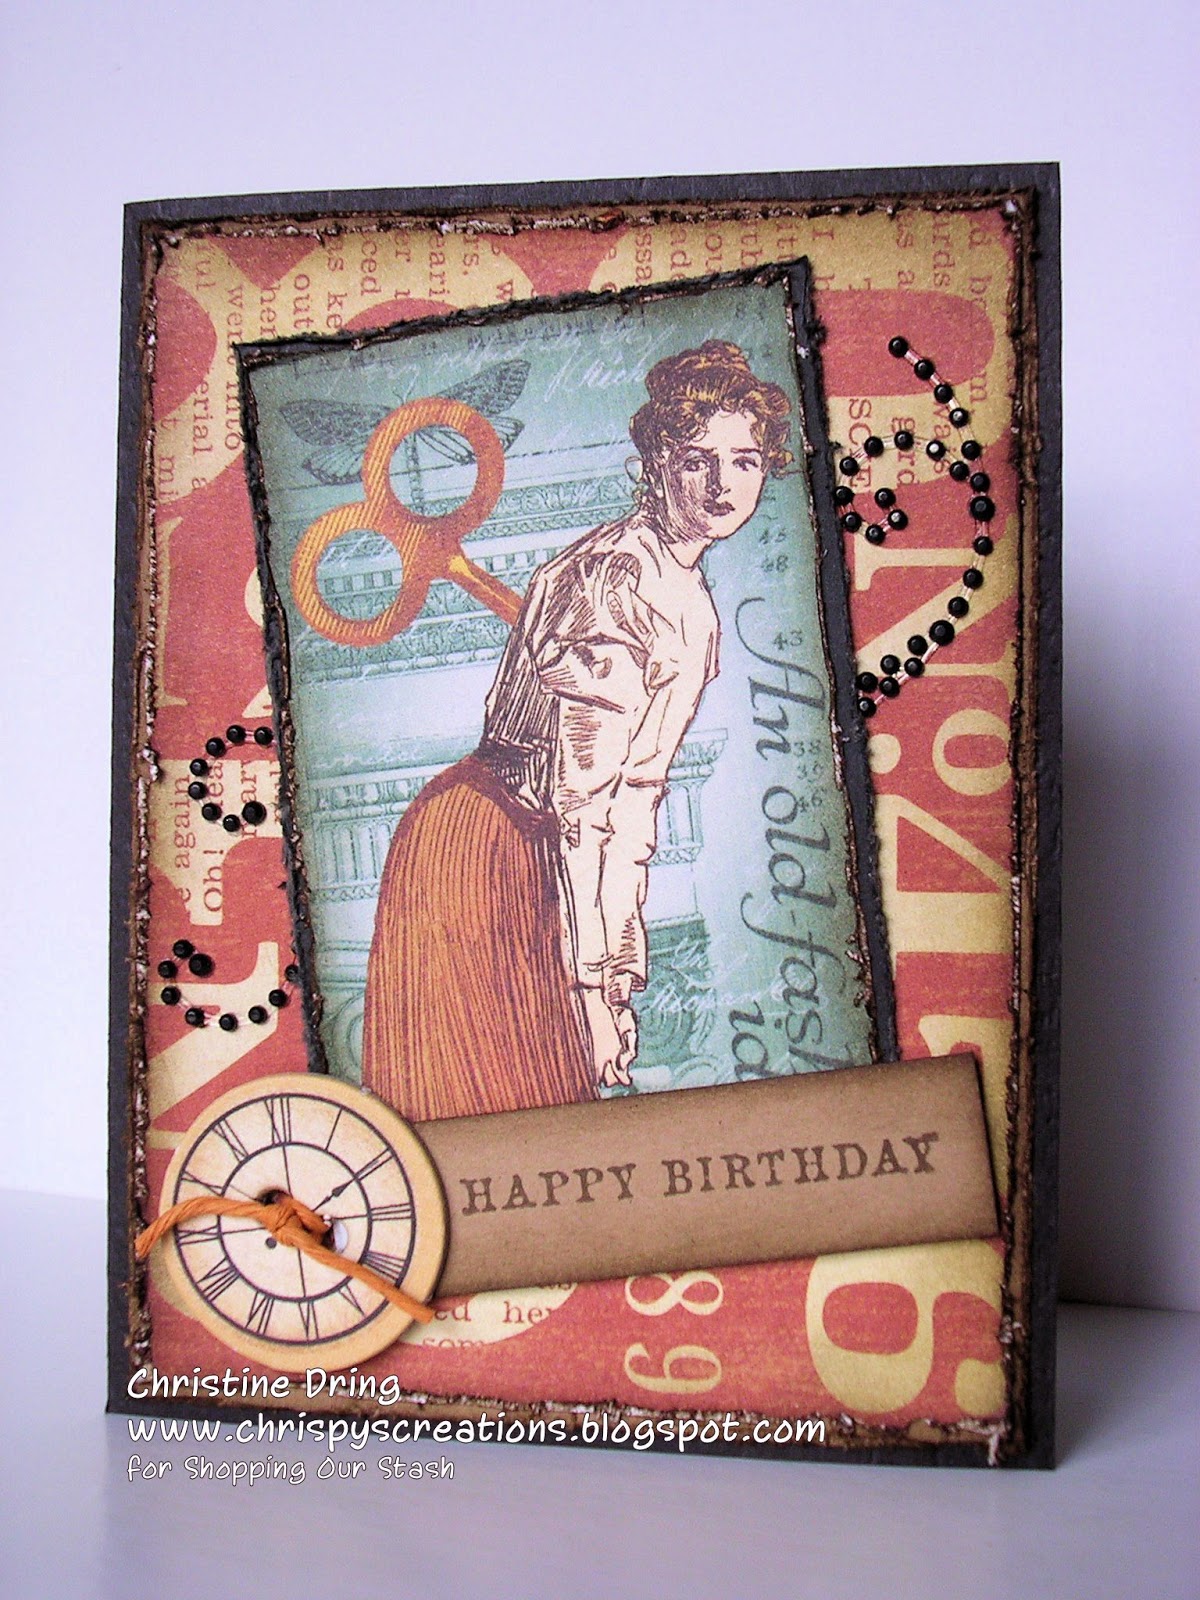
Yes, I had to use my favorite sentiment stamp on the inside. How could I not?! I actually have a couple types of numbers on my card - the back panel, and also the roman numerals on the clock face. (Yeah, see what I did there? Cuz that's how I roll!) LOL!

I hope you get a chance to play along with this week's challenge at SHOPPING OUR STASH! Don't forget to check out what my teammies came up with to inspire you! Thanks for hanging out and I hope you enjoy your day! Stay crafty my friends!

Chris
Supplies
Stamps: Unity - from February, April, & July 2012 KOM
Ink: Ranger DI - Walnut Stain
DP & chipboard clock: Graphic 45 - Olde Curiosity Shoppe 
CS: Recollections
Accessories: Prima - swirly pearls; cord from my stash; Tonic/TH - distressing tool
Adhesives: SA by 3L - MyStik permanent, 3D foam squares

Thursday, April 10, 2014

It's 70 degrees out and sunny, so what do I do?...

Make a Christmas card. What else?


here's the inside:


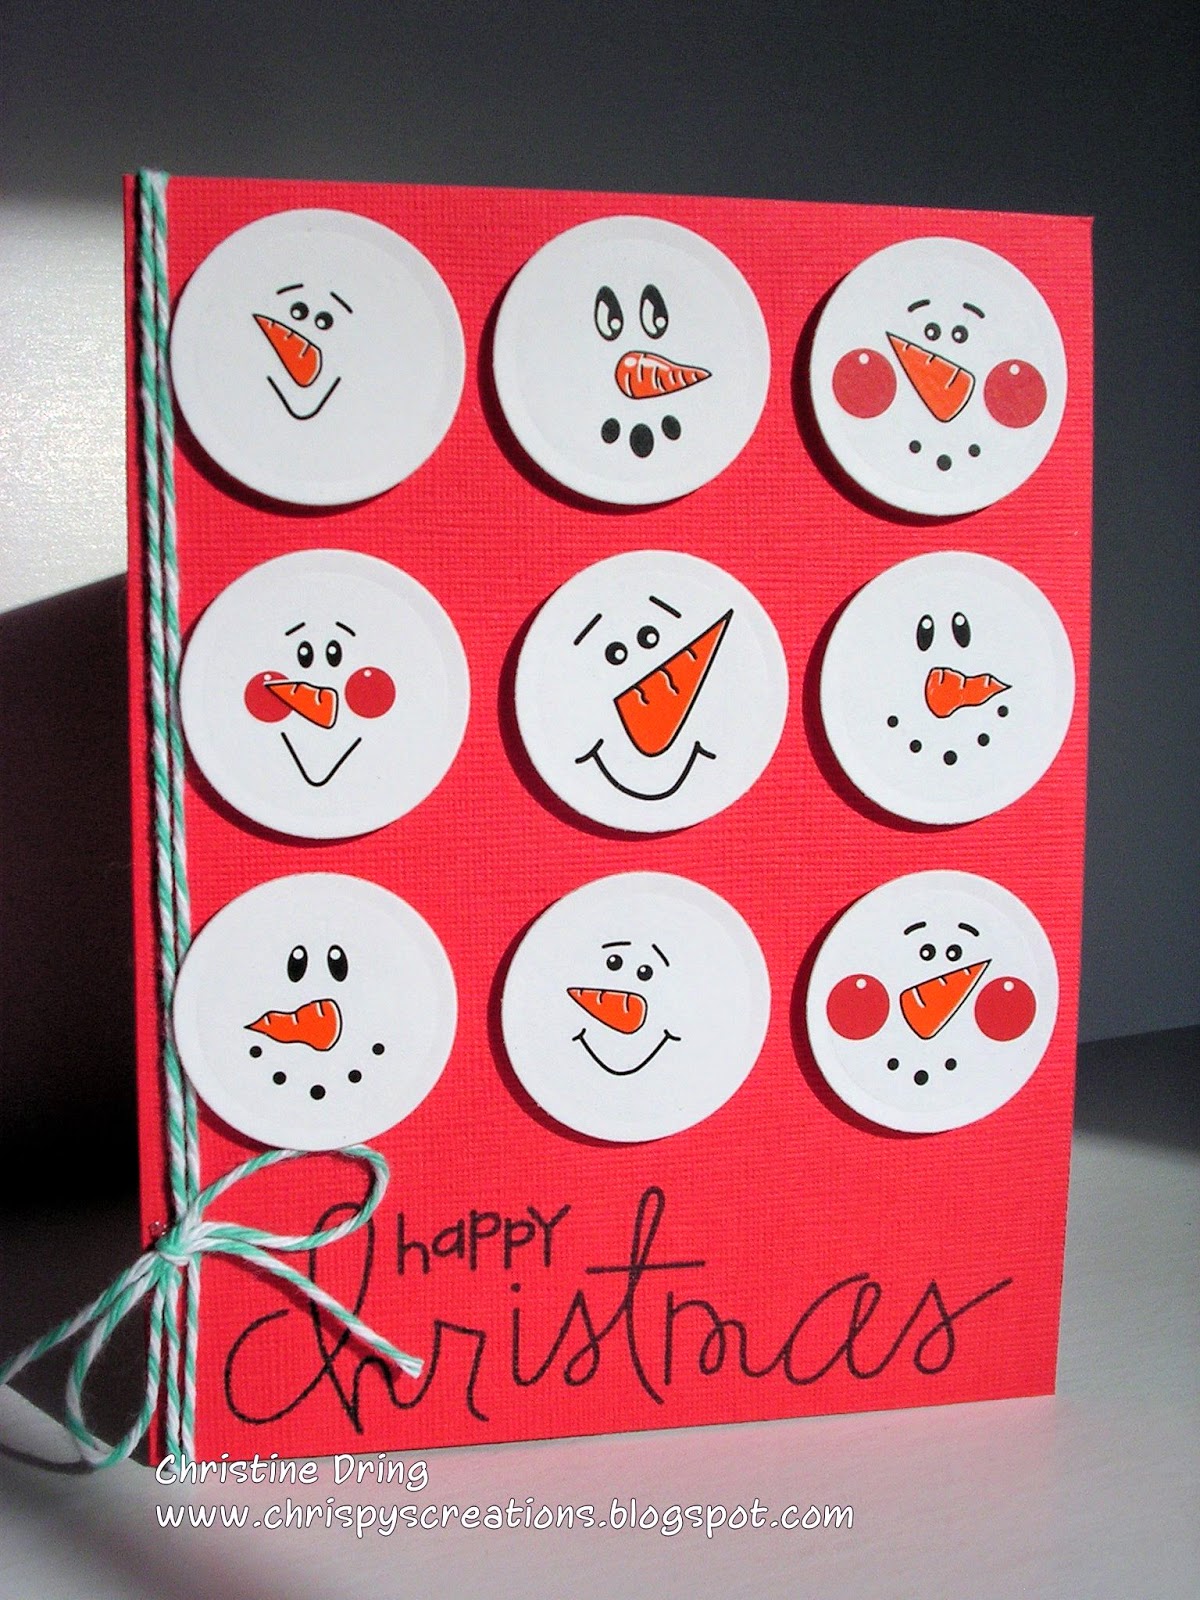
I couldn't help it. As soon as I saw the new sketch at CAS(E) this Sketch #72, I knew exactly what I wanted to do. I knew somewhere in my Christmas stash, I had snowman face rub-ons from ages ago. So after literally dumping out on the floor and riffling through all the embellies, I finally found the rub-ons. This card is about as CAS as I'll ever get. It's basically a one layer card (almost unheard of in my crafty world), if you don't count the snowman heads popped up on foam squares. (let's not go all crazy now.) And with me, it needed something more, so I added the twine. I'm also entering this at Merry Monday #103-use a snowman. (or, in my case, 9)


Thanks for stopping by, and I hope you have a great rest of your day! Stay crafty my friends!

Chris
Supplies
Stamps: Paper Smooches - Joyful Greetings
Ink: Memento - Tuxedo Black
CS: Paper Smooches - red from the Ed collection; Darice - white
Accessories: Grand Calibur, Std. Sm. Circle Nesties; Lara's Crafts - snowman rub-ons; twine
Adhesives: SA by 3L - 3D foam squares; Glue Dots

Wednesday, April 9, 2014

Awesome...

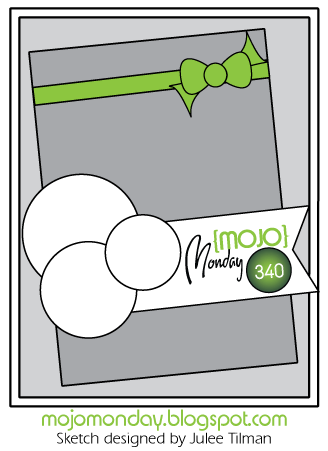
Mike, Mike, Mike, Mike, Mike! Guess what day it is?! Hump Daaaay!! Ok, I know, the commercial is getting old and very irritating, but I just couldn't help myself! Now, on to what I really wanted to blog about! Got a card to share that uses the current Mojo Monday #340 sketch, and since I used SOG stamps, I'll be linking this to their April Linky Party.


Here is the inside:

and  the sketch:

I used my SN markers to color Hipster Kody (My comment to win about him singing Smelly Cat won me this set! Who knew? LOL!) So I put Glossy Accents on his glasses to make them shiny. Then after I was done it occurred to me that I never added the white highlights to his eyes first. DOH! What I did was try adding them on top of the dried Glossy Accents with a Sakura white Gelly Roll pen. It worked, people!! The beauty of it is that even holding the card 5" in front of my face and looking at it, you can't tell I did that! Bonus! 

So that's my story and I'm sticking with it. I hope you get a chance to enter either of these challenges. Thanks for stopping by and I hope you have a crafty rest of the day!

Chris
Supplies
Stamps: Some Odd Girl - Hipster Kody, Balloon Kaylee
Ink: Memento - Tuxedo Black
DP: Echo Park - This & That Charming
CS: Bazzill (brown); Recollections (kraft); Copic - X-Press It
Accessories: Spectrum Noir markers; Spellbinder's Grand Calibur, Octagon Nesties; Sakura white Gelly Roll pen; Ranger - Glossy Accents; twine from my stash
Adhesives: SA by 3L - MyStik permanent, 3D foam squares; Recollections - red tape 


Tuesday, April 8, 2014

Shopping Our Stash #146: Pieces of April (Paper Piecing)

Hello friends and happy Tuesday to you all! We have a new challenge at SHOPPING OUR STASH, which is paper piecing! Here is my card:


Here is the inside:

I'm so proud of myself. Except for the card base, all the papers I used were from the scrap bin! Yay me! My little bunny is paper pieced with two different pink papers and white cs. I even found the streamer that I had stamped/die cut a couple months ago in the "die-cuts-to-be-used-in-the-future" pile. (You have one of those piles, right?) I just manipulated the sentiment to follow the curve of the streamer then stamped it in green ink. After I finished the card, I kept looking at the bunny and thinking it needed more. (of course.) So I added the googly eyes. Much better! This bunny image should have a disclaimer on it that says that whenever used, it is mandatory to have googly eyes! LOL! Hey look at that, Paper Smooches is having another Sparks - Anything Goes challenge. (wink!)


So now it's your turn to get your paper piecing party on, (Try saying that three times fast. HA!), and link your project up at Shopping Our Stash! Please be sure to check out the fabulous creations that my teammates came up with for your viewing pleasure! Now go forth and get crafty!

Chris
Supplies
Stamps: Paper Smooches - A Little Lovin, A Magical Spring, Eco Friendly
Ink: Memento - Tuxedo Black, Bamboo Leaves
DP: scraps
CS: Paper Smooches - turquoise from the Lily Collection; scraps
Accessories: Grand Calibur; Paper Smooches - Streamers & Chains dies; Jolee's By You - grass; Nicole - googly eyes; Fiskars - corner rounder
Adhesives: SA by 3L - MyStik permanent, 3D foam squares; Scotch Scrapbooker's Glue; Elmer's extra strength glue stick; Helmar 450 glue

Saturday, April 5, 2014

Be Merry

Pssst! For my Sisterhood of Snarky Stampers post, click here, or just keep scrolling. Thanks!


This will be a quick post, as a couple of the challenges this is for are just about to end. (Procrastinate? Me? Nooooo!)


Here is the inside:

I'm entering this for the following challenges:

Merry Monday #102 - use mistletoe
PS Sparks - Anything Goes
Deconstructed Sketch #145


Check me out! I finally figured out how to add the challenge photos side by side instead of on top of each other! Yay me! LOL! (I'm so computer illiterate and such a dork!)

Thanks for hanging out! Have a great weekend!

Chris
Supplies:
Stamps: Paper Smooches - Freezy Fellas, Christmas Sampler
Ink: Memento - Tuxedo Black, Rich Cocoa
DP: Heidi Grace - Jolly & Bright (from 2007!); MME - Everyday Tango
CS: Bazzill (red); Recollections (kraft, black, cream)
Accessories: Grand Calibur; Lacey Circles & Std. Circles Sm. Nesties; MFT - Layered Heart border Die-Namics; Marvy Uchida markers; Darice - brick wall EF; Recollections - rhinestones; buttons and string from my stash
Adhesives: SA by 3L - MyStik permanent, 3D foam squares; Ranger - Glossy Accents; Glue Dots


Sisterhood of Snarky Stampers #5 - Q is for Queen

Good morning peeps! We have a new alphabet soup challenge at the SISTERHOOD OF SNARKY STAMPERS! For the next two weeks, the challenge is Q for Queen!


Here's what I came up with:


And the inside

I did a little altering on the cow stamp. I masked out the mouth then drew in the frown. I also gave her eyelids. She really doesn't look amused a-MOO-sed at all! LOL! I used the crown stamp and stamped it on the back of the gold glitter paper, then fussy cut and adhered to the dairy Queen. The sentiments are computer generated.

I'm also going to enter this in the PS Sparks - Anything Goes challenge.

So, ready to play along with the SISTERHOOD OF SNARKY STAMPERS? Of course you are! Make sure you link your project up so that we can drool over it! LOL! Also, please check out what my Sistahs created for your viewing pleasure! Thanks for stopping by!

Chris
Supplies:
Stamps: Paper Smooches - Green Acres, Royal Cuteness
Ink: Memento - Tuxedo Black
DP: DCWV - Simply Autumn; AC - gold glitter 
CS: The Paper Co. (purple); Darice (white); Copic X-Press It
Accessories: Grand Calibur; Classic Scalloped Circle Nestie; Spectrum Noir markers; Michael's - ribbon; Recollections - rhinestones; Faber-Castell PITT Artist Pen; sentiments printed from MS Word
Adhesives: SA by 3L - MyStik permanent, 3D foam squares; Recollections - red tape


Wednesday, April 2, 2014

Joyful - DDWS#14, MM#101

Hello and happy Tuesday! I made this card Sunday evening, but of course missed the Merry Monday #101 cut off. Oh well, at least I have another Christmas card made. ☺ I used DD Wanna Sketch #14 for this card also:


Here's the inside:


Lately it seems I've been trying my hand at new (to me) things. On my card, I tried the die cut inlay technique-y thing. I gotta say, I really like how that turned out! The hardest part was trying not to sneeze after die cutting out the word, so those itty bitty innards wouldn't scatter everywhere! LOL! Anyway, that's my story and I'm sticking with it! 

Thanks for stopping by and I hope you have a great day!

Chris
Stamps: Paper Smooches - All Yule Need
Ink: Simon Says Stamp - Lipstick Red
DP: Echo Park - Metropolitan Dots & Stripes; Basic Grey - Wassail
CS: Darice; Bazzill
Accessories: Grand Calibur; Paper Smooches - Christmas words die; Darice - snowflake EF; Fiskars - tree punch & corner rounder; Martha Stewart - holly punch; Provo Craft - scalloped edge scissors (for the small corner rounds); washi tape
Adhesives: SA by 3L - MyStik permanent, 3D foam squares


Tuesday, April 1, 2014

Shopping Our Stash #145: Faux Sure!

Hello and welcome! We have a great challenge this week at SHOPPING OUR STASH! We'd like you to step out of your comfort zone and try your hand at a faux technique! There are tons of tutorials out there. A great place to look is Splitcoast Stampers. If you ask Mr. Google nicely, I'm sure he'd be happy to show you a boat load of videos. I had a hard time picking what I wanted to try first, mostly because I'm not a technique-y person, but finally decided on the Faux Northern Lights tutorial. I loved how Melissa's card looked and just couldn't wait to try it for myself. In her video, she uses all things Stampin' Up!, but I don't have anything SU!, so I improvised and used what I had on hand. (I made this using a mix of Distress Inks and Memento inks.)

(Disclaimer: this was my second attempt)

Here is the inside:

Notice that disclaimer? Yeah, this was my second attempt, and it turned out way better than my first try. And yes, you will get inky fingers with this technique. See?


There's that first attempt off the right edge of the picture. I didn't blend the colors as well as attempt #2. I still have it. I might try to save it and go over it again with more inks. It could happen. Anyway, I embossed the sentiment with Champagne EP, then decided I needed some gold on the frame around the main panel. I used a gold Gelly Roll pen to carefully trace around the embossed edge. On the inside I stamped another sentiment in black and the stars in gold, to further the sky theme on the front. At this point, Andy walked in to see what I was up to (no good, koff), and proclaimed this to be "THE best card I've EVER made!" After we stood there admiring my card for like 10 minutes, he had a great idea. Make one of the stars on the front a bit bigger, so that whomever receives this card can, in fact, wish upon that star, as the inside sentiment hints at. (Clearly he is a genius and that's one of the reasons why I married him!) To make it stand out a bit from the rest of the white stars, I used a silver Gelly Roll pen and made the wishing star slightly bigger than the white ones. Yep, me likey a lot!!

So, that's my story and I'm sticking with it. Thanks for hanging out with me until the end, and I really hope you try your hand at a faux technique. Don't forget to link up to SHOPPING OUR STASH so we can see what you created! Oh, and please check out what my teammies created - you will be amazed!!

Stay crafty my friends!

Chris
Stamps: Inkadinkado - tree stamp; Paper Smooches - Happy Birthday, Royal Cuteness
Inks: VersaMark; Memento - Tuxedo Black, Paris Dusk, Dandelion; Ranger DI - Black Soot, Peeled Paint, Dusty Concord, Peacock Feathers; Clear Snap - gold
CS: Bazzill (black); Darice (white)
Accessories: Grand Calibur; Labels 16 Nesties; Sakura - white, gold, & silver Gelly Roll pens; Stampendous - Champagne EP; heat gun
Adhesives: SA by 3L - MyStik permanent, 3D foam squares

adding pinterest script 3. Changing the Position of the Pin it! button The cool thing about this code is that you have some freedom over where the Pinterest button for Blogger will go over the image. Take a look at the code that you just copied and pasted into the HTML for the word 'center'.