Showing posts with label Slice by Making Memories. Show all posts

Tuesday, September 18, 2018

SHOPPING OUR STASH #372 - Welcome Home


Hello and happy Tuesday!
This week at SHOPPING OUR STASH, the challenge is called
Welcome Home: we are looking for projects using items that
represent where you live, or, where you came from!

We are both originally from Illinois, but I moved to Maryland after my 
husband and I were married. He was attending 
Johns Hopkins University at the time, and after graduating, we stayed.
For my project, I created a 5" x 7" frame that shows my 
state flag, Maryland, in the background: 


On a recent rare excursion to the scrap-booking store nearest to me,
I picked up this fun paper one of the ladies there created.
I just added some washi tape along the sides, and die cut the 
home sweet home words using my Slice die cutter. It's hard to
see in this picture, but I covered the words with Glossy Accents. I glued
them onto some white card stock once dry, fussy cut around the words,
glued them to the background, and popped into a frame. 
Super simple to make!

I hope you find some time to create something using
items that represent where you are from (or came from), and
link up at Shopping Our Stash! We'd love to see what you create, and
also learn a little bit more about you!
Thanks for visiting, and I hope that you have a great day!


Supplies:
CS: Neenah; Taylored Expressions
Accessories: MD flag paper - Photo Scraps store; Making Memories - Slice die cutter and
Words & Expressions Holiday cartridge; Ranger - Glossy Accents; Recollections - washi tape; 
Nicole - picture frame
Adhesives: SA by 3L - tape runner; Ranger - multi medium matte

Tuesday, March 27, 2018

SHOPPING OUR STASH #347 - No Ink


Hello and welcome!
Today starts a new challenge at
This week, we challenge you to create something
without using any ink!

I used nothing but die cuts for my card:

I used scraps of DP from a collection that's at least 3 years old.
My sentiment is cut using my Slice die cutter.
The bunny die cuts are admittedly new, but I actually
used them instead of putting them away and forgetting that I have them.
Bonus!

So, now it's your turn to create something without any ink on it. We'd
love to see it, so please link up at Shopping Our Stash
so we can admire it! If you need more ideas, simply visit the blogs
of my teammies to see their ingenious creations without ink!
Thanks for visiting, and I hope you have a great day!


I'd like to enter this at:
The Library Challenge #3 - Inspired by bunnies!


Supplies:
DP: DCWV - the Spring Mix Stack
CS: Neenah; Bazzill
Accessories: GC; Simon Says Stamp - Oh Bunny dies; Taylored Expressions - grass border die; Slice die cutter, Holiday Words & Expressions cartridge; Fiskars - corner rounder
Adhesives: Recollections - tacky tape; Ranger - Multi Medium Matte

Saturday, January 27, 2018

SISTERHOOD OF SNARKY STAMPERS #102 - F is for Farm Life

Sister Lee has come up with yet another fantastic graphic!

Well hello there!
Have you herd? There's a new challenge starting today at the

F is for FARM LIFE
That's right, we want to see a farm animal or animals on your projects!

Here's my card:


 and the inside:

In searching through my oft forgotten stash of stamps,
I came across this farm set from My Cute Stamps,
a company sadly no longer in existence.
The date on the set says it's from 2008.
I've only used the sheep from this set, so I challenged
myself to use most, if not all the rest of the stamps.
The only one I wound up not using was the sun image. Not too bad.
I also broke out my neglected Slice die cutter and the hardly used Farm Life cartridge.
That's where the barn came from. I cut it twice, in red and white cardstock,
then inlayed them back together. What a bitch that was. (But first I stamped a 
woodgrain stamp over it!) My sentiment is computer generated. 
Once everything was adhered, it needed something more, so I die cut
 a couple wee clouds and added. Much better.

Not very snarky, but it's punny, and punny is good too!
I hope that you find some time to join our Farm Life challenge
at the Sisterhood of Snarky Stampers! We'd love to see what you
came up with. For more fabulous ideas, please do check out what my
Sistahs and our newest Guest Designer, Lisa, have made for
your viewing pleasure. (and while there, leave some bloggy love!)
Thanks for visiting! Have a great day!


Supplies:
Stamps: My Cute Stamps - eieio; Paper Smooches - Kassables 2; Hero Arts - Good Things message
Ink: Memento Tuxedo Black, Rich Cocoa
CS: Crafter's Companion; TE; Bazzill; scraps
Accessories: Slice die cutter & Farm Life cartridge; Spectrum Noir markers; GC; Paper Smooches - cloud dies; computer & printer
Adhesives: SA by 3L - tape runner, Thin 3D foam squares; Ranger - Multi Medium Matte


Tuesday, December 5, 2017

SHOPPING OUR STASH #332 I Like To Move It, Move It!


Hi there crafty peeps!
This week at
it's time to move it move it!
What does that mean?
We want to see your projects featuring anything movable,
like shaker cards, or using wobblers, or slider cards, or googly eyes!
Here's what I created, making a shaker card:


and the inside:

Ready to play along? Of course you are! Just link up at Shopping Our Stash so
we can admire it! For more ideas, please check out the 
blogs of my teammies to see what they created and leave
them some bloggy lovin.
Thanks for stopping by!
I hope you have a fabulous day!


I'd like to enter this at Naughty or Nice Challenge #46


Supplies:
Stamps: Stampin' Up! - Suite Seasons
Ink: Memento - Nautical Blue
DP:  American Crafts - Jack Frost
CS: Recollections; scraps
Accessories: Making Memories - Slice die cutter & Noel cartridge; Doodlebug - twine; GC; STAMPlorations - Let It Snow die; American Crafts - WOW! Glitter Snowflakes: Cousin Corp/The Craft Outlet - beads; GraphixArts - acetate; WOS pen; MISTI
Adhesives: SA by 3L - tape runner; Scotch foam tape; Ranger - Glossy Accents. Multi Medium Matte


Saturday, May 20, 2017

JUST US GIRLS #394 - Color Week


Good morning friends!
It's Color Week at JUST US GIRLS!
Judy is hosting and she's picked Lime Green, Turquoise, and Navy
for your color pallet.
Here's my card:


These colors just said ocean scene to me, so that's what I made. ☺

I hope that you get a chance to play along this week at Just Us Girls!
For more ideas, check out what my teammates and our Guest Designer,
Kathie Durgan have created. 
Thanks for visiting, I hope you have a great day!
Hugs,

Supplies:
Stamps: Paper Smooches - Slang Gang
Ink: Memento - Nautical Blue; Ranger DI - Peacock Feathers
CS: TE, scraps
Accessories: Slice die cutter & Under the Sea cartridge; MISTI; Simon Says Stamp - Waves stencil; Fiskars corner rounder
Adhesives: SA by 3L - Thin foam squares

Saturday, May 13, 2017

SISTERHOOD OF SNARKY STAMPERS # 84 H is for Hatching, Matching, and Dispatching

(Sister Lee is absolutely brilliant with her graphics!!)

Hello snarky friends.
For the next two weeks at the
SISTERHOOD OF SNARKY STAMPERS,
we want to see your baby cards (hatching), wedding cards (matching),
or your sympathy cards (dispatching).
Clever, huh? And: choices!!

Here's my card:


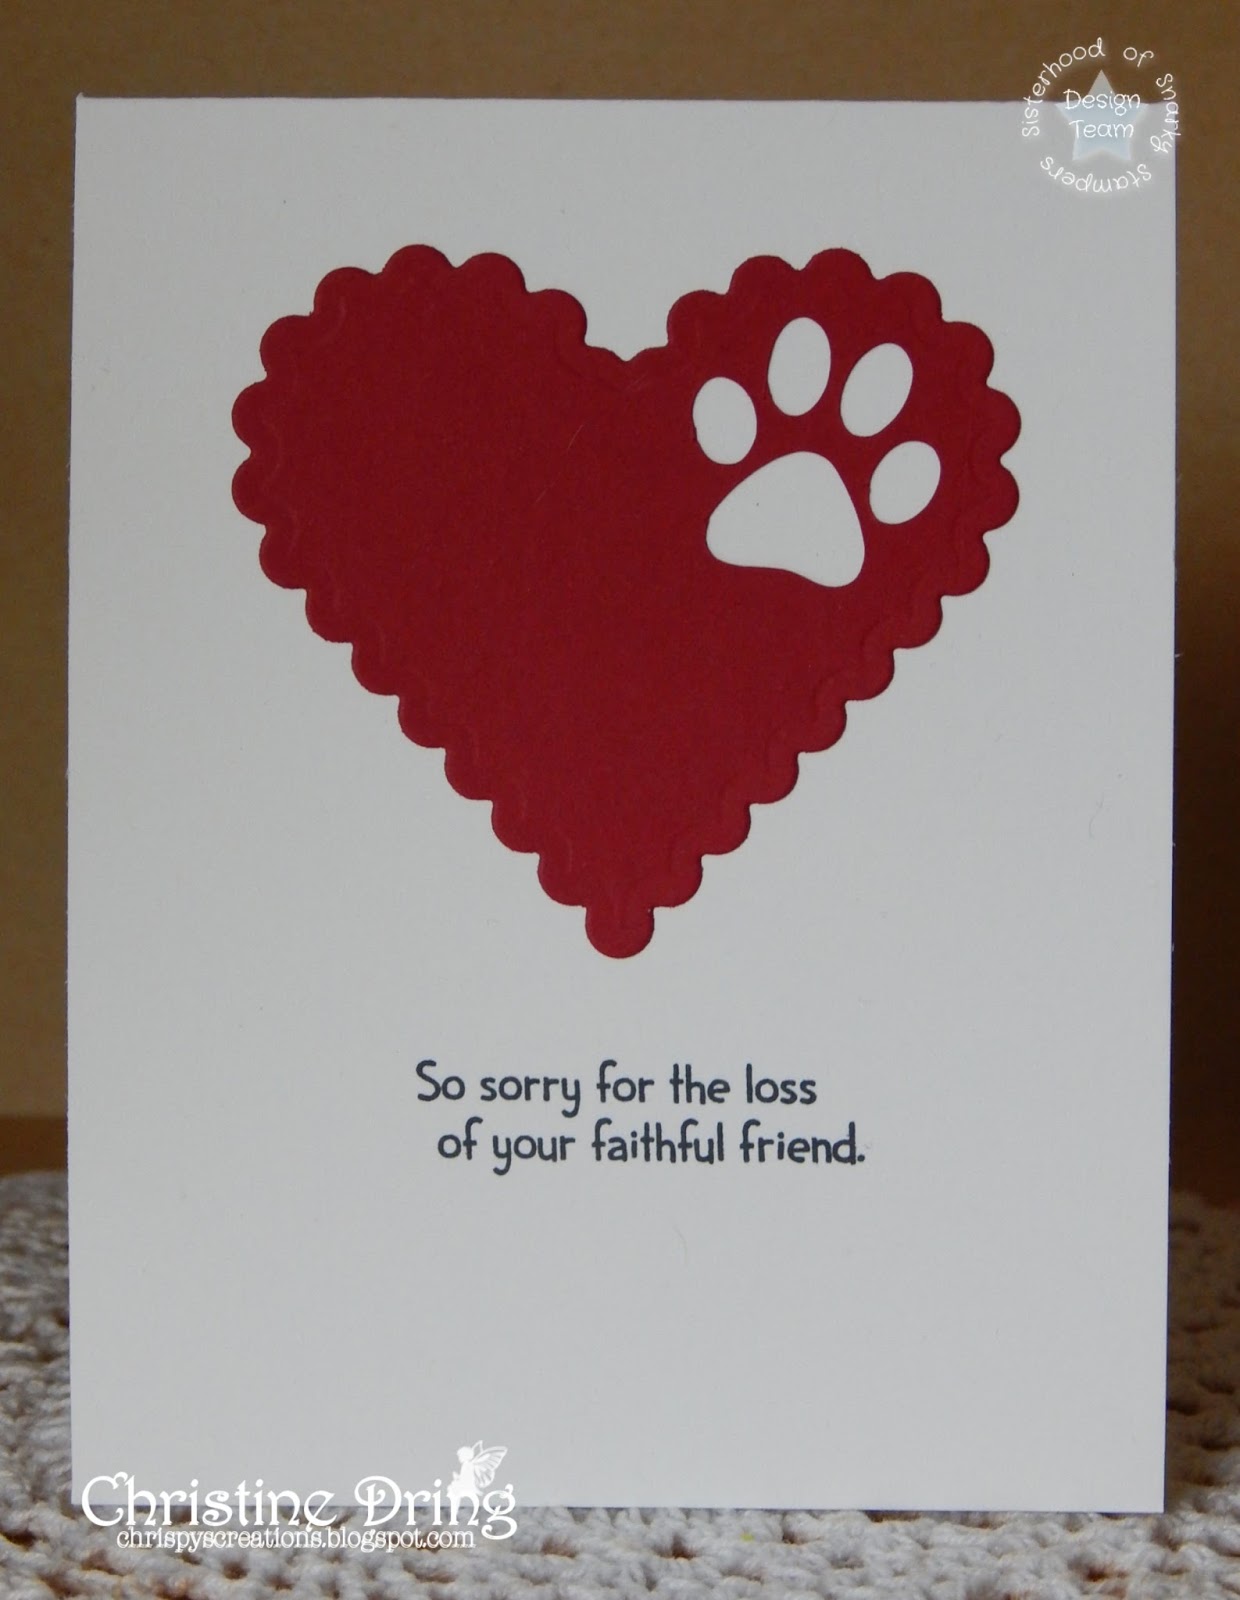
I needed another pet sympathy card, and I found this card on Pinterest. Thank you!
Another fur baby in my family has crossed the rainbow bridge. This time
my other sister's dog, Max. He was a shih tzu who lived to the ripe old age of 16!


Miss you Max. But I know you are having fun playing with Sonny and Sabrina.
Much hugs,

Supplies:
Stamps: Paper Smooches - Paws for a Cause, Good Gab
Ink: Memento - Tuxedo Black
CS: Taylored Expressions
Accessories: Slice die cutter & Paws and Claws cartridge; GC; SB - Scalloped Heart Nesties; MISTI
Adhesives: SA by 3L - tape runner

Saturday, October 8, 2016

JUST US GIRLS #364 - Trend Week


Hello and welcome back, crafty peeps! This week at JUST US GIRLS, it's Trend Week! Sue is your hostess and she's picked the hot trend that is PINEAPPLES! I don't own hardly anything with pineapples, but I did find this designer paper, so that's what I used for my card:


Since pineapples have a tropical vibe, I die cut a hibiscus flower, along with a few leaves. And of course, my sentiment had to follow that tropical theme! LOL! It's stamped with alpha stamps, and heat embossed in white on a strip of black card stock. Some rhinestones are the finishing touch.

I hope you get to play along with our trend week at Just Us Girls! For more inspiration, check out what my teammates made, along with out Guest Designer Jaydee, and leave them some bloggy lovin!

Remember, that if you are picked as Chic of the Week for any of our October challenges, you'll be in the running to be our Guest Designer for the month of December! Have fun, and thanks for visiting!

I'd like to enter this at Case this Sketch #193


Supplies:
Stamps: Studio G - alphas
Ink: VersaMark
DP: Basic Grey - South Pacific
CS: Bazzill; scraps
Accessories: Slice die cutter & Tropicana cartridge; GC; Paper Smooches - Reflections dies; Stampendous - white EP; heat gun; Nicole - rhinestones; Ranger - Diamond Stickles
Adhesives: SA by 3L - tape runner, Thin 3D foam squares; Ranger - Multi Medium Matte

Tuesday, September 13, 2016

SHOPPING OUR STASH #269 - Cut and Paste


Hello crafty friends! It's time for a new challenge at SHOPPING OUR STASH! This week, we want you to make a card or project using stencils and dies - no stamps allowed!  It's a lot easier than you might think! Here's what I came up with:


 Here is the inside:

I started by sponging white ink onto black cardstock using a paisley stencil. Once I heat set the ink, I hand drew all the eye sockets. Instant ghosts! I cut my panel to size and matted it onto purple foil cardstock, and adhered to my card base. I broke out my Slice die cutter for the die cut sentiment and larger ghost. Once I adhered them, I decided to carefully add some Stickles to the Boo. On the inside, I found a sticker in my stash to use. 

So now it's your turn! Have some fun using those hoarded stencils and dies, and link up your project at Shopping Our Stash! For more inspiration, check out what my teammies, and our Guest Designer, Jennifer, have made, and leave them some bloggy lovin!

Just a reminder, if you wish to be considered for our Guest Designer for October, simply add a 'DT' after your name when you link up! Thanks for visiting and I hope you have a great day!


Supplies:
Ink: Color Box - Frost White
CS: Bazzill, Darice
DP: DCWV - Foiled Cardstock Stack
Accessories: MFT - Bold Paisley stencil; Slice die cutter, Words and Expressions Holiday/Toil & Trouble cartridges; Ranger - Star Dust Stickles; black Sharpie marker; American Crafts - sticker from Night Fall collection
Adhesives: SA by 3L - tape runner, 3D & Thin 3D foam squares; Scotch - foam tape; Elmer's - extra strength glue stick

Saturday, November 28, 2015

JUST US GIRLS #321 Photo Week


Welcome friends! I hope those of you who celebrated the Thanksgiving holiday on Thursday had a wonderful time with family and friends!

And now that we've passed that holiday up, it's really time for all-Christmas-all-the-time-mode! LOL! With that in mind, it's Photo Week at JUST US GIRLS. Vicki is your hostess this week and she found this amazing picture to inspire you! Here's what I came up with:


 Here is the inside:

This is only the second time I've tried the Bokeh technique, and I think I did much better this time around (although truth be told, this was my second attempt for this card. The first panel was a crash and burn) Lots of glitter and shine going on here. Foil paper is sooooo hard to photograph so here's another shot so you can see all the glittery/shiny goodness. The two smaller ornaments were cut from a scrap of gray card stock, then I swiped them all over with a silver ink pad. One of them I traced a smaller circle on the back side then fussy cut. (That's why it looks wonky. I cannot fussy cut a curved edge to save my life! LOL!) The silver ornaments are popped up with thin foam squares and the largest one with regular foam squares, for a bit of dimension. The sentiment was embossed in silver.

See? Lots of shiny! 


We hope to see what you create using this awesome photo as inspiration! Be sure to link up at Just Us Girls so we can stop by your blog! While there, do check out what the other gals, and our Guest Designer, Louise, have made and please visit their blogs! 

FOR OCTOBER & NOVEMBER ONLY: If you win Chic of the Week in any of our October or November challenges, you are in the running to be chosen as one of two Guest Designers for the month of January 2016! The Team will be taking a two week break at the end of December, and therefore, will not have a Guest Designer for December.

Thanks for visiting and I hope to see your project in the gallery! Have a great day!


I'd like to enter this at:


Supplies:
Stamps: MFT - Seasonal Sentiments; Paper Smooches - Gently Seasoned
Ink: VersaMark; Ranger DI - Picked Raspberry; Memento Luxe - Wedding Dress; Brilliance - Starlite Silver
DP: American Crafts - silver glitter; Recollections - Raspberry Foil
CS: Darice
Accessories: GC; Avery Elle - Pierced Rectangle die; Slice die cutter & Noel cartridge; Whispers - silver EP; heat gun; DMC - silver floss; piercing tool
Adhesives: SA by 3L - tape runner, 3D & Thin 3D foam squares; Ranger - Glossy Accents

Tuesday, September 29, 2015

SHOPPING OUR STASH #221 - Wooden It Be Nice


Hello and good morning crafty peeps! This week at SHOPPING OUR STASH, we'd like to see some type of wooden element on your project. (Ex: wooden letters/shapes, paper, patterned paper, veneer, etc.) I was feeling nostalgic, so I broke out my Slice die cutter (that I've had since perhaps 2010, probably longer), and made some ornaments. Check it:


...and the inside:

In certain lighting, the color of the wooden peace word and the darker blue card stock I used actually match. Not so much in this photo. Oh well. After I die cut all the parts-is-parts* of the ornaments, I thought they needed a little somethin' somethin'. So I embossed some of the pieces. There, that's better. The peace word was painted then when dry, I gave it a spritz of pearl Glimmer Mist for some subtle shimmer. Of course, you can't see it in the above picture. But it's there. Trust me. ☺ I added some silver floss so that the ornaments wouldn't be magically hovering by themselves.

Now it's your turn. Got any wooden butterflies or arrows? Patterned paper with a wooden design on it? Why not make something with it and link it up at Shopping Our Stash? We'd love to see it! Please do check out what the other ladies came up with to wow you, and leave them some bloggy love! Thanks for stopping by and I hope you get creative today!


* Thank you, Leslie, for making me remember that Wendy's commercial. I used to use this term a lot when it first came out, then it faded from my mind, replaced with other catch phrases. LOL!


Challenges:


Supplies:
Stamps: Hero Arts - Merry Christmas Message
Ink: Memento - Teal Zeal
CS: Darice; scraps
Accessories: GC; Cuttlebug & Darice EF; Slice die cutter and Noel cartridge; Michael's - wooden peace word; DMC - floss; Fiskars - corner rounder; Ranger - Adirondack Stream acrylic paint dauber; Tattered Angels - pearl Glimmer Mist
Adhesives: SA by 3L - tape runner, 3D & thin 3D foam squares; Ranger - Glossy Accents; Glue Dots

Monday, September 28, 2015

Beware! Monstahs ahead!

Hey all! I have a cute Halloween card to share:


 Here's the inside:

I've been playing with my Slice die cutter for this card. As long as I've had it, I only just bought the Toils & Trouble cartridge a couple months ago. OMG! Just LOOK at that awesome monstah!! I cut him first to fit within the yellow circle, but changed my mind and cut him a bit bigger. I stacked and glued two of the monstahs together, then covered him with Glossy Accents. After he dried, I stuck him on with foam squares, then added a googly eye.

Ooooh! Shiny monstah!!!

The sentiment was another die cut from the same cartridge. I just loved the font! This little guy is so cute, but don't let that cuteness fool you: he's sitting on top of a pile of skulls! LOL!

That's all for now. Thanks for stopping by, and I hope that you have a great day!


I'm entering this card at:


Supplies:
Stamps: Stampendous - Tricky Words
Ink: Memento - Tuxedo Black
DP: American Crafts - Haunted
CS: Darice; scraps
Accessories: Slice die cutter and Toil & Trouble cartridge; GC; Cuttlebug EF; Quickutz - Inverted square die; SB- Std. Sm Circle Nesties; Nicole - googly eye; Ranger - Glossy Accents
Adhesives: SA by 3L - tape runner, thin 3D foam squares; Ranger - Glossy Accents
adding pinterest script 3. Changing the Position of the Pin it! button The cool thing about this code is that you have some freedom over where the Pinterest button for Blogger will go over the image. Take a look at the code that you just copied and pasted into the HTML for the word 'center'.