Saturday, February 28, 2015

JUST US GIRLS #282 - Photo Week!


Good morning crafty peeps! It's Photo Week at JUST US GIRLS! Vicki is your hostess this week and she picked out this gorgeous picture - oh the possibilities! Here's the card I made:


So, I got all glittery with this one. Plus I used some stamps that have never seen ink before. Yay me! Those pennants are actually shaped foam squares from Scrapbook Adhesives by 3L. I simply sprinkled glitter over them and burnished with my finger. For the striped panel, I covered it in double sided tape, then peeling off every other strip, sprinkled one color of glitter over it. After burnishing with my finger, I tapped off the excess glitter and put it back into it's container. I repeated this for the second glitter color. The jar was from a set that I've never opened up until now, the coin was also inked for the first time (NBUS!) The sentiment was first stamped with VersaMark, then Mowed Lawn and heat embossed using clear embossing powder. 

Look at all the shiny and sparkly!! 

With St. Paddy's Day approaching, why not make a card or project inspired by this picture and join us at Just Us Girls?! While there, please check out the amazing creations that my teammates, and our February Guest Designer, Stephanie, have made. It's Stephanie's last challenge with us and we really enjoyed having her as our GD. Thanks Stephanie! Remember that if you are picked as Chic of the Week for any of our February challenges, you'll be in the running to be our Guest Designer for the month of April! Thanks for stopping in!

Challenges I'd like to enter this in:

Tuesday Morning Sketches #289
Addicted to Stamps #133 - Holiday


Supplies:
Stamps: Lawn Fawn - Summertime Charm; Paper Smooches - A Magical Spring
Ink: VersaMark; Ranger DI - Mowed Lawn
CS: Darice
Accessories: GC; Lacey Ovals Nesties; Cuttlebug - Swiss Dots EF; SA by 3L - Foam Pennants; Stampendous - Halo Gold Mix Glitter & Champagne EP; mystery green glitter from stash; vellum; heat gun
Adhesives: SA by 3L - tape runner; Glue Dots; AC - double sided tape

Friday, February 27, 2015

I'm seeing stars....

Hello and happy Friday!! I have a card to share using a (new to me) technique: Bokeh! Check it:


 Here is the inside of the card:

I started with a white cs panel, and sponged three colors of Distress Ink randomly over it. Then I found a (NBUS!) star stamp and loading it with Frost White chalk ink, randomly stamped that over the panel. There's second generation stamping in there also, and wa-la: Bokeh! At this point I went over it with my heat gun as I knew I was going to heat emboss the sentiment. It's framed in kraft then mounted onto a blue card base. I found some gold star shaped sequins in my stash and added those as a final touch. I. Really. Love. How. This. Turned. Out! 

Well, I'm off to walk the fur baby. I hope you have a great day and weekend! Thanks for stopping by!


Challenges I'm entering this in:
Merry Monday #147 - Stars
The Male Room #4 - make your own background paper


Supplies:
Stamps: Paper Smooches - Circle of Honor (star), All Yule Need, Christmas Sampler
Ink: Ranger DI - Faded Jeans, Evergreen Bough, Dusty Concord; Clear Snap - Frost White; VersaMark; Memento - Paris Dusk
CS: Darice
Accessories: Stampendous - Champagne EP; heat gun; American Crafts - sequins
Adhesives: SA by 3L - tape runner; Ranger Glossy Accents

Tuesday, February 24, 2015

SHOPPING OUR STASH #190 - From a Jar


Hello and welcome to another fun challenge at SHOPPING OUR STASH! As that catchy title suggests, we'd like you to A.) use anything that came from a jar (flower soft, glitter, perfect pearls, embossing powder, etc.), or B.) use a jar image, or C.) decorate a jar! The choice is yours. I chose to use a jar image on my card:


I saw a card that Heidi Van Laar made (her blog is no longer there so I can't link it, but Google her name and check out her Pinterest cards. It's there) and that I felt compelled to case...with my own spin on it. I took a scrap of felt, dabbed it on the Frost White ink pad and smeared it on my blue panel. I stamped the jar over that. I did some second generation stamping with one of the shadows and stamped that onto the strip of checkered paper, then stamped the jar again onto to that. (as if it's sitting on a picnic table!) I stamped the firefly a couple times. The last one I did some stamp kissing so I could get a mirrored image. Using Prismacolor pencils, I colored in the firefly's butts ☺ and did some shading/highlighting on the jar. Even added some Stickles to the wings because glitter! A couple sentiments and I was done. Oh, I forgot to get a picture of the inside, but there's a Happy Birthday sentiment on it.

I hope you get the chance to play along this week at Shopping Our Stash! We'd love to see what you created! Please take a moment to check out what my teammates came up with to inspire you - they are awesome! Thanks for stopping by!


Supplies:
Stamps: Paper Smooches - Crystal Clear, Shadows, Happy Birthday
Ink: Memento - Tuxedo Black; Clearsnap - Frost White
DP: WRMK - Family Keepsake
CS: Darice
Accessories: Prismacolor pencils; Fiskars - corner rounder; Ranger - Crystal Stickles; scrap of felt
Adhesives: SA by 3L - tape runner


Saturday, February 21, 2015

SISTERHOOD OF SNARKY STAMPERS #28 - A is for Accident


Good morning all! We have a new challenge this fortnight at THE SISTERHOOD OF SNARKY STAMPERS! It's inspired by Edna, poor bird. She was out at the pub and may have imbibed a few too many Jagerbombs, as she started dancing on the tabletops, lost her balance and fell. Just look at that shiner she's sporting!  Our new challenge is simple: make a get well card. Here's mine:


 and the inside:

There is no reasoning as to why I decided to die cut all those hexilongs. I just wanted to do this! Plus, googly eyed dinosaur! She just looks like she's yelling the sentiment. LOL!

We all need get well cards from time to time. Our new challenge at the Sisterhood of Snarky Stampers is a great excuse to crank one (or more) out! Be sure to link it up so we can see it, and while there, check out what my teammies, and our newest Guest Designer, Michelle, have come up with to dazzle you! 

Thanks for stopping by and I hope you are staying warm! (Winter bites - I'm sooooo ready for Spring!)

Challenges:

Supplies:
Stamps: Paper Smooches - Cutasaurus; Crackerbox Palace - B.S.; Hero Arts: Everyday Sayings
Ink: Memento - Teal Zeal, Tuxedo Black
DP: MME - The Sweetest Thing
CS: Darice
Accessories: GC; Paper Smooches - Hexilongs & Cutasaurus icons dies; Nicole - googly eye
Adhesives: SA by 3L - tape runner, 3D foam squares; Scotch - Scrapbooker's Glue

JUST US GIRLS #281 - Color Week!

Good morning crafty peeps! It's Color Week at JUST US GIRLS, and Lisa is your Hostess this time around. She's come up with a gorgeous color pallet to inspire you:


I know, right?!! Here's what I came up with:


and the inside:

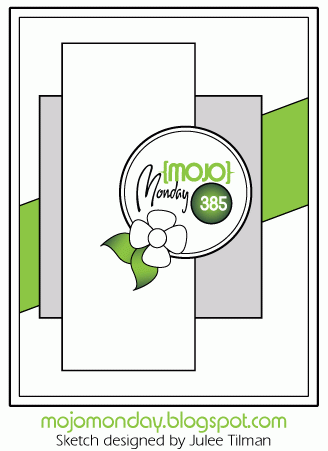
I put my card together using the sketch from Mojo Monday #385. I'm not too thrilled about how this came out, maybe too many patterns? (Aren't we our own worst critics?!) ☺ 

You should play along (because I'm positive you can do better than I did. LOL!) I'd love to see what you come up with, just link up your card or project at Just Us Girls! While there, please check out what my teammates and our February Guest Designer, Stephanie, have created to inspire you! Remember, if you are picked as Chic of the Week for any of our February challenges, you'll be in the running for our April Guest Designer! Have fun!

Supplies:
Stamps: The Alley Way Stamps - Chatterbox; Stampendous - Party Invite
Ink: Memento - Gray Flannel
DP & flower sticker: Carta Bella - Sew Lovely
CS: Darice
Accessories: GC; Cuttlebug - Leafy Branch & Modern Wallpaper EF; MME - brad; rhinestones from stash
Adhesives: SA by 3L - tape runner, 3D foam squares; Glue Dots


Tuesday, February 17, 2015

SHOPPING OUR STASH #189 - Inspired by a Movie!


Good morning crafty peeps! We have a fun new challenge starting today at SHOPPING OUR STASH - make a card or project that is inspired by a movie! Well, this was a no brainer for me, as I had quite a few ideas in mind. But this idea I kept coming back to, so I just had to go with it:


 Here's the inside:

Yep, I was inspired by the Star Wars movies. I'm such a total sci fi geek! I may have taken Yoda's words and changed them a bit to serve my needs, but hey, it's all good! I found this digi image (and it's a free image, BTW!) here.  I sized it up then printed it out on 5 different pieces of scrap card stock. Then I got to work fussy cutting and paper piecing. I used a couple different SN green markers for shading the ears, and coloring the nails and eyes. Then I created my sentiment using some tiny type alpha stickers that I've had for at least a few years. LOVE how this turned out! 

So, have a brilliant idea for a card or project based on a movie? We'd like to see it! Just link it up at Shopping Our Stash! While there, please check out the amazing creations that my teammies came up with! Thanks for hanging out here, and I hope you have a fantabulous day!


Supplies:
Stamps: Free Yoda digi - Printncolor.coolphotos.in
CS: Darice scraps
Accessories: SN markers; Cosmo Cricket - tiny type alpha stickers
Adhesives: SA by 3L - MyStik permanent; Elmer's extra strength glue stick

Monday, February 16, 2015

White space makes me all itchy....

I made this very CAS card, that has a lot of white space on it. It's practically making me break out in hives. Luckily, I have my beloved layers to save me. Check it:


 and the inside:

I'm joining the fun at Jingle Belles - Here We Come a Washi-ing. I used some green and blue washi, a dimensional snowman sticker (that I've had for 5 years) and a couple simple sentiments finish the card. Lots. Of. White. Space! ACK! 

I just noticed that the last few cards I've made have blue or green predominately on them. Guess I was really sick of all the red/pink/purple/Valentine's theme stuff! LOL! 

Have a great day!

Supplies:
Stamps: Some Odd Girl - Snow Bunny, Holideer
Ink: Memento - Nautical Blue
CS: Darice
Accessories: Recollections - washi tape; Jolee's - snowman/snowflake stickers
Adhesives: SA by 3L - tape runner

Sunday, February 15, 2015

At the 11th hour.....

I'm entering this card for three challenges. The first is for Merry Monday #145, the second for CAS(E) This Sketch #110, and the last for Crafty Gals Corner - Anything Goes.


 Here's the inside:

Sorry to make this short and sweet, but I have less than an hour to get this one entered at MM. (Me? Procrastinate? Surely you jest!)


Thanks for stopping by! Have a great day!


Supplies:
Stamps: MFT - ALM Candy Cane Kisses
Ink: Memento - Tuxedo Black, Lady Bug, Teal Zeal
DP: AC - Jack Frost
CS: Darice; Crafter's Companion
Accessories: GC; MFT - Dainty Doilies Die-Namics; Cuttlebug - swiss dots EF; Spectrum Noir markers; Ranger - Stickles; Recollections - wood snowflake; Tattered Angels  - aquamarine Glimmer Mist
Adhesives: SA by 3L - tape runner, 3D foam squares; Glue Dots

Saturday, February 14, 2015

JUST US GIRLS! #280 - Trend Week

Hello crafty peeps! It's Saturday and that means there's a new challenge starting at JUST US GIRLS! Ina is your hostess this week, and she's picked a fabulous trend: burlap! 


You can find this stuff everywhere! In home decor, flower arrangements, jewelry, and even cards!


 Here's the inside:

I know it's Valentine's Day, but I'm so done with the holiday. (wink) Hubby and I don't even celebrate it. Besides, my Mom's birthday is coming up and I wanted to make her a card. ☺ I bought an 8-1/2" x 11" um, sheet(?), of burlap last year and I'm very slowly cutting into it. Yay me. I used the current sketch from Tuesday Morning Sketches #287. Lots of layers on this card. I love this pretty butterfly paper so that became my color palette. I broke out my trusty ol' Slice die cutter and die cut "Mom" three times. stacked and glued them together, and added Stickles on top for some glittery goodness. It's hard to see, but the bottom sentiment was embossed also.

You can see it a bit better in this photo.

Ready to break out that burlap you've been hoarding and actually use it? Of course you are! Just link up your card or project over at Just Us Girls so we can admire it! While there, please check out what my teammates, and our Guest Designer, Stephanie, have come up with to wow you! Remember that if you win Chic of the Week for any of our February challenges, you'll be in the running to be our Guest Designer for the month of April! Good luck! Have a great day!


Supplies:
Stamps: MFT - CS Complimentary Greetings, More Essential Sentiments; Recollections; Unity - 2012 KOM (butterfly)
Ink: Memento - teal Zeal; VersaMark
DP: Pebbles - Garden Party
CS: Darice; The Paper Co.
Accessories: GC; Lg Std Circle Nesties; MFT - Dainty Doily Duo Die-Namics; Slice die cutter and Words & Expressions Family cartridge; WOW! - clear EP; heat gun; Recollections - burlap sheet; Ranger - Glossy Accents


Wednesday, February 11, 2015

Sugar and spice....

Hello crafty peeps! I have another card to share. This one is super special, as it's my first commissioned card! Woot! Woot! One of my neighbors needed a card for her granddaughter, who is turning 4 soon. The only things she gave me to work with was that she has red hair, wears a lot of pink, and to possibly incorporate a nursery rhyme on the card. That last one was a doosie. Here's what I came up with:


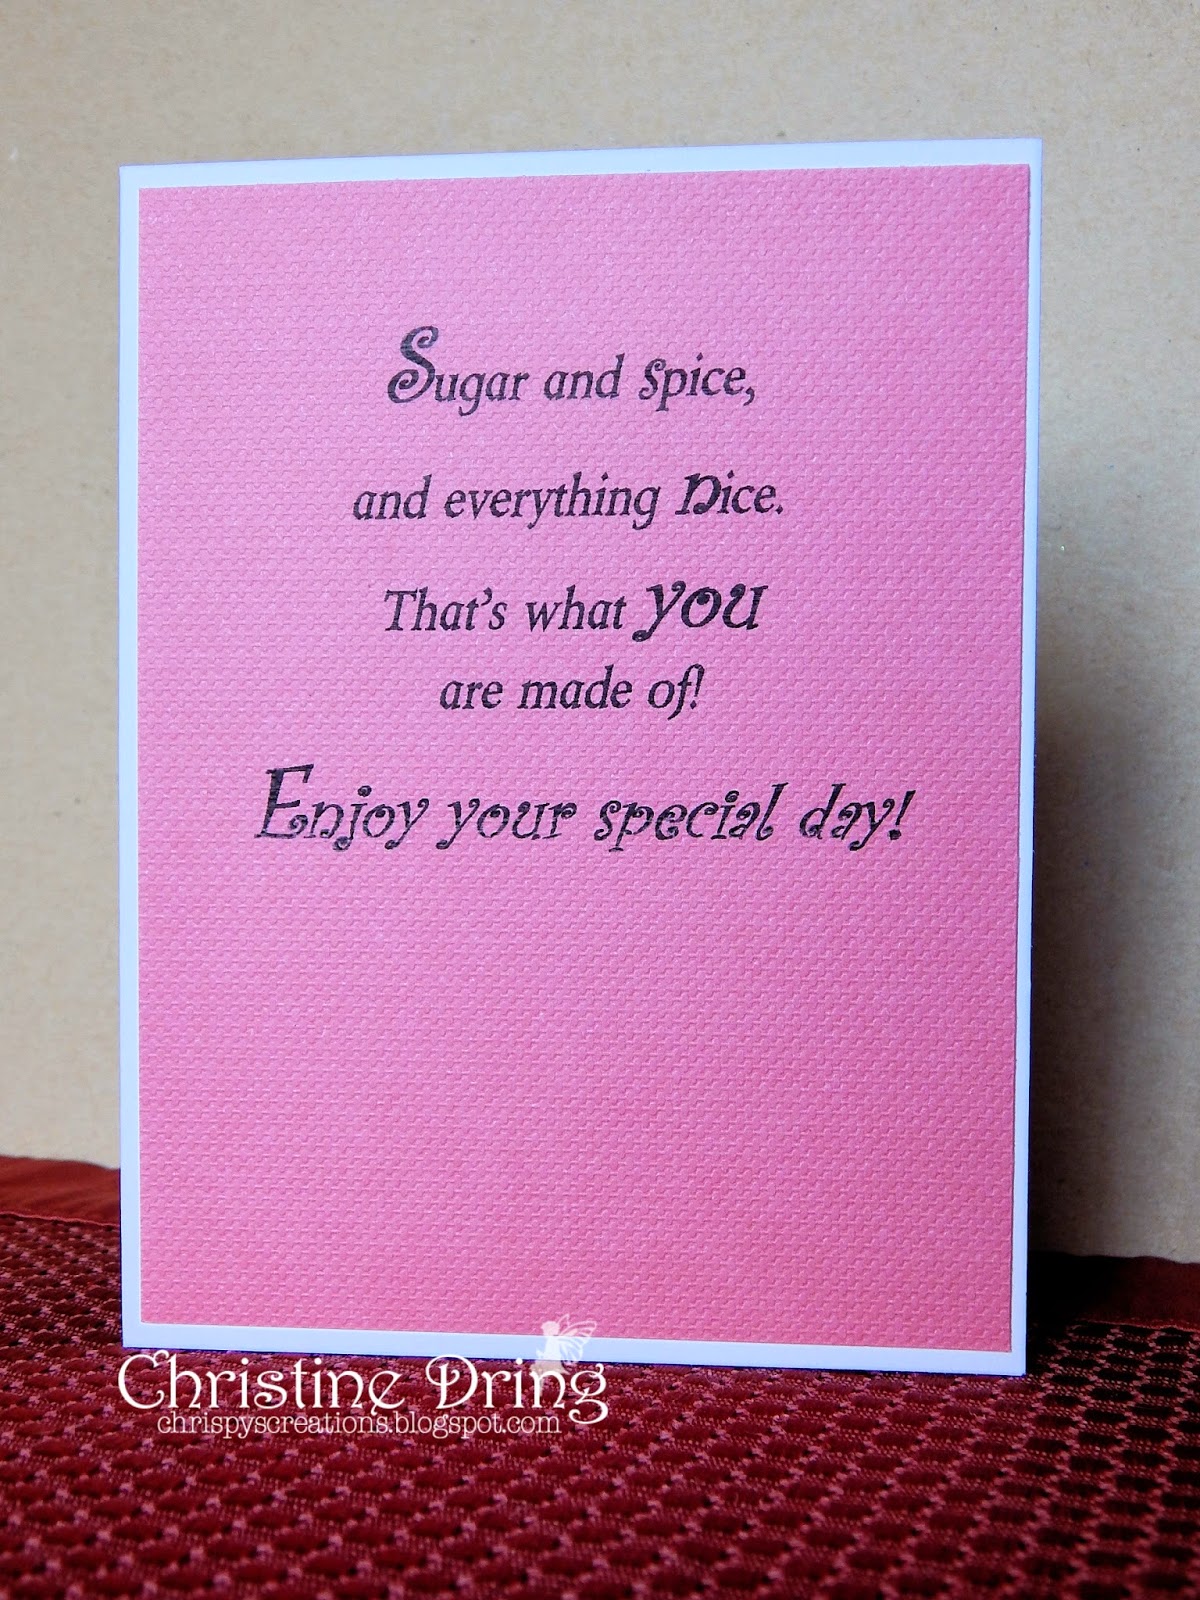
I was able to get the nursery rhyme in on the inside:


I wasn't sure if my neighbor was going to like this, but thankfully, she LOVED it! (Major boost to my ego!) 

Since I used a Bugaboo stamp, I'm going to enter this at their Anything Goes challenge. Ok, now to get ready and do some grocery shopping. I hope you all have a great day!

Supplies:
Stamps: Totally Stampalicious/Bugaboo stamps - Ava flower patch; Paper Smooches - Happy Birthday
Ink: Memento - Tuxedo Black; VersaMark
DP: Pebbles - Garden Party
CS: Darice; WRMK; Copic X-Press It
Accessories: Spectrum Noir Markers; Stampendous - white EP; heat gun; ClearSnap - sundance Smooch; inside sentiment computer generated; AC Thickers
Adhesives: SA by 3L - tape runner, 3D foam squares


There's a new challenge in town....

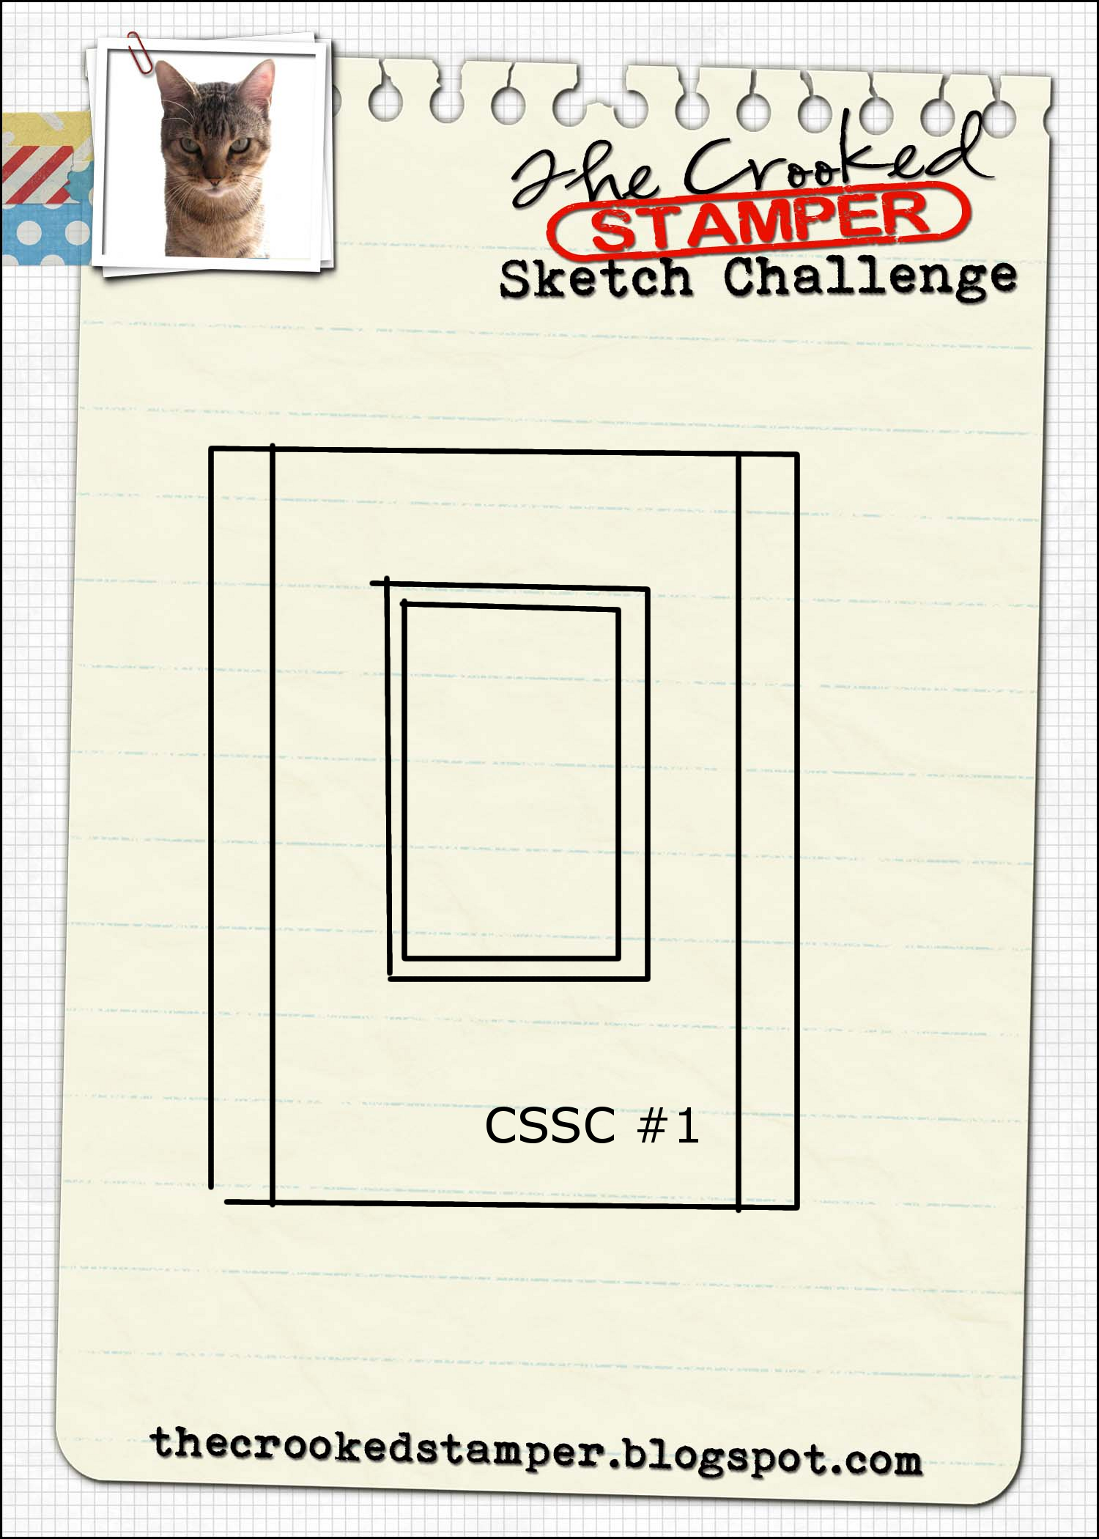
Yep. That's right. Leslie of The Crooked Stamper, has started a new sketch challenge! Hold on to your panties - shit's about to get real! LOL! First the sketch, them my take on it:


Here's the inside:

 I followed the sketch pretty closely, just added my sentiment centered (if not straight) under the frame. A die cut frame, some paper pieced balloons, another simple sentiment on the inside and I was done. Easy peasy lemon squeezy! 

I hope that you get a chance to play along with Leslie's new sketch challenge! I'm playing along because she's my friend and I want to support and cheer her on with this new endeavor. (But, just so you know, she'll be giving away prizes too! SWEET!) 

Thanks for stopping by! I hope that you have a great day!


Supplies
Stamps: Technique Tuesday - Umpteenth Birthday
Ink: Memento - Tuxedo Black
CS: Darice; scraps
Accessories: GC; Paper Smooches - Chains dies
Adhesives: SA by 3L - tape runner; Scotch Scrapbooker's glue; Elmer's Extra Strength glue stick


Tuesday, February 10, 2015

SHOPPING OUR STASH #188 - TP or not TP


Good morning and happy Tuesday to you! This week at SHOPPING OUR STASH, we have a rather unique challenge. You may have figured it out by Leslie's oh so clever blog title. LOL! This week, we challenge you to A) Use the patterns from your paper towels or your toilet paper as inspiration; or B) use paper towels or toilet paper to add texture; or C) actually use one of them on your project! How crazy cool is that?!! (Come on, it's a challenge blog - and this one is definitely a challenge! LOL!) Here's what I made:


 Here's the inside:

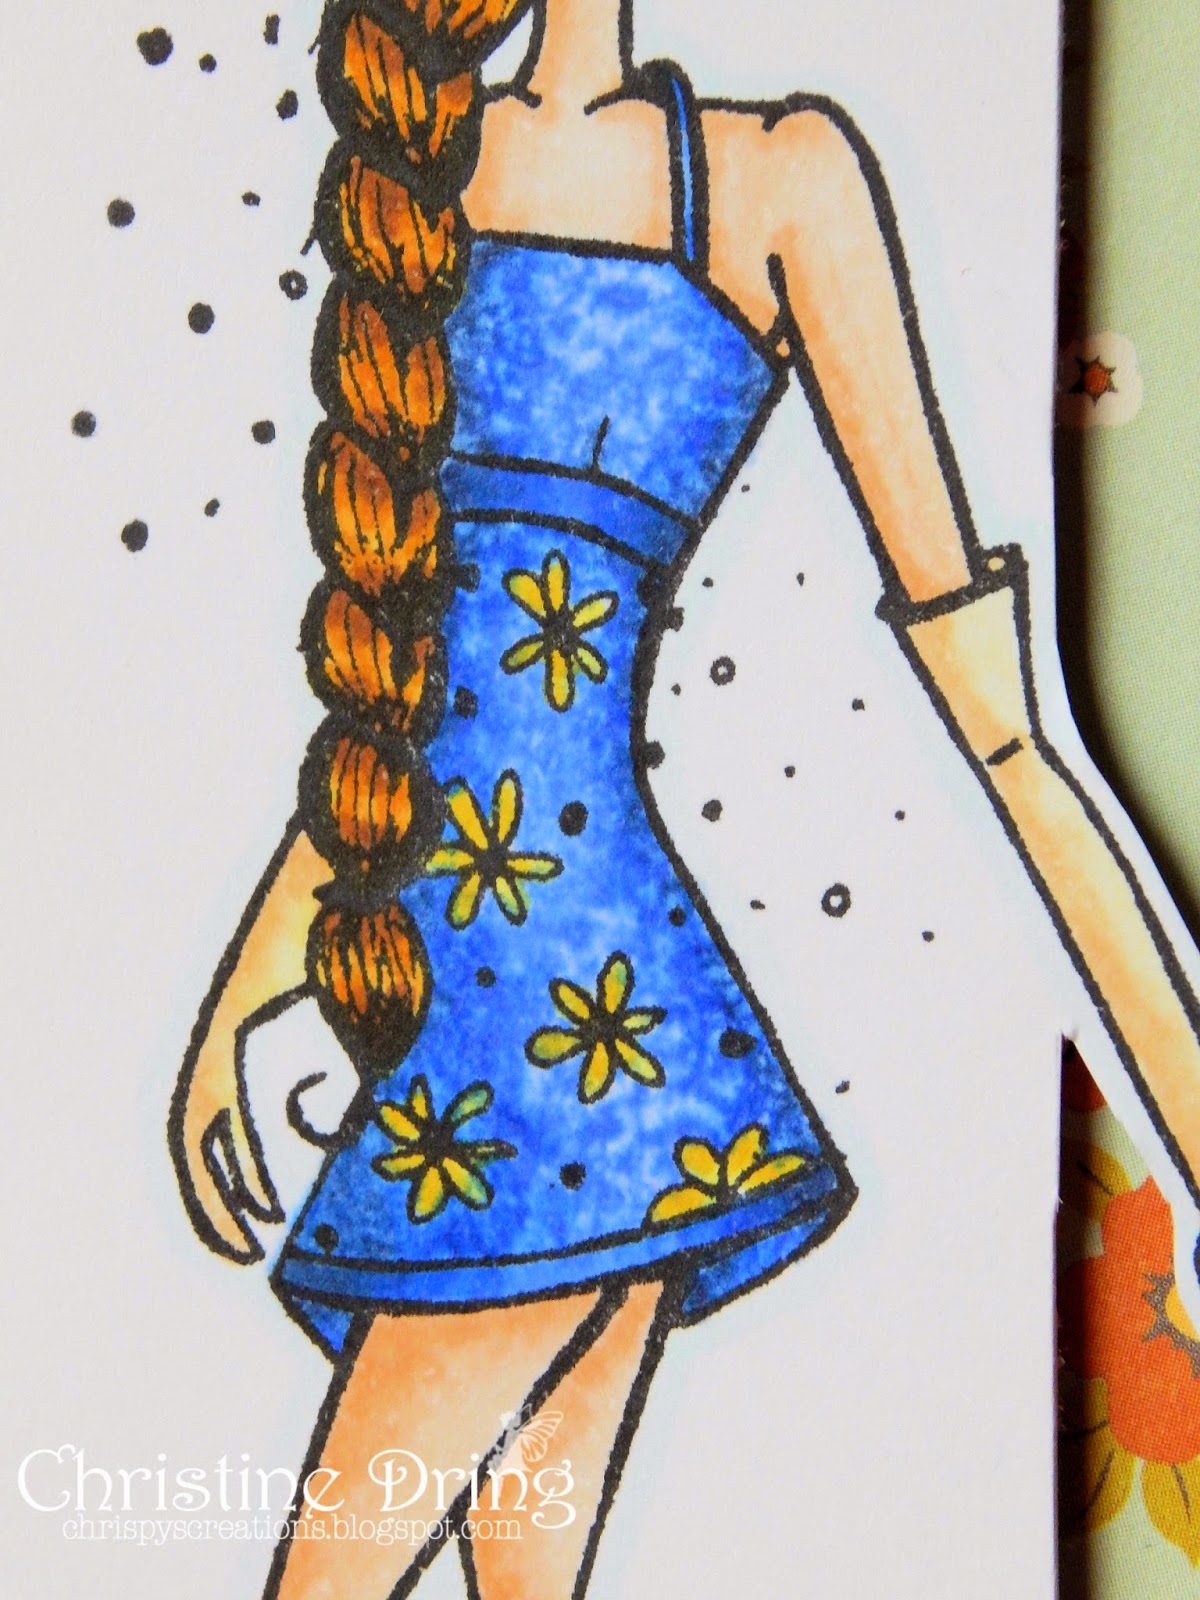
Normally, when I color an image, I usually do the skin first, then go on from there. This time, I colored the dress first (just the blue). Then I took a paper towel that had an embossed pattern on it, wet it with blending solution, and lightly and quickly pressed it onto the dress. Once I removed it, I had a textured dress! It kind of reminds me of denim. ☺ Just remember, if you try this yourself, you must let the blending solution completely dry before coloring the rest of your image! (Luckily, I Googled a tutorial to learn that important piece of info before trying this technique)


I hope you try this challenge out. It was actually really fun to do, and I learned a new technique in the process. Yay me. ☺ Just link up your project at Shopping Our Stash so we can see it. While there, please check out what my teammates created to inspire you. They soooo kicked butt on this challenge, wait till you see what they all came up with! Thanks for stopping by! Have a great day!


Supplies
Stamps: Unity - Anastasia Fashionista; MFT - CS Complimentary Greetings
Ink: Memento - Tuxedo Black, Paris Dusk
DP: October Afternoon - 9 to 5; MME - Everyday Tango
CS: Darice; Copic X-Press It
Accessories: Spectrum Noir markers; paper towel; Hampton Art -rhinestones
Adhesives: SA by 3L - tape runner, 3D foam squares

adding pinterest script 3. Changing the Position of the Pin it! button The cool thing about this code is that you have some freedom over where the Pinterest button for Blogger will go over the image. Take a look at the code that you just copied and pasted into the HTML for the word 'center'.