Showing posts with label HLS ATC challenge. Show all posts

Saturday, April 18, 2020

SISTERHOOD OF SNARKY STAMPERS #158 - U is for Upcycle


Hey all and welcome!
It's time for the new challenge at the
With Earth Day approaching on the 22nd, Edna and the Sisters
are looking for projects with UPCYCLING on them.
My paints have been sadly neglected as of late, so I pulled them out
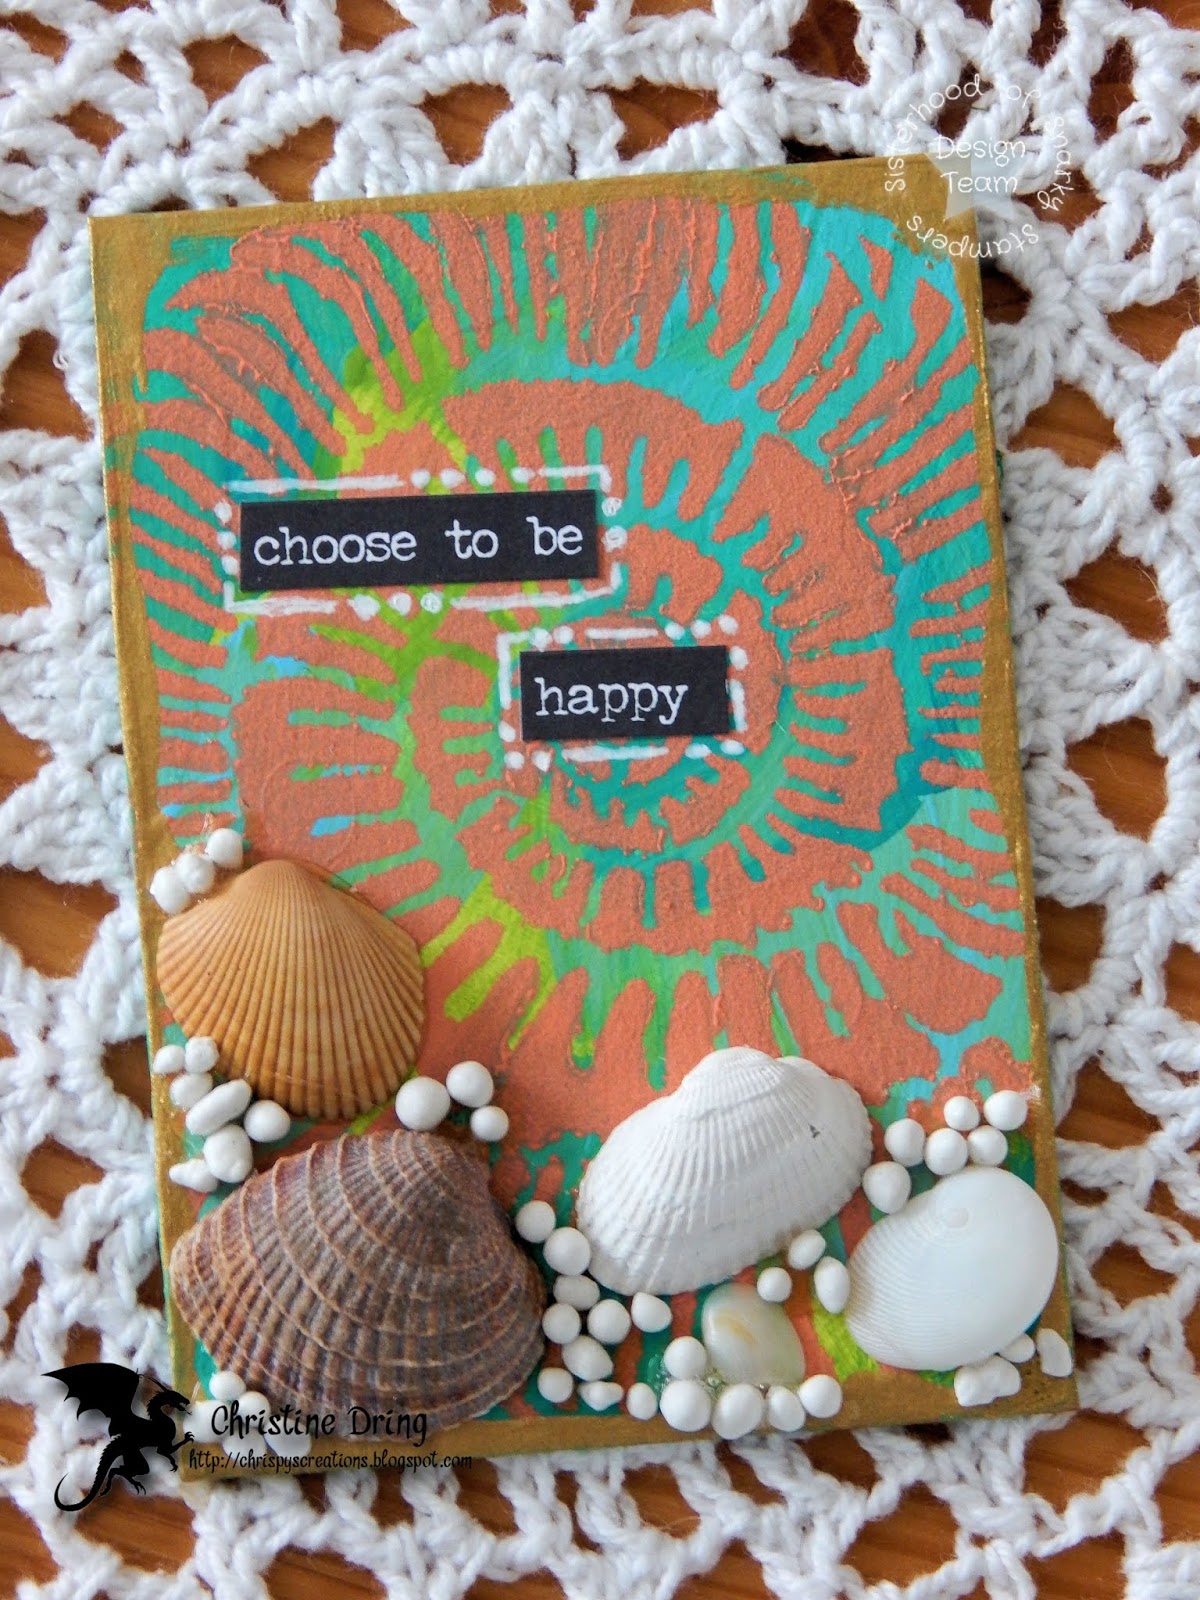
to make some ATC's:


Here's a close up of all five of them:


My upcycled items? That would be the cardboard I cut down to use
and also the shells. (from Topsail Island, NC!)

Here are some process photos:

14" x 14" cardboard with a layer of gesso:

I cut out 12 ATC's and painted them:

Stenciled this fun image in coral paint. I got to the fifth
one and decided to stop there. LOL! 
Added some gold paint around the edges.

Glued shells (from my collection):

Added the texture pebbles:

The last thing was to add the sentiment stickers then doodle around 
them with a white Gelly Roll pen.

Ok, you lasted to the end of this photo heavy post. Congratulations!
Now it's your turn to re-purpose something and use it to make 
something else! Upcycling! Be sure to link up at the
Sisterhood of Snarky Stampers so we can admire it!
For more ideas, do yourself a favor and check out the blogs
of my Sisters, and our reigning Queen, Tristan. You won't
be disappointed!
Thanks for visiting. I hope you are staying safe, and haven't
gone ape-shit crazy yet! ☺


Supplies:
Upcycled items: cardboard and shells
DecoArt Americana acrylic paints: Indian Turquoise, Bluegrass Green, Irish Moss, Coral
DecoArt Dazzling Metallics paint: Glorious Gold
DecoArt Media - Gesso
paint brushes: Plaid, Lowe-Cornell
StencilGirl - ATC Mixup Daley stencil
Imagine - InkBlushers
Beacon 3 in 1 glue
Art-C: texture pebbles
Tim Holtz: Small Talk stickers
Sakura - white Gelly Roll marker

Tuesday, March 26, 2019

SHOPPING OUR STASH #392 - Make an ATC


Hello and happy Tuesday to you all!
It's time for a new challenge at 
This fortnight we are challenging you to step outside your
comfort zone and make an ATC, either a card or coin!

Here's my Artist Trading Card:


Grab your favorite beverage, this is a photo heavy post!
I started by cutting my ATC's from recycled cardboard (2-1/2" x 3-1/2")
and gave the front sides a coat of Gesso.


I cut a mop up paper towel that had Dylusions spray inks on them,
and adhered to the card with clear gesso.


After dry and the edges were trimmed, I went over the cards with crackle embossing
paste and a heart stencil. While drying, I die cut some mermaid silhouettes from black
card stock, and Winked all of them for some shimmer.


To make sure the edges didn't tear, and to add a border, I used my finger and painted
gold paint around the edges. 


I printed out my sentiment on the computer, doodled around the words and cut out.
The mermaids and sentiments are adhered with foam squares, then I added some
ancient bling from my stash for more sparkle.


You can kind of see the shimmer on the mermaid below and how the gold shines.
I love the added texture from the paper towel!


Yay! You made it to the end!
I hope that you find some time to play along in our ATC challenge at
Shopping Our Stash! We look forward to seeing what you create.
Need more ideas? Simply visit the blogs of my teammies to see
what amazing cards and coins they've created!
Thanks for visiting, and I hope you have a fabulous day!


I'd like to enter this at:


Supplies:
recycled cardboard
Golden Gesso
Plaid paintbrush
Dina Wakey clear Gesso
mop up paper towel that had Dylusions spray inks on it
STAMPlorations - Hearts All Over stencil
Dreamweaver - crackle embossing paste
pallet knife
Delta metallic 14K gold acrylic paint
Grand Calibur
Impression Obsession - Mermaid dies
Wink of Stella pen
scrap card stock
computer and printer
Sakura - metallic blue Gelly Roll pen
SA by 3L - thin 3D foam squares
Momenta - jewel stickers

adding pinterest script 3. Changing the Position of the Pin it! button The cool thing about this code is that you have some freedom over where the Pinterest button for Blogger will go over the image. Take a look at the code that you just copied and pasted into the HTML for the word 'center'.