Showing posts with label Curtain Call. Show all posts

Saturday, February 6, 2016

JUST US GIRLS #329 - Word Week


Hello and welcome! Vicki is your hostess for Word Week at JUST US GIRLS, and with February 14th just around the corner, she's picked VALENTINE as your word prompt. Here's the card I made:


 and the inside:

I'm using some older papers and new to me stamps & die for this card. My thinking for this was to make the center into a pink heart, by taking a snippet of one of the left over dark gray pieces and gluing it to the top of the center square. Sort of a quilt-y looking heart. That's my story and I'm sticking with it. LOL! 

Anyhooo, I hope you get a chance to play along this week at Just Us Girls! It's a new month and we have a new Guest Designer: Pamellia Johnson. Welcome Pamellia! The ladies and I look forward to crafting with you this month! 

Just a reminder that if you are picked as Chic of the Week for any of our February challenges, you'll be in the running to be our Guest Designer for the month of April. Thanks for visiting. I hope you have a great day!

I'd like to enter this card at:


Supplies:
Stamps: MFT - Let's Get Cozy; Hero Arts - Celebrate Everyday
Ink: Memento - Gray Flannel
DP: MME - Lucky in Love
CS: Darice; Bazzill
Accessories: GC; MFT - Diagonal Quilt Cover Up die
Adhesives: SA by 3L - tape runner, 3D foam squares

Tuesday, January 19, 2016

SHOPPING OUR STASH #235 - 3,2,1


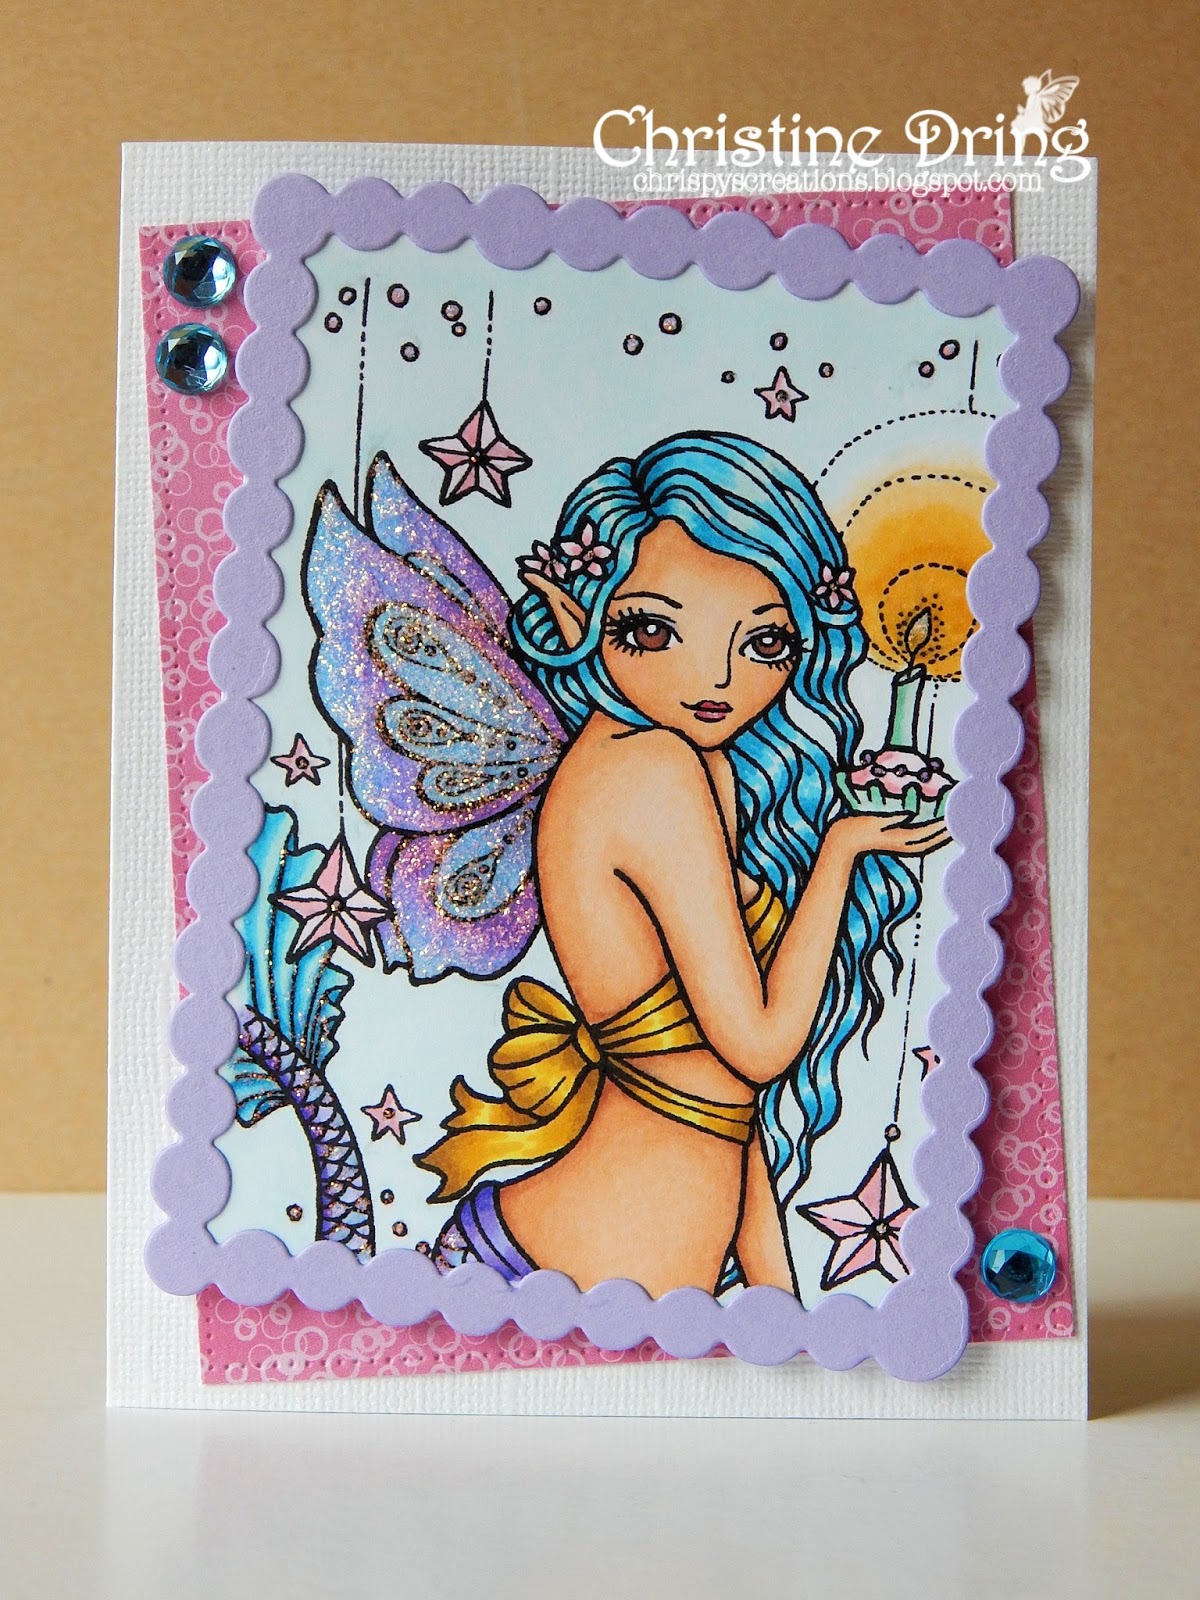
Hello friends and welcome! Today starts a new challenge at SHOPPING OUR STASH - 3.2.1!! What does that mean? Well, we want you to use 3 of something, 2 of something, and 1 of something on your card or project. (Pretty simple, eh?) For my card, I've used 3 rhinestones, 2 die cuts, and 1 image:


 And the inside:

I haven't colored in a few weeks, and it felt really good to color with my Spectrum Noir markers again. (You may or may not have noticed that blinkie in the top right hand column. I'm now an official Spectrum Noir Accredited Colorist!) ** Woo Hoo! Cheers! Cartwheels! ** One of the things on my crafty bucket list was to take the accreditation test. Well, I finally did it and sent it off last month....and I passed! So now I want to set more time aside to color all these amazing digi images I've hoarded over the years. (wink) This one combines two of my favorite magical creatures: fairies and mermaids! It's by Ching-Chou Kuik, an amazing digi artist. I actually purchased this image at the now closed Sweet Pea Stamps company, but I just linked you to her Etsy store. Go there. You will be amazed by her talent. ☺ After I colored the image, I added Diamond Stickles to her wings, fins and tail, and all the flower/star centers and bubbles. And the candle flame. And decorations on the cupcake. I may have gone overboard with the Stickles.

Nah.

(grin)

I hope you find some time to join us this week at Shopping Our Stash! We'd love to see how you interpret our challenge! Please be sure to check out what my teammates came up with, and leave some love on their blogs! Thanks for visiting! Have a great day!


Spectrum Noir markers used:
Skin/Lips/Eyes: FS3, TN2, TN3, CR3;CR3, CR6; EB4, EB8
Hair/Fins: BT3, IB3, BT7
Wings & Tail: LV2, HB2, TB1, LV3
Coverup: CT3, GB6-9-10
Candle/Cupcake: GB2-3-6-7;GT1-2, PP1-4, LV2
Flowers/Stars/Bubbles: PP1, PP4
Background: IB1

I'd like to enter this card at:


Supplies:
Stamps: Ching-Chou Kuik - It's My Birthday digi; MFT - Written in Watercolor
Ink: Simon Says Stamp - Lavender
DP: DCWV - Spring Mix Stack; AC - #Summer
CS: Crafter's Companion; Bazzill; Simon Says Stamp
Accessories: Spectrum Noir markers; Ranger - Diamond Stickles; GC; Paper Smooches - Chains die; Avery Elle - Pierced Rectangle die; rhinestones from my stash; computer & printer
Adhesives: SA by 3L - tape runner, 3D foam squares; Scotch - Scrapbooker's glue


Sunday, June 21, 2015

One layer cards make me itchy.....

I'm more of a clean and layered kind of gal, so this card (which turned out better than I thought it would - always a bonus) was indeed a challenge to me. Here, let me show you what I'm talking about:


 Here's the inside:

I sponged the corner of the card with distress inks and a wave stencil. After I die cut and glued the flip flop parts together, I sat there. Staring. Now what?

I had one helluva time trying to decide where the flip flops and sentiment should go. Does that happen with you? I swear I spent at least an hour moving the flops and the stamp around and around the card before finally getting (I think) an eye pleasing triangle, from the waves to the flops to the sentiment, back down to the waves. Ok, it's a wonky triangle, but it's there. Trust me.

Then, of course, I says to myself, "Self, this needs something more." So out came the Crystal Stickles. And the corner rounder was a nice finishing touch. ☺ I'm quite happy with how this came out. 

Even if it makes me itchy. 

I'd like to enter this at:
Curtain Call - Flip Flops


Supplies:
Stamps: Impression Obsession; Paper Smooches
Ink: Ranger DI - Peacock Feathers, Salty Ocean; Memento - Tuxedo Black
CS: Darice
DP: scraps
Accessories: GC; Taylored Expressions - flip flop dies; Simon Says Stamp - waves stencil; Ranger - crystal Stickles; Fiskars - corner rounder
Adhesives: Glue Dots; Scotch scrapbooker's glue


adding pinterest script 3. Changing the Position of the Pin it! button The cool thing about this code is that you have some freedom over where the Pinterest button for Blogger will go over the image. Take a look at the code that you just copied and pasted into the HTML for the word 'center'.